
diff options
Diffstat (limited to 'content/blog/2020-01-25-linux-software.md')
| -rw-r--r-- | content/blog/2020-01-25-linux-software.md | 282 |
1 files changed, 282 insertions, 0 deletions
diff --git a/content/blog/2020-01-25-linux-software.md b/content/blog/2020-01-25-linux-software.md new file mode 100644 index 0000000..a240731 --- /dev/null +++ b/content/blog/2020-01-25-linux-software.md @@ -0,0 +1,282 @@ ++++ +date = 2020-01-25 +title = "My Favorite Linux Software" +description = "" +draft = false ++++ + +# GUI Applications + +## Etcher + +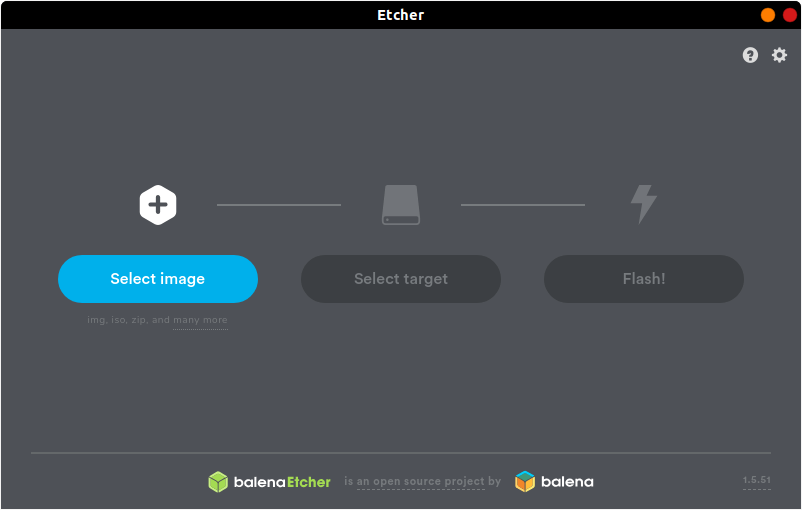 + +[Etcher](https://www.balena.io/etcher/) is a quick and easy way to burn +ISO images to CDs and USB devices. There are two different ways you can +install this program. First, you can navigate to the [official +website](https://www.balena.io/etcher/) and download the AppImage file, +which can run without installation. + +However, AppImage files are not executable by default, so you\'ll either +need to right-click to open the properties of the file and click the +\"Allow executing file as program\" box in the Permissions tab or use +the following command: + +```sh +chmod u+x FILE_NAME +``` + +If you don\'t like AppImage files or just prefer repositories, you can +use the following commands to add the author\'s repository and install +it through the command-line only. + +First, you\'ll have to echo the repo and write it to a list file: + +```sh +echo "deb https://deb.etcher.io stable etcher" | sudo tee /etc/apt/sources.list.d/balena-etcher.list +``` + +Next, add the application keys to Ubuntu\'s keyring: + +```sh +sudo apt-key adv --keyserver keyserver.ubuntu.com --recv-keys 379CE192D401AB61 +``` + +Finally, update the repositories and install the app. + +```sh +sudo apt update && sudo apt install balena-etcher-electron +``` + +Using Arch, Manjaro, or another distro using the AUR? Use this command +instead: + +```sh +sudo pacman -S etcher +``` + +## Atom + + + +[Atom](https://atom.io) is the self-proclaimed \"hackable text editor +for the 21st century\". This text editor is made by GitHub, [now owned +by +Microsoft](https://news.microsoft.com/2018/06/04/microsoft-to-acquire-github-for-7-5-billion/), +and has some of the best add-ons available to customize the layout and +abilities of the app. + +First, add the Atom repository to your sources. + +```sh +sudo add-apt-repository ppa:webupd8team/atom +``` + +Next, update your package listings and install atom. + +```sh +sudo apt update && sudo apt install atom +``` + +If you have issues updating your packages with the Atom repository, +you\'ll need to use the snap package described below instead of the +repository. To remove the repository we just added, use this command: + +```sh +sudo add-apt-repository -r ppa:webupd8team/atom +``` + +You can also install Atom as a snap package, but it must be installed +with the `--classic` flag. A [full explanation is +available](https://language-bash.com/blog/how-to-snap-introducing-classic-confinement) +if you\'d like to read more about why you need the classic flag. + +```sh +snap install atom --classic +``` + +Using Arch, Manjaro, or another distro using the AUR? Use this command +instead: + +```sh +sudo pacman -S atom +``` + +## Visual Studio Code + + + +[Visual Studio Code](https://code.visualstudio.com) is yet another +fantastic choice for programming on Linux, especially if you need those +extra add-ons to spice up your late-night coding sessions. The theme +used in the screenshot is +[Mars](https://marketplace.visualstudio.com/items?itemName=EliverLara.mars) +by theme creator [Eliver Lara](https://github.com/EliverLara), who makes +a ton of great themes for VS Code, Atom, and various Linux desktop +environments. + +To install VS Code, you\'ll need to download the `.deb` file +from the official website. Once you\'ve downloaded the file, either +double-click it to install through the Software Center or run the +following command: + +```sh +sudo dpkg -i FILE_NAME.deb +``` + +You can also install VS Code as a snap package, but it must be installed +with the `--classic` flag. A [full explanation is +available](https://language-bash.com/blog/how-to-snap-introducing-classic-confinement) +if you\'d like to read more about why you need the classic flag. + +```sh +snap install code --classic +``` + +Using Arch, Manjaro, or another distro using the AUR? Use these commands +instead: + +```sh +sudo pacman -S yay binutils make gcc pkg-config fakeroot yay -S visual-studio-code-bin +``` + +## GNOME Tweaks + +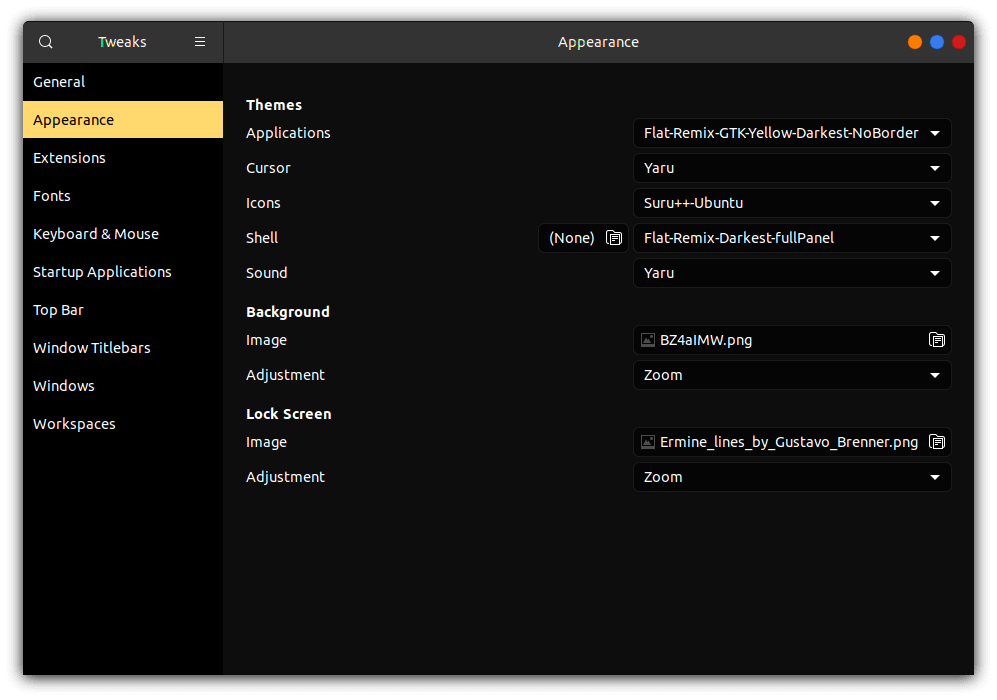 + +[Gnome Tweaks](https://gitlab.gnome.org/GNOME/gnome-tweaks) is the +ultimate tool to use if you want to customize your GNOME desktop +environment. This is how you can switch application themes (GTK), shell +themes, icons, fonts, and more. To install GNOME Tweaks on Ubuntu, you +just need to install the official package. + +```sh +sudo apt install gnome-tweaks +``` + +If you\'ve installed Manjaro or Arch with Gnome, you should have the +tweak tool pre-installed. If you\'re on Fedora, this tool is available +as an official package: + +```sh +sudo dnf install gnome-tweaks +``` + +## Steam + +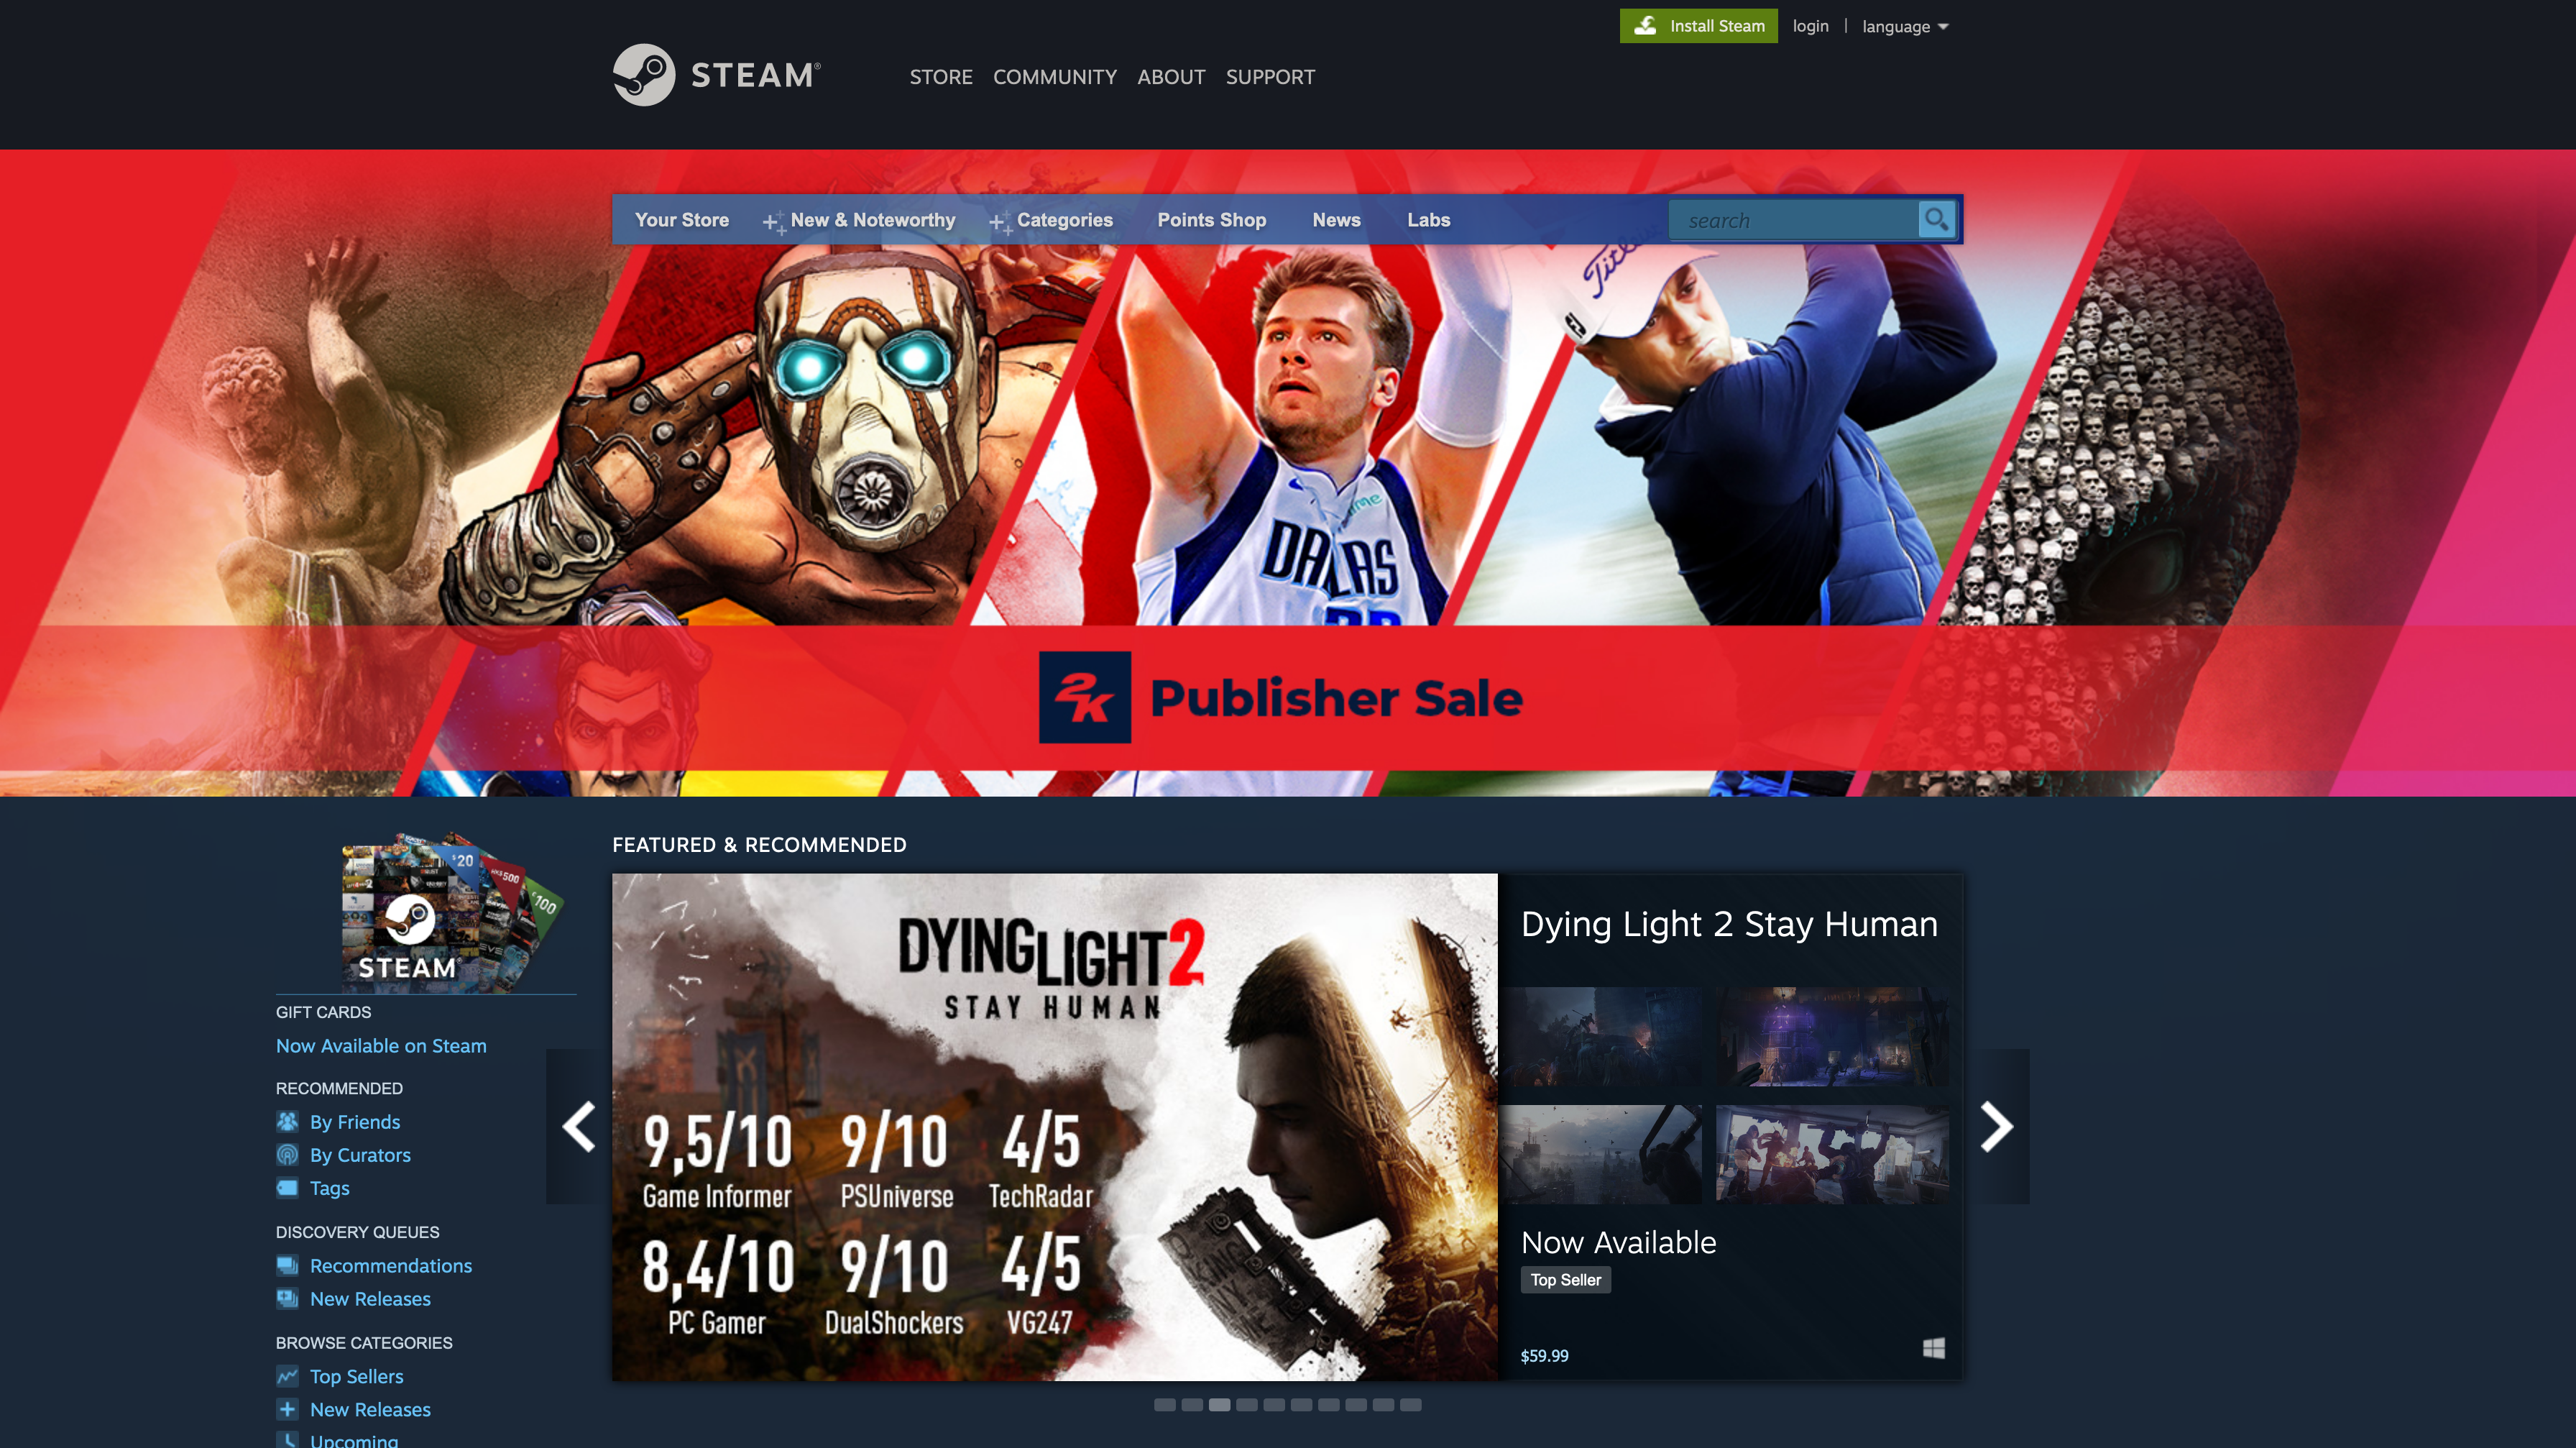 + +[Steam](https://steampowered.com) is one of the most popular gaming +libraries for computers and is one of the main reasons that many people +have been able to switch to Linux in recent years, thanks to Steam +Proton, which makes it easier to play games not officially created for +Linux platforms. + +To install Steam on Ubuntu, you just need to install the official +package. + +```sh +sudo apt install steam-installer +``` + +For Arch-based systems, you\'ll simply need to install the +`steam` package. However, this requires that you enable the +`multilib` source. To do so, use the following command: + +```sh +sudo nano /etc/pacman.conf +``` + +Now, scroll down and uncomment the `multilib` section. + +``` config +# Before: +#[multilib] +#Include = /etc/pacman.d/mirrorlist + +# After: +[multilib] +Include = /etc/pacman.d/mirrorlist +``` + +Finally, install the program: + +```sh +sudo pacman -S steam +``` + +[Problem Launching Steam Games? Click +Here.](./2020-01-26-steam-on-ntfs-drives.html) + +# Command-Line Packages + +## neofetch + +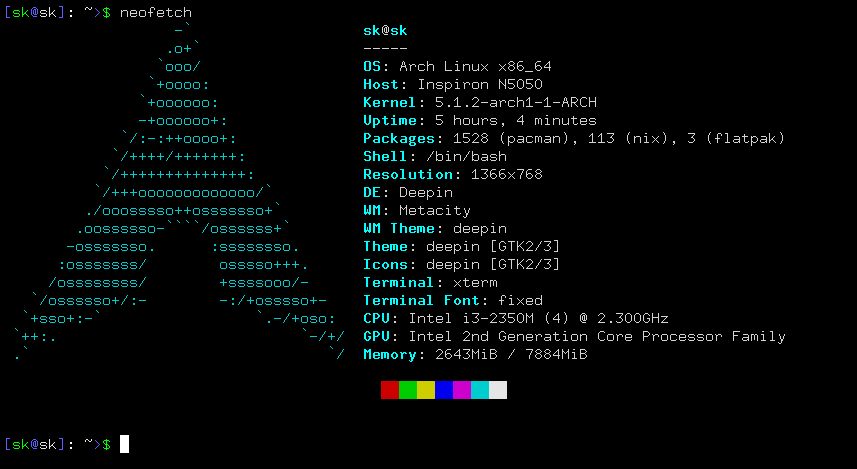 + +[Neofetch](https://github.com/dylanaraps/neofetch) is a customizable +tool used in the command-line to show system information. This is +exceptionally useful if you want to see your system\'s information +quickly without the clutter of some resource-heavy GUI apps. + +This is an official package if you\'re running Ubuntu 17.04 or later, so +simply use the following command: + +```sh +sudo apt install neofetch +``` + +If you\'re running Ubuntu 16.10 or earlier, you\'ll have to use a series +of commands: + +```sh +sudo add-apt-repository ppa:dawidd0811/neofetch; sudo apt update; sudo apt install neofetch +``` + +Using Arch, Manjaro, or another distro using the AUR? Use this command +instead: + +```sh +sudo pacman -S neofetch +``` + +## yt-dlp + + + +[yt-dlp](https://github.com/yt-dlp/yt-dlp) is an extremely handy +command-line tool that allows you to download video or audio files from +various websites, such as YouTube. There are a ton of different options +when running this package, so be sure to run `yt-dlp --help` +first to look through everything you can do (or give up and search for +the best config online). + +While this shouldn\'t be a problem for most users, yt-dlp requires +Python 2.6, 2.7, or 3.2+ to work correctly, so install Python if you +don\'t have it already. You can check to see if you have Python +installed by running: + +```sh +python -V +``` + +To get the youtube-dl package, simply curl the URL and output the +results. + +```sh +sudo curl -L https://github.com/yt-dlp/yt-dlp/releases/latest/download/yt-dlp -o /usr/local/bin/yt-dlp +``` + +Finally, make the file executable so that it can be run from the +command-line. + +```sh +sudo chmod a+rx /usr/local/bin/yt-dlp +``` |