
diff options
Diffstat (limited to 'content/blog/2022-03-24-server-hardening.md')
| -rw-r--r-- | content/blog/2022-03-24-server-hardening.md | 353 |
1 files changed, 353 insertions, 0 deletions
diff --git a/content/blog/2022-03-24-server-hardening.md b/content/blog/2022-03-24-server-hardening.md new file mode 100644 index 0000000..ffe684d --- /dev/null +++ b/content/blog/2022-03-24-server-hardening.md @@ -0,0 +1,353 @@ ++++ +date = 2022-03-24 +title = "Hardening a Public-Facing Home Server" +description = "" +draft = false ++++ + +# Post Updates + +> After reviewing this post today (2022-10-04), I noticed quite a few +> gaps in my write-up and wanted to add a few things, even though this +> blog is really just a retrospective and knowledge dump for myself. I +> left things intact and simply crossed them out (~~like this~~) for +> posterity. + +# Planning Data Flows & Security + +## My Personal Data Flow + +``` txt + ┌───────┐ ┌─────────────────┐ + ┌──► VLAN1 ├───► Private Devices │ + │ └───────┘ └─────────────────┘ +┌──────────┐ ┌────────┐ ┌──────────┐ ┌────────┐ │ +│ Internet ├───► Router ├───► Firewall ├───► Switch ├──┤ +└──────────┘ └────────┘ └──────────┘ └────────┘ │ + │ ┌───────┐ ┌───────────────┐ + └──► VLAN2 ├───► Public Server │ + └───────┘ └───────────────┘ +``` + +## Thought Process + +To serve content from your home server and harden your security posture, +you have to think about the transport of data from `server` +to `client`. + +Let\'s start with the actual server itself. Think about the following: + +- Do I have a firewall enabled? Do I need to update this to allow new + ports or IPs? +- Do I have an IPS/IDS that may prevent outside traffic? +- Do I have any other security software installed? +- Are the services hosted inside Docker containers, behind a reverse + proxy, or virtualized? If so, are they configured to allow outside + traffic? + +Once the data leaves the server, where does it go? In my case, it goes +to a managed switch. In this case, I asked the following: + +- What configurations is the switch using? +- Am I using VLANs? + - Yes, I am using 802.1Q VLANs. +- Are the VLANs configured properly? + - Yes, as shown in the Switch section below, I have a separate + VLAN to allow outside traffic to and from the server alone. No + other devices, except for a service port, and in that VLAN. + +At this point, the data has been processed through the switch. Where +does it go next? In my case, it\'s pretty simple: it goes to the +router/modem device. + +- Does my ISP block any ports that I need? + - This is an important step that a lot of people run into when + self-hosting at home. Use an online port-checker tool for your + IP or call your ISP if you think ports are blocked. +- Is there a router firewall? + - Yes, I checked that it\'s configured to allow the ports I need + to run my services publicly. Common web servers and reverse + proxies require ports 80 and 443, but other services like media + servers or games can require unique ports, so be sure to check + the documentation for your service(s). +- Are there any other settings affecting inbound/outbound traffic? + - Schedules or access blocks + - Static Routing + - QoS + - Port Forwarding + - DMZ Hosting + - Remote Management (this can sometimes mess with services that + also require the use of ports 80 and 443) + +Once the data leaves my router, it goes to the upstream ISP and can be +accessed publicly. + +### Server + ++The services I run on my server are installed straight into the OS, +without any use of Docker or VMs, so I don\'t need any extra application +configuration to make them accessible to the outside world.+ + +As of 2022-10-04, the paragraph above is no longer true as I now run a +reverse proxy with Nginx and host many services inside Docker. However, +it doesn\'t change anything regarding this post as I still just need to +open ports 80 & 443 and create the necessary website configuration +files. + +When creating new services - either installed directly on bare metal or +within something like Docker - I ensure that I read through the +documentation thoroughly to understand a few key things: - What network +activities should this app perform (if any)? Using which ports and +protocols? - Does this app require any commands/services to be run as +`root`? - Does this app log errors, authentication +failures/successes, or anything else that would be useful for an +investigation? + +For extra security, I use limit all incoming connections to SSH +connections through my server firewall (`ufw`) and disable +common SSH settings. After all of that, I use `fail2ban` as a +preventative measure against brute-force login attempts. + +As another piece of security, you can randomize your SSH port to ensure +that random scanners or attackers can\'t easily try to force their way +into your network. For example, you can edit the port rules in your +server to block all connection requests to port `22` but +forward all remote connections from port `12345` to your +server\'s port `22`. Then you just need to SSH to your +network via your randomized port. + +## `ufw` + +To see how to configure `ufw`, see my other post: [Secure +Your Network with the Uncomplicated +Firewall](../secure-your-network-with-the-uncomplicated-firewall/). + +The general notion with an on-device firewall is that you want to deny +all incoming connections by default and then selectively open certain +ports for services or users that you know need access. + +If you know that you will only be logging into this server from a +certain set or list of IPs, you can always set the firewall to only +allow connections to port 22 from those IPs. + +For a quick start to only allow SSH connections to the server, use this: + +```sh +sudo ufw default deny incoming +sudo ufw default allow outgoing +sudo ufw allow 22 +sudo ufw enable +``` + + + +## `ssh` + +1. Using SSH Keys + + First, make sure you have an SSH keypair generated on the device(s) + that you\'ll be using to log in to the server. If you don\'t have an + SSH key, run this command: + + ```sh + ssh-keygen + ``` + + Now that we have an SSH key, copy it to the server with the + following command, which will ask for the user\'s password before + accepting the key: + + ```sh + ssh-copy-id my_user@my_server + ``` + + If you have multiple keys, you\'ll need to specify which to use. + After it\'s complete, `ssh` back into the server as that + user and make sure it doesn\'t ask for a password. + +2. Disable Password & Root Authentication + + Now that we can access the server without a password, we will + disable password authentication and disable anyone from using + `ssh` to login as `root`. + + To do this, open the `sshd_config` file: + + ```sh + sudo nano /etc/ssh/sshd_config + ``` + + You\'ll need to update the parameters to the values below. If one of + these rules is commented-out or doesn\'t exist, create the rule at + the bottom of the file. + + ``` config + PermitRootLogin no + PasswordAuthentication no + PubkeyAuthentication yes + ``` + + Finally, restart the `ssh` service: + + ```sh + sudo systemctl restart sshd.service + ``` + + To test that everything\'s working so far, open ANOTHER terminal and + try logging in as `root` over SSH. It is very important + that you keep your current SSH session open and test with an + additional session, or you will lock yourself out at some point and + will need to use a recovery method (e.g., hooking monitor up to home + server) to get yourself back in. + +3. Enable MFA for `ssh` + + This part is optional, but I highly recommend it. So far, we\'ve + ensured that no one can log into our user on the server without + using our secret key, and we\'ve ensured that no one can log in + remotely as `root`. Next, you can enable MFA + authentication for `ssh` connections. + + This process involves editing a couple files and installing an MFA + package, so I will not include all the details in this post. To see + how to configure MFA for `ssh`, see my other post: + [Enabling MFA for SSH](../enable-totp-mfa-for-ssh/). + + 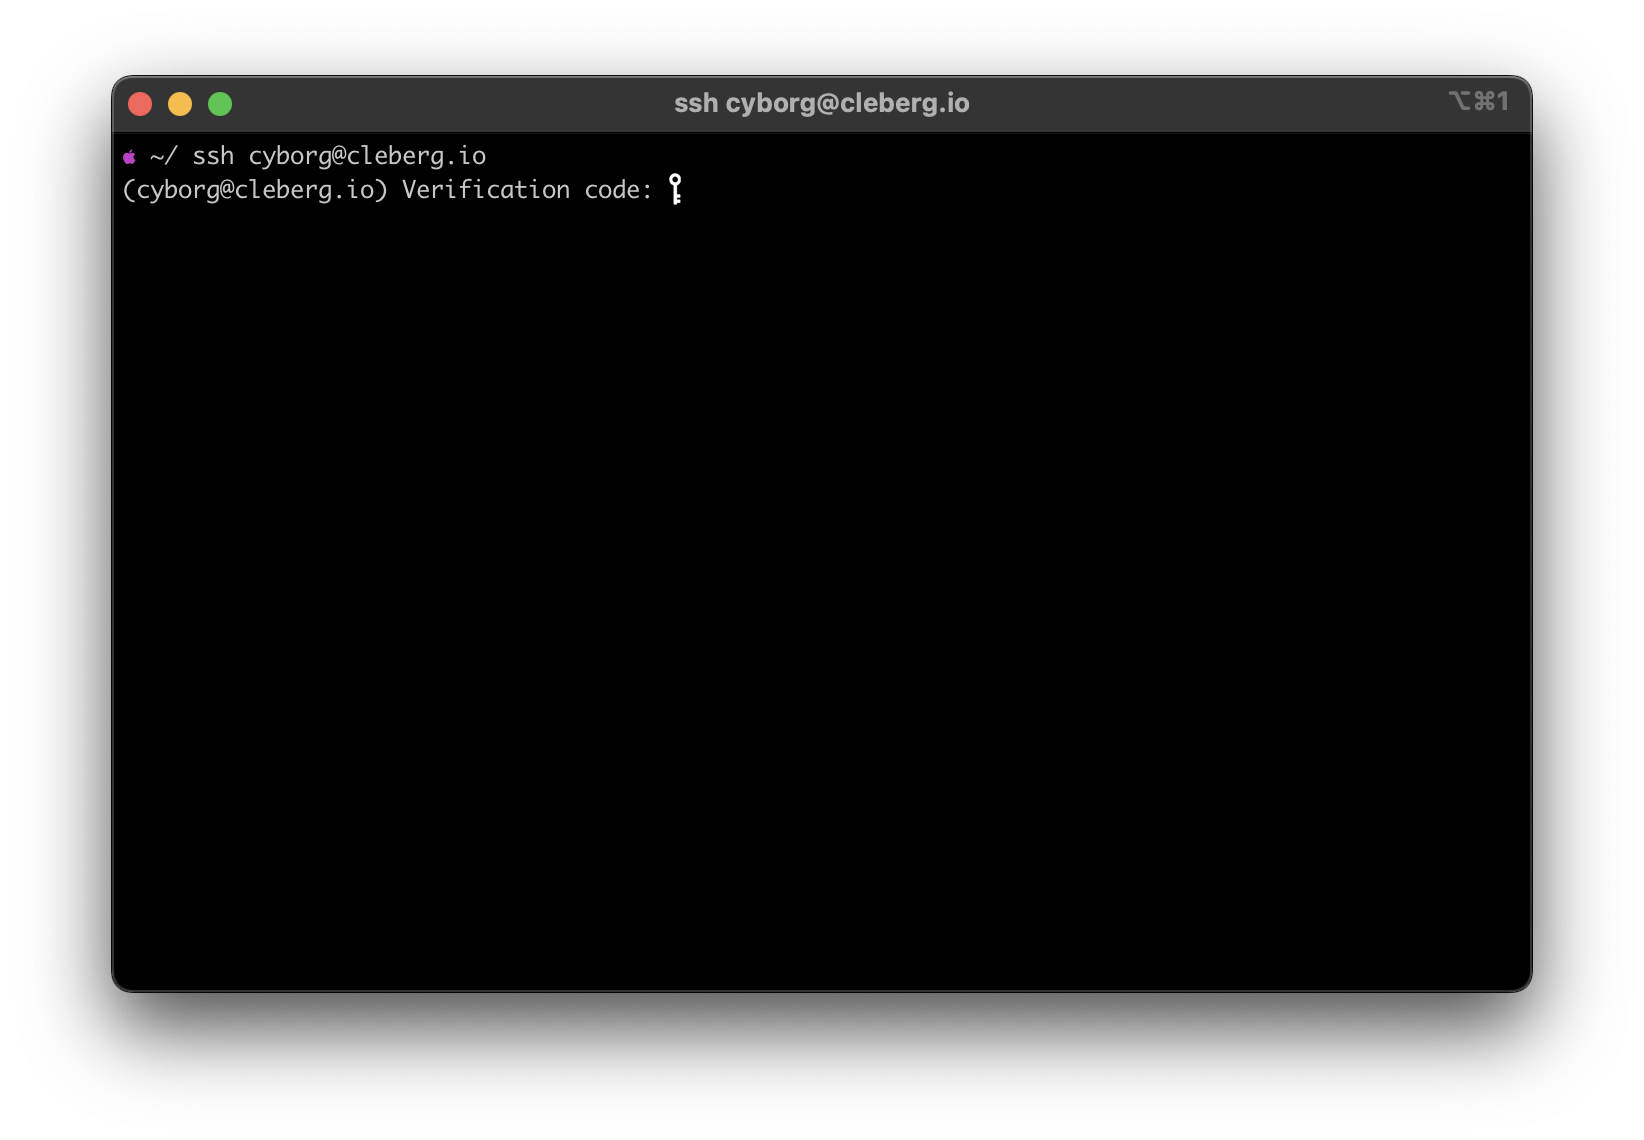 + +## `fail2ban` + +I haven\'t written a post on how I use `fail2ban`, but it\'s +quite simple. I use the default `sshd` jail, but you can +always create new jails for respective applications or ports. For +example, if you use Nginx as your web server, you can use the +`nginx-http-auth` jail. + +In order to get it up and running, use the following commands: + +```sh +sudo apt install fail2ban +sudo fail2ban-client start sshd +sudo fail2ban-client status sshd +``` + +This should be used as a last-resort defense and shouldn\'t be a +replacement for the security measures mentioned above. + +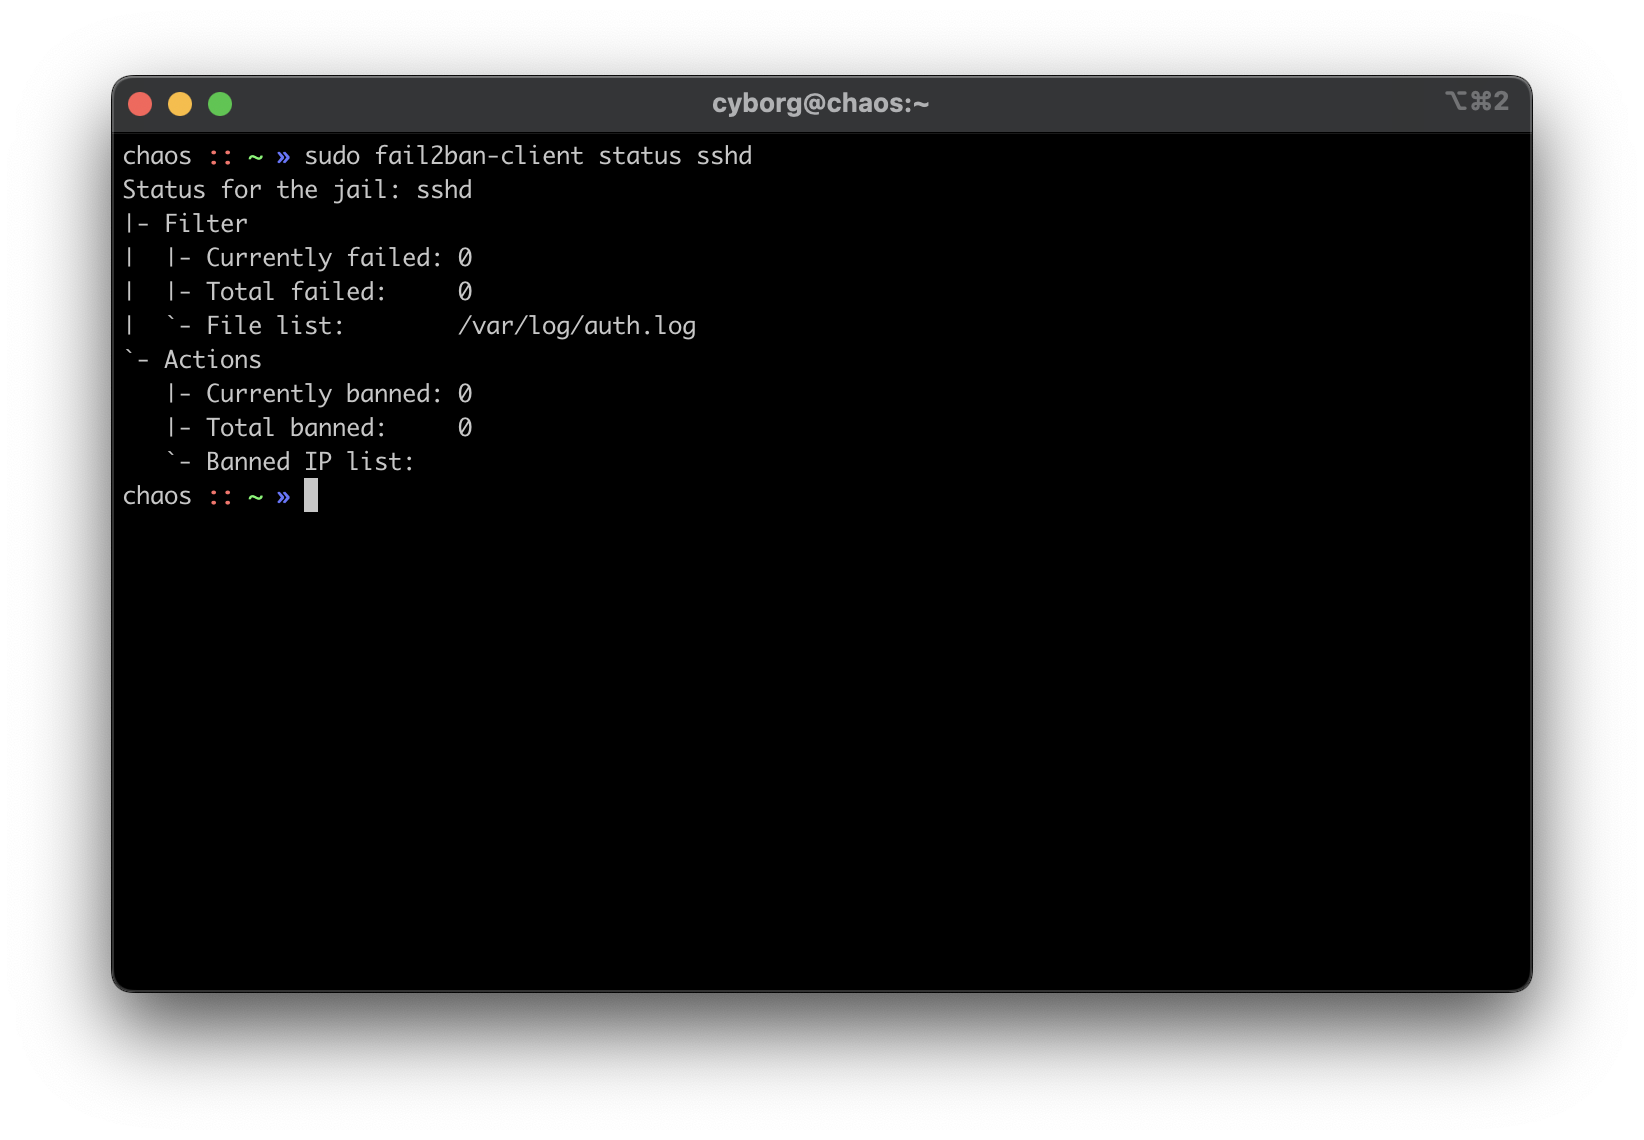 + +# Switch + +Between the router and any local devices is my managed switch, which is +used to create VLANs. The example below shows how I would isolate the +VLANs if I were starting to host a single service at home. + +## 802.1Q VLAN Configuration + +In this configuration, port 8 is the public server that needs to be +accessed from the outside. Port 23 is my \'dedicated service port\' for +this server. In order to SSH to this server, I need to plug my laptop +into port 23 or else I cannot SSH. Otherwise, I\'d need to hook up a +monitor and keyboard directly to the server to manage it. + + VLAN ID VLAN Name Member Ports Tagged Ports Untagged Ports + --------- ----------- -------------- -------------- ---------------- + 1 Default 1-24 1-24 + 2 Server 1,8,23 1,8,23 + +## 802.1Q VLAN PVID Setting + +Once the VLAN is created, I simply add the `VLAN ID` of +`2` as the `PVID` for any related ports (in this +case, see that ports `8` and `23` have a PVID of +`2`). + + Port PVID + ------ ------ + 1 1 + 2 1 + 3 1 + 4 1 + 5 1 + 6 1 + 7 1 + 8 2 + 9 1 + 10 1 + 11 1 + 12 1 + 13 1 + 14 1 + 15 1 + 16 1 + 17 1 + 18 1 + 19 1 + 20 1 + 21 1 + 22 1 + 23 2 + 24 1 + +# Router + +On my router, the configuration was as easy as opening the firewall +settings and unblocking the ports I needed for my services (e.g., +HTTP/S, Plex, SSH, MySQL, etc.). + ++Since I\'m relying on an ISP-provided modem/router combo for now (not +by choice), I do not use any other advanced settings on my router that +would inhibit any valid traffic to these services.+ + +The paragraph above regarding the ISP-owned router is no longer accurate +as I now use the Ubiquiti Unifi Dream Machine Pro as my router. Within +this router, I enabled port forwarding/firewall rules, segregate the +network based on the device, and enable traffic restrictions (e.g., +silently drop traffic from certain countries and threat categories). + +If you have the option with your ISP, I recommend using a personal +router with software that you are familiar with so that you can explore +all the options available to you. + +# Physical Security + +One large piece of self-hosting that people generally don\'t discuss +online is physical security. However, physical security is very +important for everyone who hosts a server like this. Exactly *how* +important it is depends on the server use/purpose. + +If you self-host customer applications that hold protected data (HIPAA, +GDPR, COPPA, etc.), then physical security is extremely important and +cannot be ignored. If you simply host a blog and some hobby sites, then +it\'s a relatively minor consideration, but one you still need to think +about. + +## Location + +The first consideration is quite simple: location. - Is the server +within a property you own or housed on someone else\'s property? - Is it +nearby (in your house, in your work office, in your neighbor\'s garage, +in a storage unit, etc.)? - Do you have 24/7 access to the server? - Are +there climate considerations, such as humidity, fires, tornadoes, +monsoons? - Do you have emergency equipment nearby in case of emergency? + +## Hardware Ownership + +Secondly, consider the hardware itself: - Do you own the server in its +entirety? - Are any other users able to access the server, even if your +data/space is segregated? - If you\'re utilizing a third party, do they +have any documentation to show responsibility? This could be a SOC 1/2/3 +report, ISO compliance report, internal security/safety documentation. + +## Physical Controls + +Regardless of who owns the hardware, ensure that there are adequate +safeguards in place, if necessary. These usually don\'t apply to small +home servers and are usually covered already if you\'re utilizing a +third party. + +These can include: - Server bezel locks - Server room locks - physical, +digital, or biometric authentication - Security cameras - Raised +floors/lowered ceilings with proper guards/gates in-place within the +floors or ceilings - Security personnel - Log sheets and/or guest badges |