
diff options
| author | Christian Cleberg <hello@cleberg.net> | 2023-12-02 23:27:35 -0600 |
|---|---|---|
| committer | Christian Cleberg <hello@cleberg.net> | 2023-12-02 23:27:35 -0600 |
| commit | 3d4da5ac6000a4871c5caa80d1e61f2782da3069 (patch) | |
| tree | 29f36b50823d22f4c7df0a3db3ede83192ae649f /blog/2021-02-19-macos.org | |
| parent | dcf0186e16b6ac8f0e00a3aeb9734421ce548177 (diff) | |
| download | cleberg.net-3d4da5ac6000a4871c5caa80d1e61f2782da3069.tar.gz cleberg.net-3d4da5ac6000a4871c5caa80d1e61f2782da3069.tar.bz2 cleberg.net-3d4da5ac6000a4871c5caa80d1e61f2782da3069.zip | |
feat: finish converting md to org
Diffstat (limited to 'blog/2021-02-19-macos.org')
| -rw-r--r-- | blog/2021-02-19-macos.org | 324 |
1 files changed, 172 insertions, 152 deletions
diff --git a/blog/2021-02-19-macos.org b/blog/2021-02-19-macos.org index 33353b7..efbe257 100644 --- a/blog/2021-02-19-macos.org +++ b/blog/2021-02-19-macos.org @@ -1,205 +1,225 @@ -+++ -date = 2021-02-19 -title = "macOS: Testing Out A New OS" -description = "My personal experience with macOS, from the perspective of a Linux junkie." -draft = false -+++ - -## Diving into macOS - -After spending nearly 15 years working with Windows and 8 years on Linux, I -have experienced macOS for the first time. -By chance, my spouse happened to buy a new MacBook and gifted me their 2013 -model. -Of course, I still consider my Linux desktop to be my daily driver and keep -Windows around for gaming needs, but over the past week I've found myself using -the MacBook more and more for things that don't require gaming specs or advanced -dev tools. - -## Initial Thoughts - -Before I move on to the technical aspects of my set-up, I want to take some time -and express my thoughts on the overall OS. - -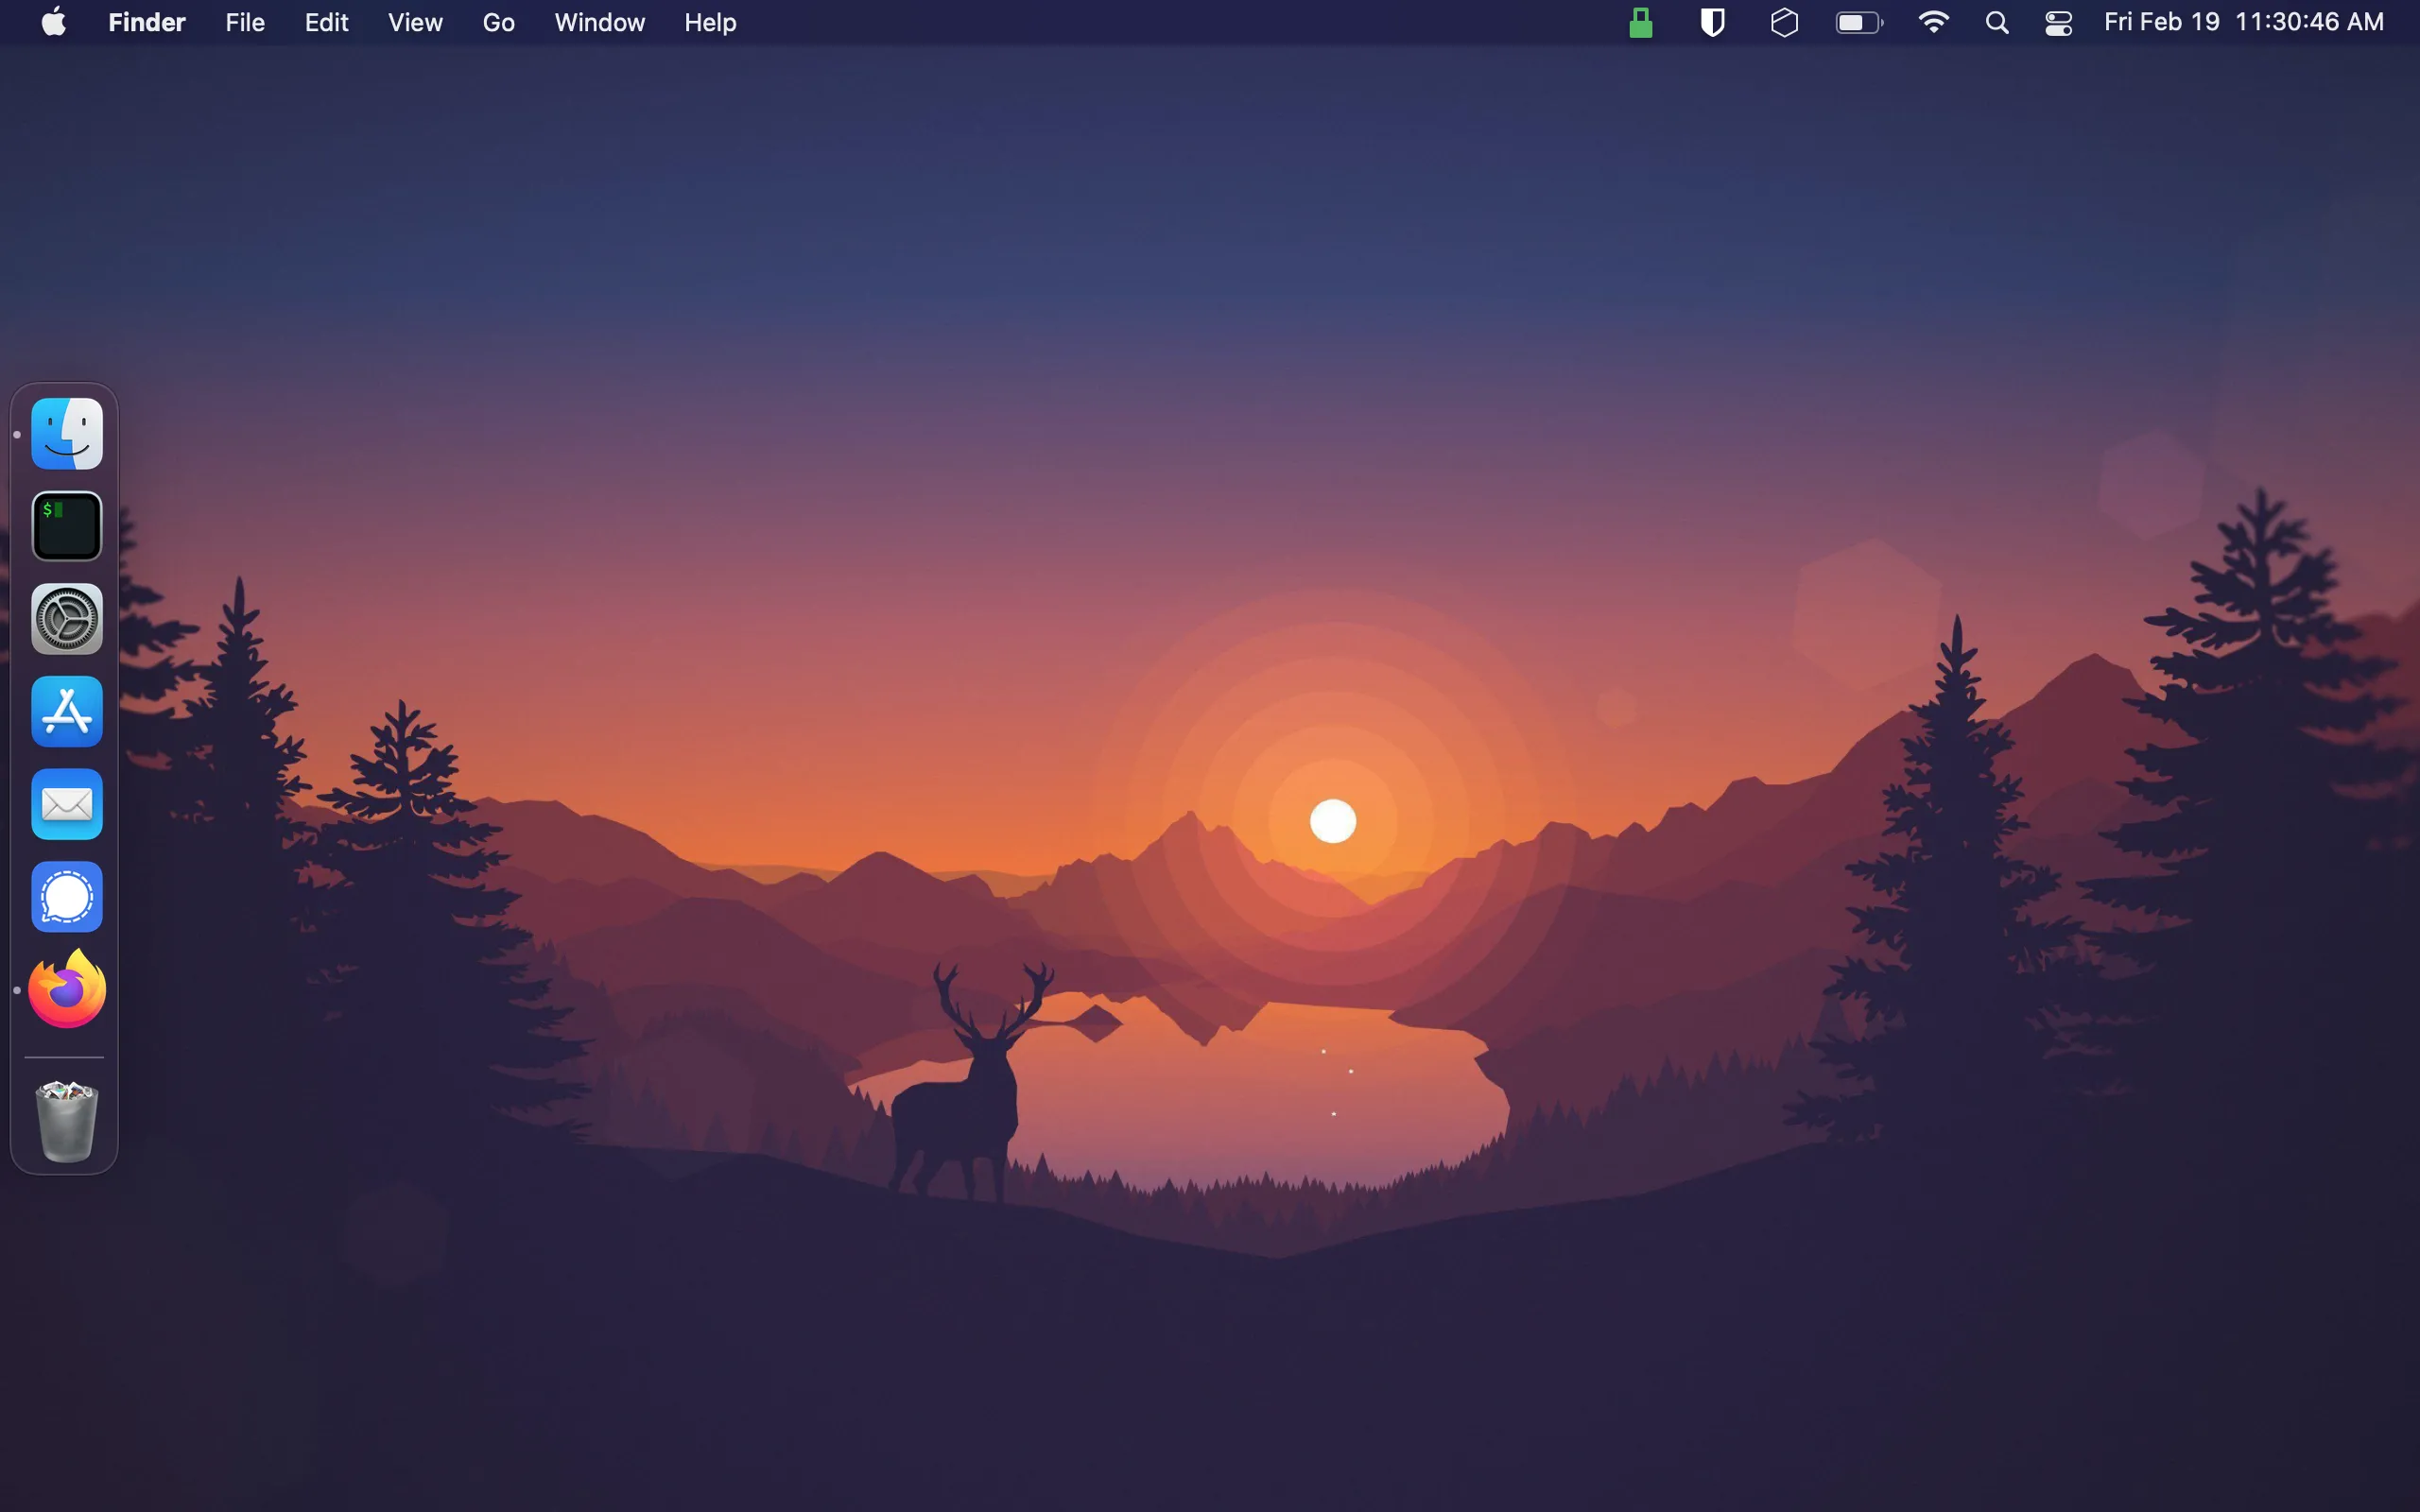 - -As expected, the initial computer setup is a breeze with Mac's guided GUI -installer. - -The desktop itself reminds me of GNOME more than anything else I've seen: even -Pantheon from [ElementaryOS](https://elementary.io/), which people commonly -refer to as the closest Linux distro to macOS. The desktop toolbar is great and -far surpasses the utility of the GNOME toolbar due to the fact that the -extensions and icons _actually work_. I launch macOS and immediately see my -shortcuts for Tresorit, Bitwarden, and Mullvad pop up as the computer loads. - -Even further, the app dock is very useful and will be yet another familiarity -for GNOME users. I know many people like panels instead of docks, but I've -always found docks to have a more pleasing UI. However, I had to disable the -"Show recent applications in Dock" preference; I can't stand items taking up -precious screen space if I'm not currently using them. On that same note, it's -taking me some time to get use to the fact that I have to manually quit an app -or else it will still stay open/active in the dock, even if I've closed out all -windows for that app (e.g. Firefox). - -Overall, I'm having a lot of fun and for users who spend a large majority of -their time performing basic tasks like web browsing, writing, watching media, -etc., macOS is a fantastic option. +#+title: macOS: Testing Out A New OS +#+date: 2021-02-19 + +** Diving into macOS +:PROPERTIES: +:CUSTOM_ID: diving-into-macos +:END: +After spending nearly 15 years working with Windows and 8 years on +Linux, I have experienced macOS for the first time. By chance, my spouse +happened to buy a new MacBook and gifted me their 2013 model. Of course, +I still consider my Linux desktop to be my daily driver and keep Windows +around for gaming needs, but over the past week I've found myself using +the MacBook more and more for things that don't require gaming specs or +advanced dev tools. + +** Initial Thoughts +:PROPERTIES: +:CUSTOM_ID: initial-thoughts +:END: +Before I move on to the technical aspects of my set-up, I want to take +some time and express my thoughts on the overall OS. + +#+caption: macOS Desktop +[[https://img.cleberg.net/blog/20210219-macos-testing-out-a-new-os/macos-desktop.png]] + +As expected, the initial computer setup is a breeze with Mac's guided +GUI installer. + +The desktop itself reminds me of GNOME more than anything else I've +seen: even Pantheon from [[https://elementary.io/][ElementaryOS]], which +people commonly refer to as the closest Linux distro to macOS. The +desktop toolbar is great and far surpasses the utility of the GNOME +toolbar due to the fact that the extensions and icons /actually work/. I +launch macOS and immediately see my shortcuts for Tresorit, Bitwarden, +and Mullvad pop up as the computer loads. + +Even further, the app dock is very useful and will be yet another +familiarity for GNOME users. I know many people like panels instead of +docks, but I've always found docks to have a more pleasing UI. However, +I had to disable the "Show recent applications in Dock" preference; I +can't stand items taking up precious screen space if I'm not currently +using them. On that same note, it's taking me some time to get use to +the fact that I have to manually quit an app or else it will still stay +open/active in the dock, even if I've closed out all windows for that +app (e.g. Firefox). + +Overall, I'm having a lot of fun and for users who spend a large +majority of their time performing basic tasks like web browsing, +writing, watching media, etc., macOS is a fantastic option. The rest of this post explains the technicalities of how I set up my CLI -environment to make me feel more at-home, similar to the environments I set up -on Fedora, Ubuntu, etc. - -## Making it Feel Like Home - -If you're someone who uses Linux primarily, no doubt your first thought when -booting macOS will be the same as mine was: "Where is the terminal and how do I -set up my favorite utilities?" - -Luckily, macOS hasn't completely hidden away the development tools from the -average user. You can easily find the Terminal app in the Launchpad area, but -it's probably not what you're used to. I was surprised (and happy) to see that -the default shell is `zsh`, the shell I use on all of my Linux distros. However, -the commands are not the same - even the ones you may think are native to the -shell. Commands like `dir` do not exist, so other native commands like `ls -la` -or `pwd` are more useful here. - -With only a few minutes of installing and tweaking a few packages, I was able to -recreate a terminal environment that I feel very comfortable using. See the -image below for a preview of the iTerm2 app with a split view between my macOS -desktop shell and an SSH session into my server. - -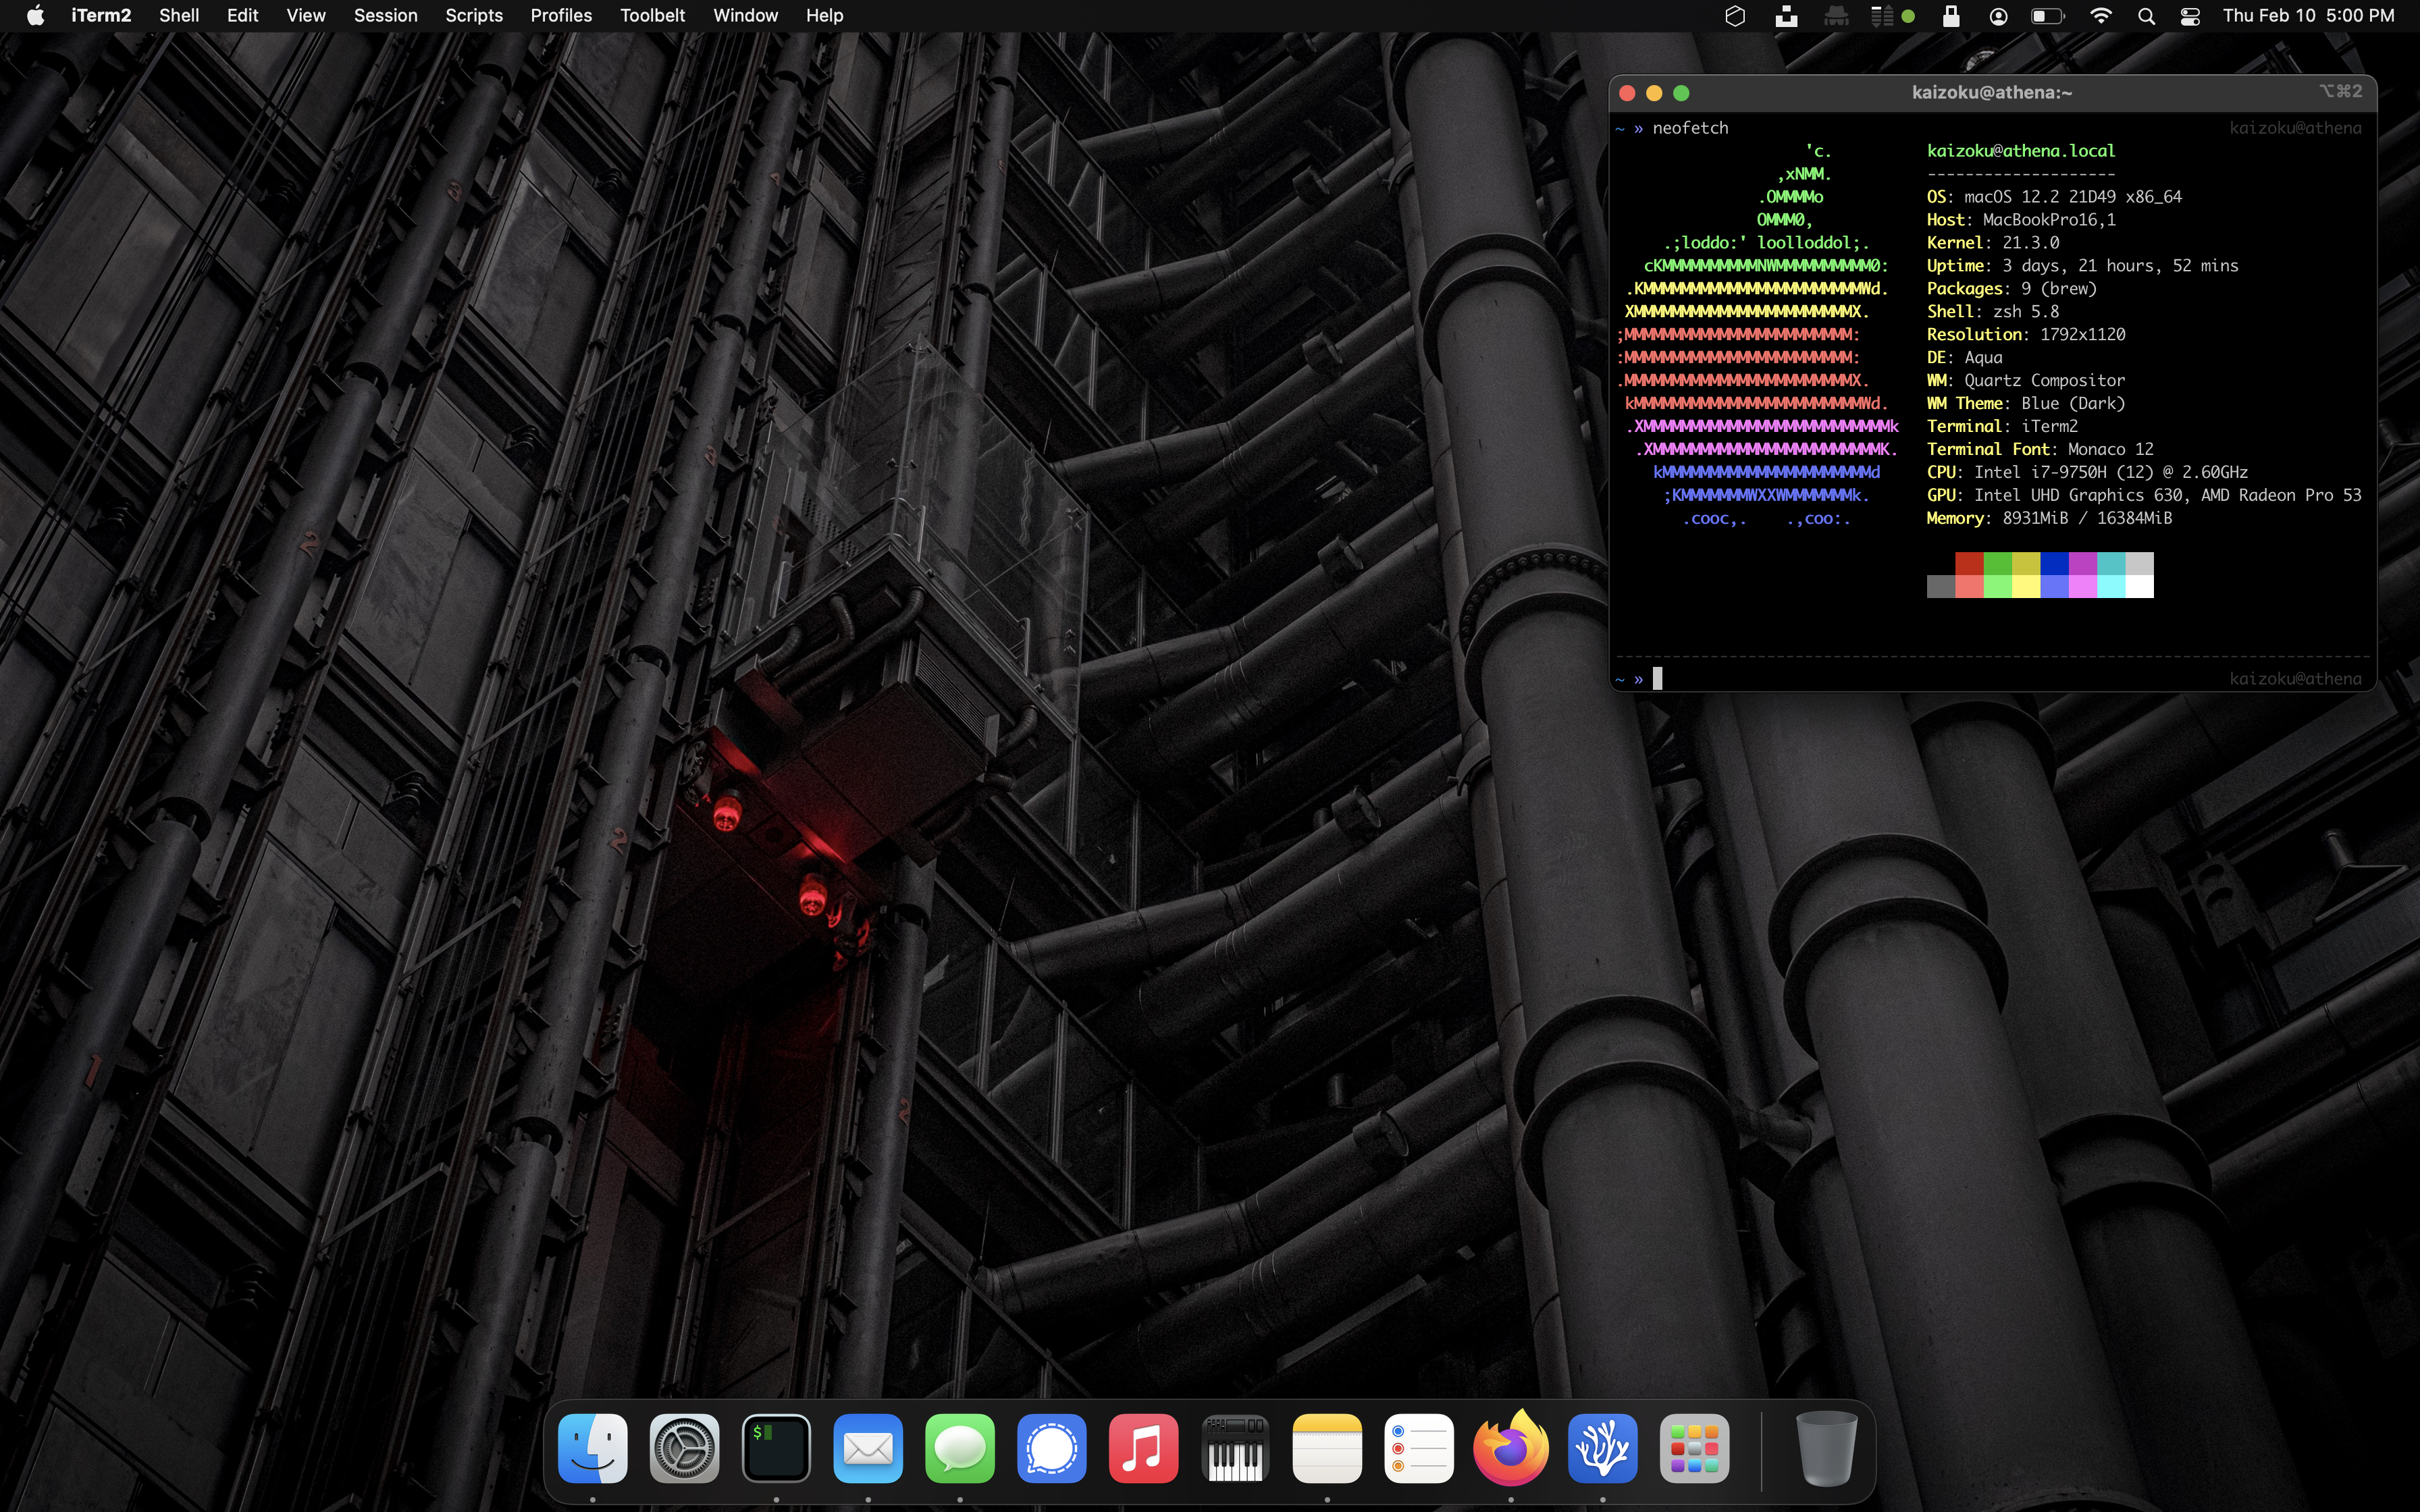 - -## Xcode - -My first step was to search the web for any hints on how to get `zsh` back up to -the state I like, with extensions, themes, etc. My first step was to install the -CLI tools for [Xcode](https://developer.apple.com/xcode/), Apple's suite of +environment to make me feel more at-home, similar to the environments I +set up on Fedora, Ubuntu, etc. + +** Making it Feel Like Home +:PROPERTIES: +:CUSTOM_ID: making-it-feel-like-home +:END: +If you're someone who uses Linux primarily, no doubt your first thought +when booting macOS will be the same as mine was: "Where is the terminal +and how do I set up my favorite utilities?" + +Luckily, macOS hasn't completely hidden away the development tools from +the average user. You can easily find the Terminal app in the Launchpad +area, but it's probably not what you're used to. I was surprised (and +happy) to see that the default shell is =zsh=, the shell I use on all of +my Linux distros. However, the commands are not the same - even the ones +you may think are native to the shell. Commands like =dir= do not exist, +so other native commands like =ls -la= or =pwd= are more useful here. + +With only a few minutes of installing and tweaking a few packages, I was +able to recreate a terminal environment that I feel very comfortable +using. See the image below for a preview of the iTerm2 app with a split +view between my macOS desktop shell and an SSH session into my server. + +#+caption: iTerm2 +[[https://img.cleberg.net/blog/20210219-macos-testing-out-a-new-os/iterm2.png]] + +** Xcode +:PROPERTIES: +:CUSTOM_ID: xcode +:END: +My first step was to search the web for any hints on how to get =zsh= +back up to the state I like, with extensions, themes, etc. My first step +was to install the CLI tools for +[[https://developer.apple.com/xcode/][Xcode]], Apple's suite of development tools. -```sh +#+begin_src sh sudo xcode-select -r -``` +#+end_src -```sh +#+begin_src sh sudo xcode-select --install -``` - -## Homebrew +#+end_src -Next up is to install [Homebrew](https://brew.sh), a nifty package manager for -macOS. +** Homebrew +:PROPERTIES: +:CUSTOM_ID: homebrew +:END: +Next up is to install [[https://brew.sh][Homebrew]], a nifty package +manager for macOS. -```sh +#+begin_src sh /bin/bash -c "$(curl -fsSL https://raw.githubusercontent.com/Homebrew/install/HEAD/install.sh)" -``` +#+end_src I ran into a permission error when installing Homebrew: -```sh +#+begin_src sh Error: Failed to link all completions, docs and manpages: Permission denied @ rb_file_s_symlink - (../../../Homebrew/completions/zsh/_brew, /usr/local/share/zsh/site-functions/_brew) Failed during: /usr/local/bin/brew update --force --quiet -``` +#+end_src -I found that the following permission modification worked like a charm. However, -I noted that some users online discussed the fact that this solution may not -work if your system has multiple users who use Homebrew. +I found that the following permission modification worked like a charm. +However, I noted that some users online discussed the fact that this +solution may not work if your system has multiple users who use +Homebrew. -```sh +#+begin_src sh sudo chown -R $(whoami) $(brew --prefix)/* -``` +#+end_src Next up is to ensure Homebrew is updated and cleaned. -```sh +#+begin_src sh brew update -``` +#+end_src -```sh +#+begin_src sh brew cleanup -``` +#+end_src -## iTerm2 +** iTerm2 +:PROPERTIES: +:CUSTOM_ID: iterm2 +:END: +Now that I've installed the basic utilities for development, I moved +onto installing iTerm2, a much better terminal than the default. -Now that I've installed the basic utilities for development, I moved onto -installing iTerm2, a much better terminal than the default. - -```sh +#+begin_src sh brew install --cask iterm2 -``` +#+end_src -I also used the `Make iTerm2 Default Term` and `Install Shell Integration` -options in the iTerm2 application menu to make sure I don't run into any issues -later on with different terminals. +I also used the =Make iTerm2 Default Term= and +=Install Shell Integration= options in the iTerm2 application menu to +make sure I don't run into any issues later on with different terminals. -We will also install `zsh` so we can use it in iTerm2. +We will also install =zsh= so we can use it in iTerm2. -```sh +#+begin_src sh brew install zsh -``` - -## Oh-My-Zsh +#+end_src -I've shown the great aspects of [Oh My Zsh](https://ohmyz.sh) in other blog -posts, so I'll skip over that speech for now. Simply install it and run an -update. +** Oh-My-Zsh +:PROPERTIES: +:CUSTOM_ID: oh-my-zsh +:END: +I've shown the great aspects of [[https://ohmyz.sh][Oh My Zsh]] in other +blog posts, so I'll skip over that speech for now. Simply install it and +run an update. -```sh +#+begin_src sh sh -c "$(curl -fsSL https://raw.githubusercontent.com/robbyrussell/oh-my-zsh/master/tools/install.sh)" -``` +#+end_src -```sh +#+begin_src sh omz update -``` +#+end_src -Finally, restart the iTerm2 application to ensure all changes go into effect. +Finally, restart the iTerm2 application to ensure all changes go into +effect. -## Oh-My-Zsh Themes +** Oh-My-Zsh Themes +:PROPERTIES: +:CUSTOM_ID: oh-my-zsh-themes +:END: +Let's change the theme of the terminal to make it a little more +friendly. -Let's change the theme of the terminal to make it a little more friendly. - -```sh +#+begin_src sh open ~/.zshrc -``` +#+end_src -The third section of this file should contain a line like the code below. Change -that theme to -[any theme you want](https://github.com/ohmyzsh/ohmyzsh/wiki/Themes), save the -file, and exit. +The third section of this file should contain a line like the code +below. Change that theme to +[[https://github.com/ohmyzsh/ohmyzsh/wiki/Themes][any theme you want]], +save the file, and exit. -```sh +#+begin_src sh ZSH_THEME="af-magic" -``` - -After changing the `.zshrc` file, you'll need to close your terminal and re-open -it to see the changes. -Optionally, just open a new tab if you're using iTerm2, and you'll see the -new shell config. +#+end_src -## Oh-My-Zsh Plugins - -Of course, my customization of `zsh` would not be complete without -[zsh-autosuggestions](https://github.com/zsh-users/zsh-autosuggestions). This -will bring up commands you've run in the past as you type them. For example, if -you've run `ssh user@192.168.1.99` before, the terminal will show this command -as soon as you start typing it (e.g. `zsh u`), and you can hit the right arrow -to autocomplete the command. +After changing the =.zshrc= file, you'll need to close your terminal and +re-open it to see the changes. Optionally, just open a new tab if you're +using iTerm2, and you'll see the new shell config. -```sh +** Oh-My-Zsh Plugins +:PROPERTIES: +:CUSTOM_ID: oh-my-zsh-plugins +:END: +Of course, my customization of =zsh= would not be complete without +[[https://github.com/zsh-users/zsh-autosuggestions][zsh-autosuggestions]]. +This will bring up commands you've run in the past as you type them. For +example, if you've run =ssh user@192.168.1.99= before, the terminal will +show this command as soon as you start typing it (e.g. =zsh u=), and you +can hit the right arrow to autocomplete the command. + +#+begin_src sh git clone https://github.com/zsh-users/zsh-autosuggestions ${ZSH_CUSTOM:-~/.oh-my-zsh/custom}/plugins/zsh-autosuggestions -``` +#+end_src -```sh +#+begin_src sh open ~/.zshrc -``` +#+end_src -```sh +#+begin_src sh # Scroll down the script and edit this line to add zsh-autosuggestions plugins=(git zsh-autosuggestions) -``` +#+end_src -Remember: After changing the `.zshrc` file, you'll need to close your terminal -and re-open it to see the changes. Optionally, just open a new tab if you're -using iTerm2, and you'll see the new shell config. +Remember: After changing the =.zshrc= file, you'll need to close your +terminal and re-open it to see the changes. Optionally, just open a new +tab if you're using iTerm2, and you'll see the new shell config. |