
diff options
| author | Christian Cleberg <hello@cleberg.net> | 2024-04-29 14:18:55 -0500 |
|---|---|---|
| committer | Christian Cleberg <hello@cleberg.net> | 2024-04-29 14:18:55 -0500 |
| commit | fdd80eadcc2f147d0198d94b7b908764778184a2 (patch) | |
| tree | fbec9522ea9aa13e8105efc413d2498c3c5b4cd6 /content/blog/2023-06-23-self-hosting-convos.md | |
| parent | d6c80fdc1dea9ff242a4d3c7d3939d2727a8da56 (diff) | |
| download | cleberg.net-fdd80eadcc2f147d0198d94b7b908764778184a2.tar.gz cleberg.net-fdd80eadcc2f147d0198d94b7b908764778184a2.tar.bz2 cleberg.net-fdd80eadcc2f147d0198d94b7b908764778184a2.zip | |
format line wrapping and fix escaped characters
Diffstat (limited to 'content/blog/2023-06-23-self-hosting-convos.md')
| -rw-r--r-- | content/blog/2023-06-23-self-hosting-convos.md | 94 |
1 files changed, 43 insertions, 51 deletions
diff --git a/content/blog/2023-06-23-self-hosting-convos.md b/content/blog/2023-06-23-self-hosting-convos.md index d93f2c6..6ca90c3 100644 --- a/content/blog/2023-06-23-self-hosting-convos.md +++ b/content/blog/2023-06-23-self-hosting-convos.md @@ -7,36 +7,32 @@ draft = false # Convos -[Convos](https://convos.chat/) is an always-online web client for IRC. -It has a few features that made it attractive to me as a self-hosted -option: - -- Extremely simple Docker Compose installation method. -- Runs in the background and monitors chats even while you\'re not - logged in. -- Neatly organized sidebar for conversation and client settings. -- Ability to connect to different hosts and create profiles for hosts. -- By default, registration is closed to the public. You can enable - public registration on the Settings page or generate invitation - links on the Users page. -- Customization of the client theme, organization name and URL, admin - email, and video service. +[Convos](https://convos.chat/) is an always-online web client for IRC. It has a +few features that made it attractive to me as a self-hosted option: + +- Extremely simple Docker Compose installation method. +- Runs in the background and monitors chats even while you're not logged in. +- Neatly organized sidebar for conversation and client settings. +- Ability to connect to different hosts and create profiles for hosts. +- By default, registration is closed to the public. You can enable public + registration on the Settings page or generate invitation links on the Users + page. +- Customization of the client theme, organization name and URL, admin email, and + video service. # Docker Installation -To install Convos, simply create a directory and a -`docker-compose.yml` file: +To install Convos, simply create a directory and a `docker-compose.yml` file: ```sh mkdir ~/convos && cd ~/convos nano docker-compose.yml ``` -With the `docker-compose.yml` file open, paste the -configuration below into the file. You can customize the host port to be -something unique, such as `21897:3000`. You can also change -the `data` folder to be a docker volume instead, if you -prefer. +With the `docker-compose.yml` file open, paste the configuration below into the +file. You can customize the host port to be something unique, such as +`21897:3000`. You can also change the `data` folder to be a docker volume +instead, if you prefer. ``` config version: '3' @@ -53,29 +49,27 @@ services: restart: always ``` -Save the `docker-compose.yml` file and bring the container -up: +Save the `docker-compose.yml` file and bring the container up: ```sh sudo docker-compose up -d ``` -At this point, Convos is available at `<server_ip>:3000` but -not available to the public. +At this point, Convos is available at `<server_ip>:3000` but not available to +the public. # Nginx Reverse Proxy -If you\'re using Nginx, you can create a configuration file for the -convos application. Start by opening the file: +If you're using Nginx, you can create a configuration file for the convos +application. Start by opening the file: ```sh nano /etc/nginx/sites-available/convos ``` -Within the nginx configuration file, paste the following content and be -sure to update `convos.example.com` to match your domain and -`127.0.0.1:3000` to match the port you opened in the -`docker-compose.yml` file. +Within the nginx configuration file, paste the following content and be sure to +update `convos.example.com` to match your domain and `127.0.0.1:3000` to match +the port you opened in the `docker-compose.yml` file. ``` config # Host and port where convos is running @@ -117,8 +111,8 @@ server { } ``` -Once the file is saved, link it to the `sites-enabled` -directory and restart Nginx. +Once the file is saved, link it to the `sites-enabled` directory and restart +Nginx. ```sh sudo ln -s /etc/nginx/sites-available/convos /etc/nginx/sites-enabled/convos @@ -127,43 +121,41 @@ sudo systemctl restart nginx.service # Screenshots -See the screenshots below for an example of the Convos homepage and an -excerpt of the chat screen. +See the screenshots below for an example of the Convos homepage and an excerpt +of the chat screen. -There are numerous themes to choose from; the theme shown in the images -below is Dracula. +There are numerous themes to choose from; the theme shown in the images below is +Dracula. -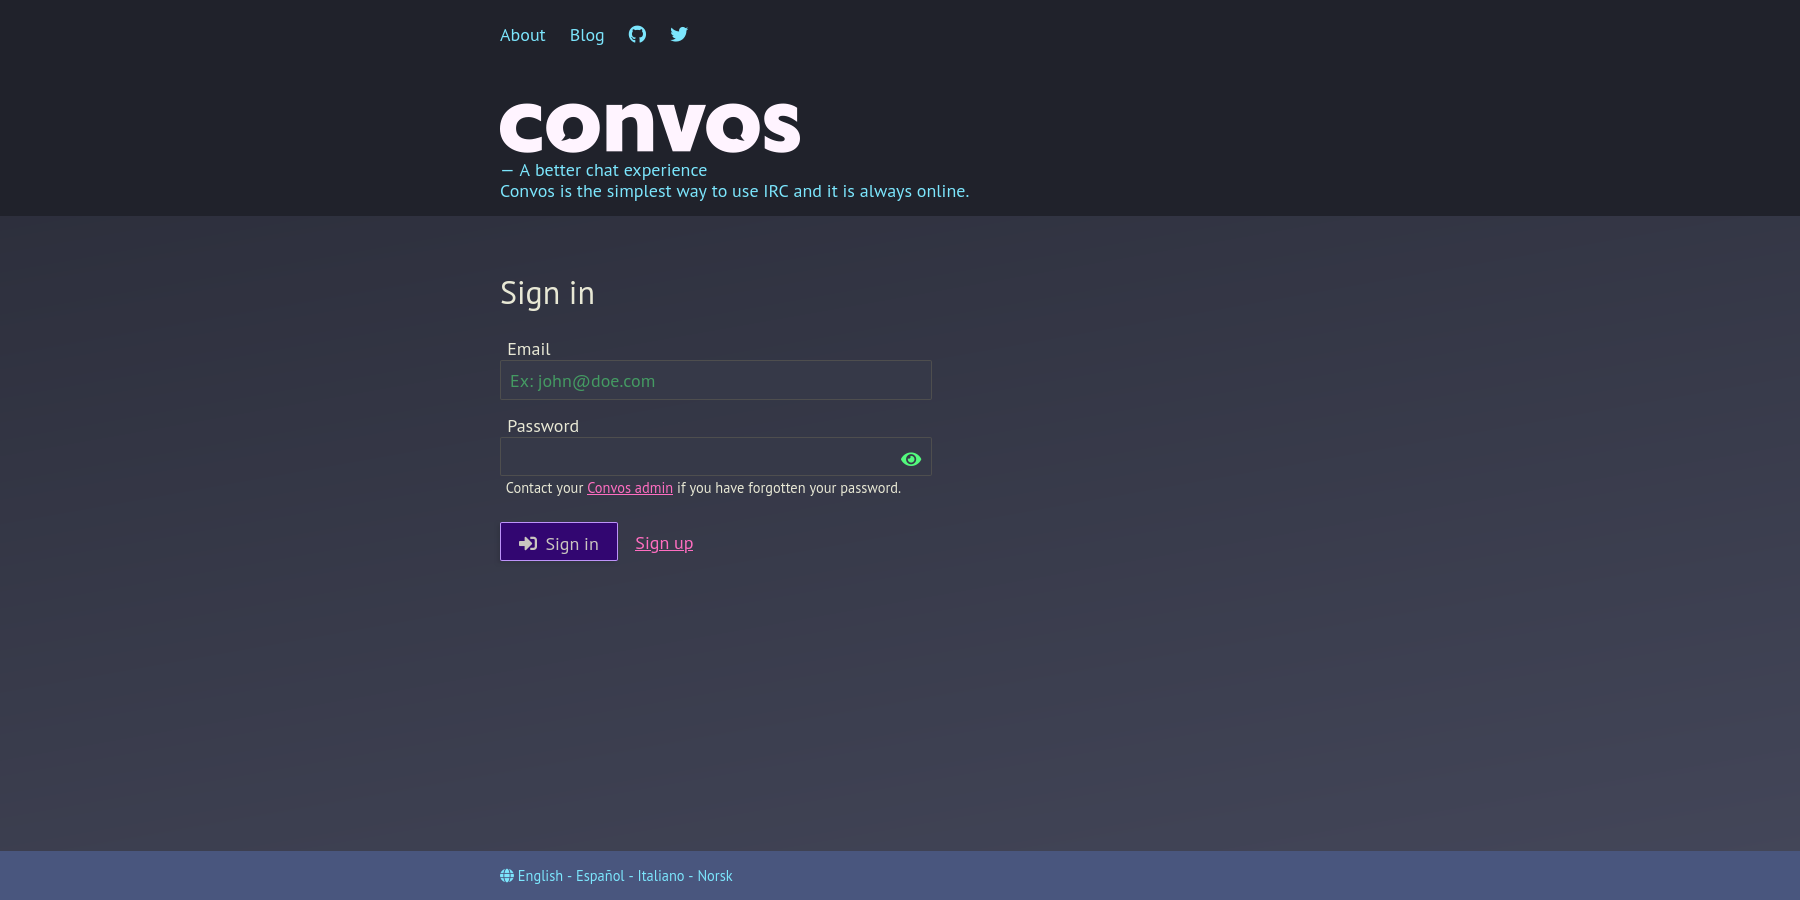 + -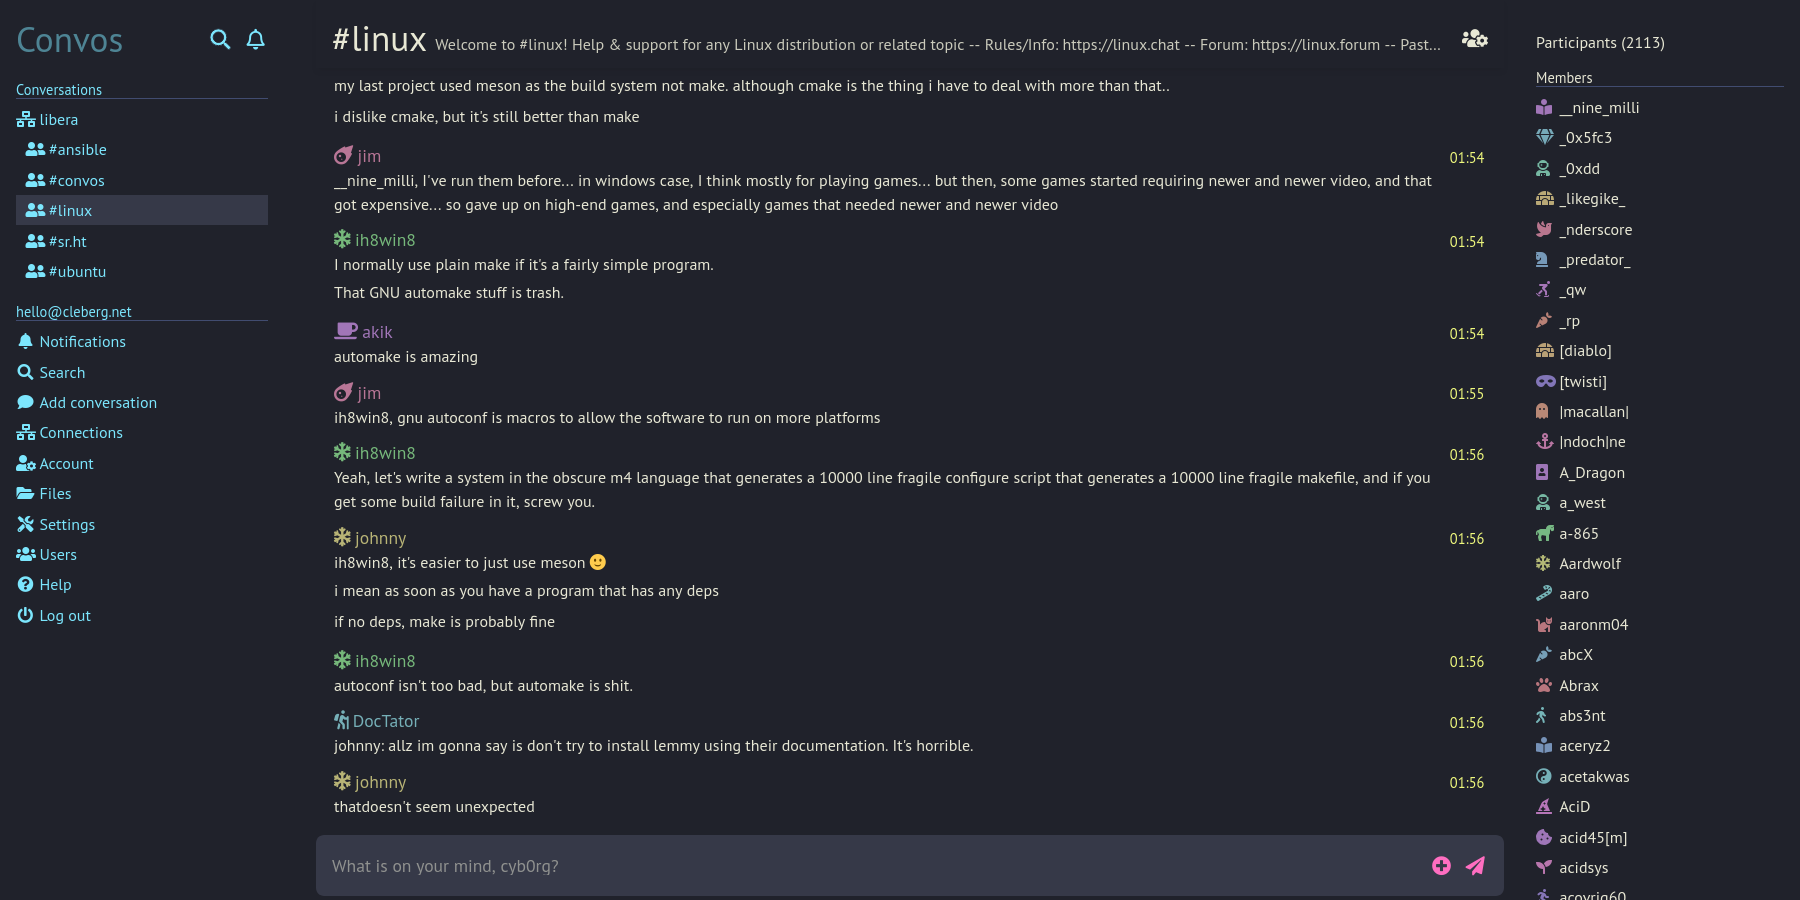 + # Registering a Nickname -Hop into the server channel so that you can message NickServ. In the -case of Convos, the default sever is libera.chat. Simply click the -`libera` conversation at the top of the sidebar to open it. -Once the chat is open, you can claim a nickname by typing: +Hop into the server channel so that you can message NickServ. In the case of +Convos, the default sever is libera.chat. Simply click the `libera` conversation +at the top of the sidebar to open it. Once the chat is open, you can claim a +nickname by typing: ``` txt /nick <nick> ``` -If the nickname is available, and you\'d like to register the nickname -to yourself, you\'ll need to type another command: +If the nickname is available, and you'd like to register the nickname to +yourself, you'll need to type another command: ``` txt /msg NickServ REGISTER <password> <email> ``` -On libera.chat, the server will send a confirmation email with a command -that you must message in IRC to verify registration of the nickname: +On libera.chat, the server will send a confirmation email with a command that +you must message in IRC to verify registration of the nickname: ``` txt /msg NickServ VERIFY REGISTER <nick> <verification_code> ``` -Once entered, the server should confirm registration of the nickname to -the supplied email with the password specified. +Once entered, the server should confirm registration of the nickname to the +supplied email with the password specified. |