
diff options
| author | Christian Cleberg <hello@cleberg.net> | 2024-04-29 14:18:55 -0500 |
|---|---|---|
| committer | Christian Cleberg <hello@cleberg.net> | 2024-04-29 14:18:55 -0500 |
| commit | fdd80eadcc2f147d0198d94b7b908764778184a2 (patch) | |
| tree | fbec9522ea9aa13e8105efc413d2498c3c5b4cd6 /content/blog/2024-01-09-macos-customization.md | |
| parent | d6c80fdc1dea9ff242a4d3c7d3939d2727a8da56 (diff) | |
| download | cleberg.net-fdd80eadcc2f147d0198d94b7b908764778184a2.tar.gz cleberg.net-fdd80eadcc2f147d0198d94b7b908764778184a2.tar.bz2 cleberg.net-fdd80eadcc2f147d0198d94b7b908764778184a2.zip | |
format line wrapping and fix escaped characters
Diffstat (limited to 'content/blog/2024-01-09-macos-customization.md')
| -rw-r--r-- | content/blog/2024-01-09-macos-customization.md | 131 |
1 files changed, 60 insertions, 71 deletions
diff --git a/content/blog/2024-01-09-macos-customization.md b/content/blog/2024-01-09-macos-customization.md index dd4516d..da8f086 100644 --- a/content/blog/2024-01-09-macos-customization.md +++ b/content/blog/2024-01-09-macos-customization.md @@ -5,42 +5,38 @@ description = "" draft = false +++ -I have been using macOS more than Linux lately, so I wrote this post to -describe some simple options to customize macOS beyond the normal -built-in settings menu. +I have been using macOS more than Linux lately, so I wrote this post to describe +some simple options to customize macOS beyond the normal built-in settings menu. -While not all-encompassing, the options below should be a good start for -anyone looking to dive down the rabbit hole. +While not all-encompassing, the options below should be a good start for anyone +looking to dive down the rabbit hole. # Basics ## Package Management To install a lot of software on macOS, you will need -[Homebrew](https://brew.sh/). You can use their installation script to -get started. Simply open the `Terminal` application and paste -the following snippet: +[Homebrew](https://brew.sh/). You can use their installation script to get +started. Simply open the `Terminal` application and paste the following snippet: ```sh /bin/bash -c "$(curl -fsSL https://raw.githubusercontent.com/Homebrew/install/HEAD/install.sh)" ``` -This will allow you to easily install and manage applications and other -software easily through the `brew` command. +This will allow you to easily install and manage applications and other software +easily through the `brew` command. ## Terminal -If you\'re serious about customizing your macOS system, I highly -recommend installing a terminal emulator that you like and if you\'re -not comfortable on the command line yet, start learning. A lot of -customization options require you to edit hidden files, which is easiest -in a terminal. +If you're serious about customizing your macOS system, I highly recommend +installing a terminal emulator that you like and if you're not comfortable on +the command line yet, start learning. A lot of customization options require you +to edit hidden files, which is easiest in a terminal. -There are options like iTerm2, Kitty, Alacritty, Hyper, Warp, or the -built-in Terminal app. +There are options like iTerm2, Kitty, Alacritty, Hyper, Warp, or the built-in +Terminal app. -I use [iTerm2](https://iterm2.com/), which can be installed with -Homebrew: +I use [iTerm2](https://iterm2.com/), which can be installed with Homebrew: ```sh brew install iterm2 @@ -48,39 +44,37 @@ brew install iterm2 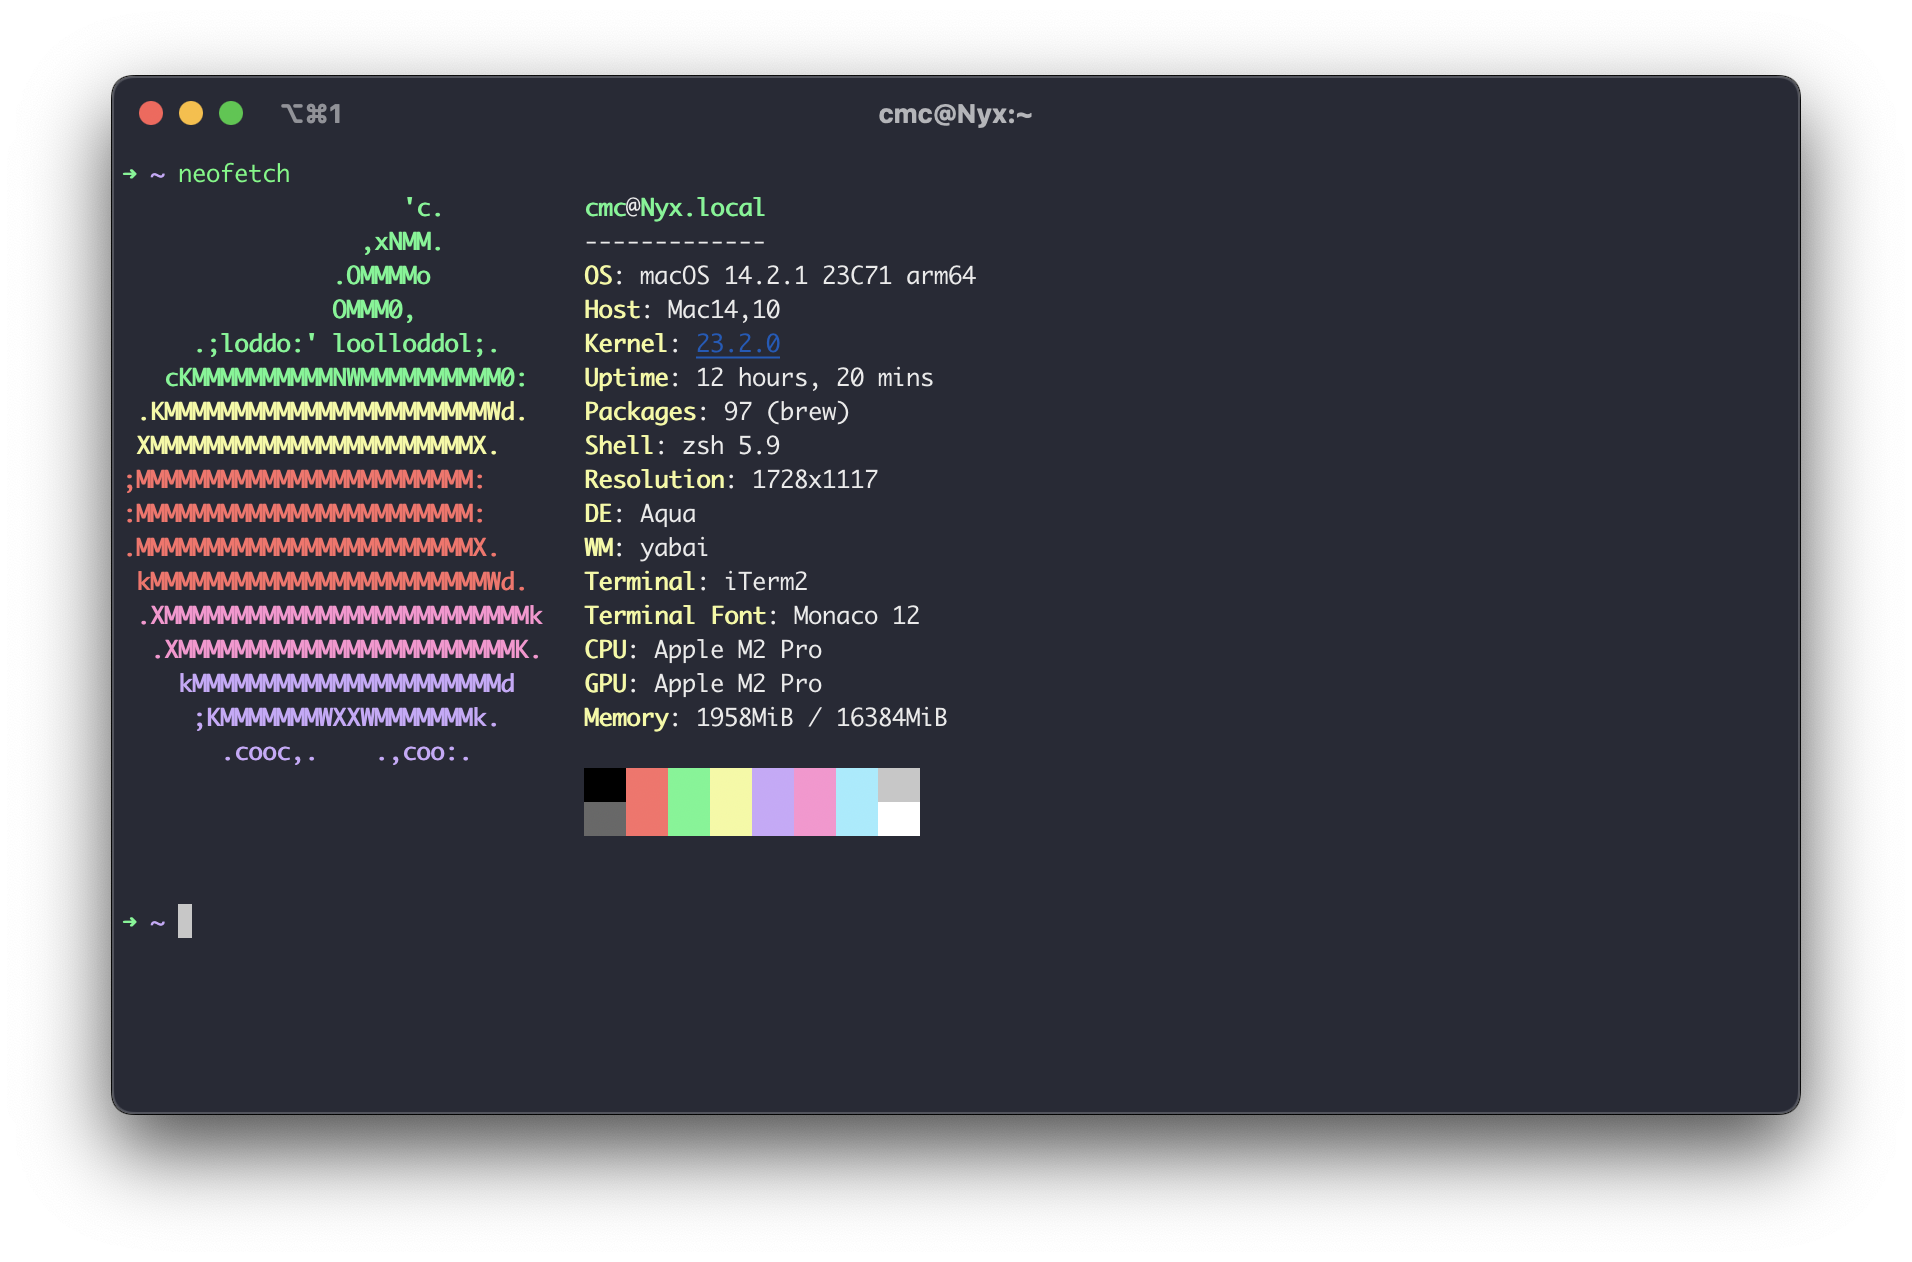 -To install color schemes, such as the Dracula scheme shown in the -screenshot above, you visit [iTerm -Themes](https://iterm2colorschemes.com/) and follow their installation -instructions to install any of the themes. +To install color schemes, such as the Dracula scheme shown in the screenshot +above, you visit [iTerm Themes](https://iterm2colorschemes.com/) and follow +their installation instructions to install any of the themes. # Desktop ## Window Management -[yabai](https://github.com/koekeishiya/yabai) is a tiling window manager -for macOS. While other window managers exist, I found that most of them -struggled to create logical layouts and to allow me to easily move -windows around the screen. +[yabai](https://github.com/koekeishiya/yabai) is a tiling window manager for +macOS. While other window managers exist, I found that most of them struggled to +create logical layouts and to allow me to easily move windows around the screen. -Some advanced settings for yabai are only available if partially disable -System Integrity Protection (SIP). However, I chose not to do this and -it hasn\'t affected my basic usage of yabai at all. +Some advanced settings for yabai are only available if partially disable System +Integrity Protection (SIP). However, I chose not to do this and it hasn't +affected my basic usage of yabai at all. Refer to the [yabai wiki](https://github.com/koekeishiya/yabai/wiki/Installing-yabai-(latest-release)) -for installation instructions. You will need to ensure that yabai is -allowed to access the accessibility and screen recording APIs. +for installation instructions. You will need to ensure that yabai is allowed to +access the accessibility and screen recording APIs. -You can see a basic three-pane layout atuomatically configured by yabai -for me as I opened the windows below. +You can see a basic three-pane layout atuomatically configured by yabai for me +as I opened the windows below. 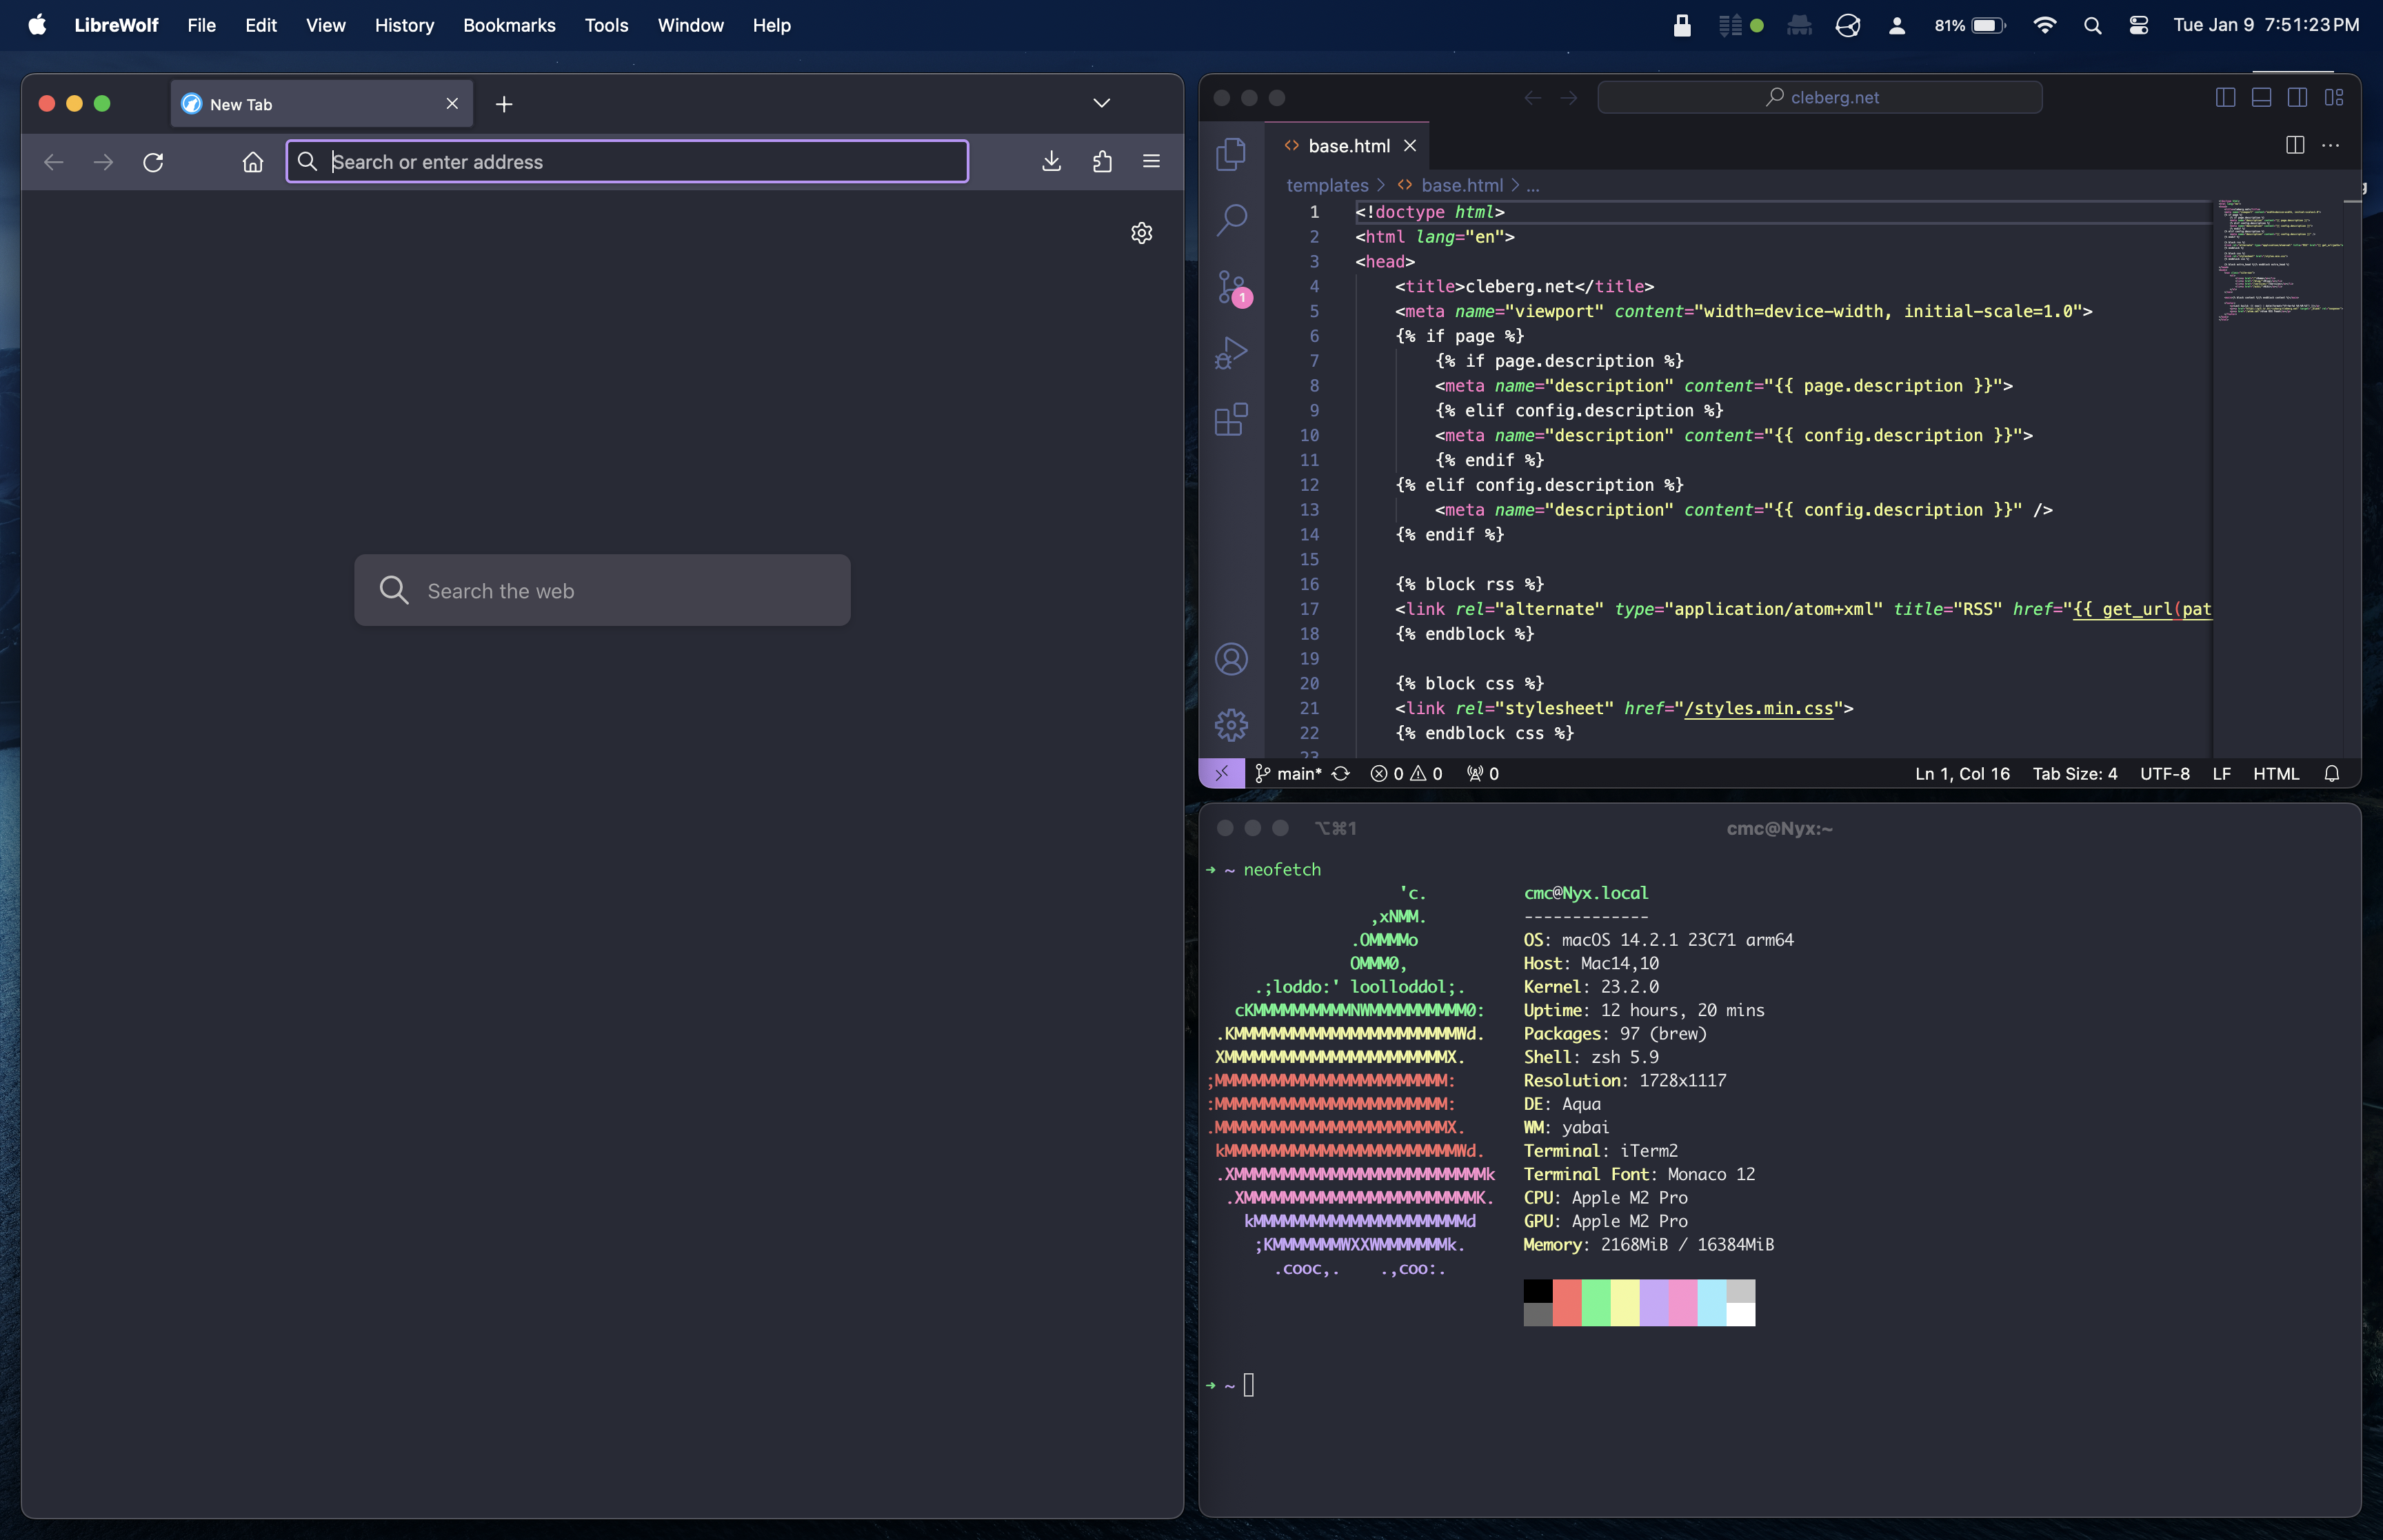 ## Keyboard Shortcuts -[skhd](https://github.com/koekeishiya/skhd) is a simple hotkey daemon -that allows you to define hotkeys in a file for usage on your system. +[skhd](https://github.com/koekeishiya/skhd) is a simple hotkey daemon that +allows you to define hotkeys in a file for usage on your system. Installation is simple: @@ -89,11 +83,10 @@ brew install koekeishiya/formulae/skhd skhd --start-service ``` -After installation, be sure to allow `skhd` access to the -accessibility API in the macOS privacy settings. +After installation, be sure to allow `skhd` access to the accessibility API in +the macOS privacy settings. -You can configure your hotkeys in the `~/.config/skhd/skhdrc` -file: +You can configure your hotkeys in the `~/.config/skhd/skhdrc` file: ```sh nano ~/.config/skhd/skhdrc @@ -112,14 +105,13 @@ cmd + shift - return : /Applications/LibreWolf.app/Contents/MacOS/librewolf ## Widgets [uebersicht](https://github.com/felixhageloh/uebersicht/) is a handy -desktop-based widget tool with a plethora of community-made widgets -available in the [widgets -gallery](https://tracesof.net/uebersicht-widgets/). You can also write -your own widgets with this tool. +desktop-based widget tool with a plethora of community-made widgets available in +the [widgets gallery](https://tracesof.net/uebersicht-widgets/). You can also +write your own widgets with this tool. To install, simply download the latest release from the [uebersicht -website](https://tracesof.net/uebersicht/) and copy it to the -Applications folder. +website](https://tracesof.net/uebersicht/) and copy it to the Applications +folder. See below for an example of the [Mond](https://tracesof.net/uebersicht-widgets/#Mond) widget in action. @@ -137,22 +129,20 @@ You can browse a discussion where various users shared their for inspiration or to copy their dotfiles. See below for a quick (& slightly broken) copy of -[zer0yu\'s](https://github.com/zer0yu/dotfiles) SketchyBar -configuration. +[zer0yu's](https://github.com/zer0yu/dotfiles) SketchyBar configuration.  ## Dock The easiest way to customize the dock is to install -[uBar](https://ubarapp.com/), which uses a Windows-like menu bar as the -default style. +[uBar](https://ubarapp.com/), which uses a Windows-like menu bar as the default +style. -However, the built-in macOS dock cannot be disabled and can only be set -to \"always hidden\". This can be annoying as it will pop out any time -your mouse cursor passes closely to the dock edge of the screen. Because -of this, I simply use the built-in dock instead of customizing it with -third-party software. +However, the built-in macOS dock cannot be disabled and can only be set to +"always hidden". This can be annoying as it will pop out any time your mouse +cursor passes closely to the dock edge of the screen. Because of this, I simply +use the built-in dock instead of customizing it with third-party software. Regardless, see below for the default installation style of uBar. @@ -160,22 +150,21 @@ Regardless, see below for the default installation style of uBar. ## Application Icons -You can also customize the icon of any application in macOS, which will -show up in Finder, the Dock, Launchpad, search results, etc. I recommend -using [macOSicons](https://macosicons.com/) to download icons you want, -and then apply them by following this process. - -1. Open the Finder application. -2. Navigate to the `Applications` folder. -3. Right-click an application of your choice, and select - `Get Info`. -4. Drag the image you downloaded on top of the application\'s icon at - the top of information window (you will see a green \"plus\" symbol - when you\'re hovering over it). -5. Release the new icon on top of the old icon and it will update! - -You can see an example of me dragging a new `signal.icns` -file onto my Signal.app information window to update it below: +You can also customize the icon of any application in macOS, which will show up +in Finder, the Dock, Launchpad, search results, etc. I recommend using +[macOSicons](https://macosicons.com/) to download icons you want, and then apply +them by following this process. + +1. Open the Finder application. +2. Navigate to the `Applications` folder. +3. Right-click an application of your choice, and select `Get Info`. +4. Drag the image you downloaded on top of the application's icon at the top of + information window (you will see a green "plus" symbol when you're + hovering over it). +5. Release the new icon on top of the old icon and it will update! + +You can see an example of me dragging a new `signal.icns` file onto my +Signal.app information window to update it below: 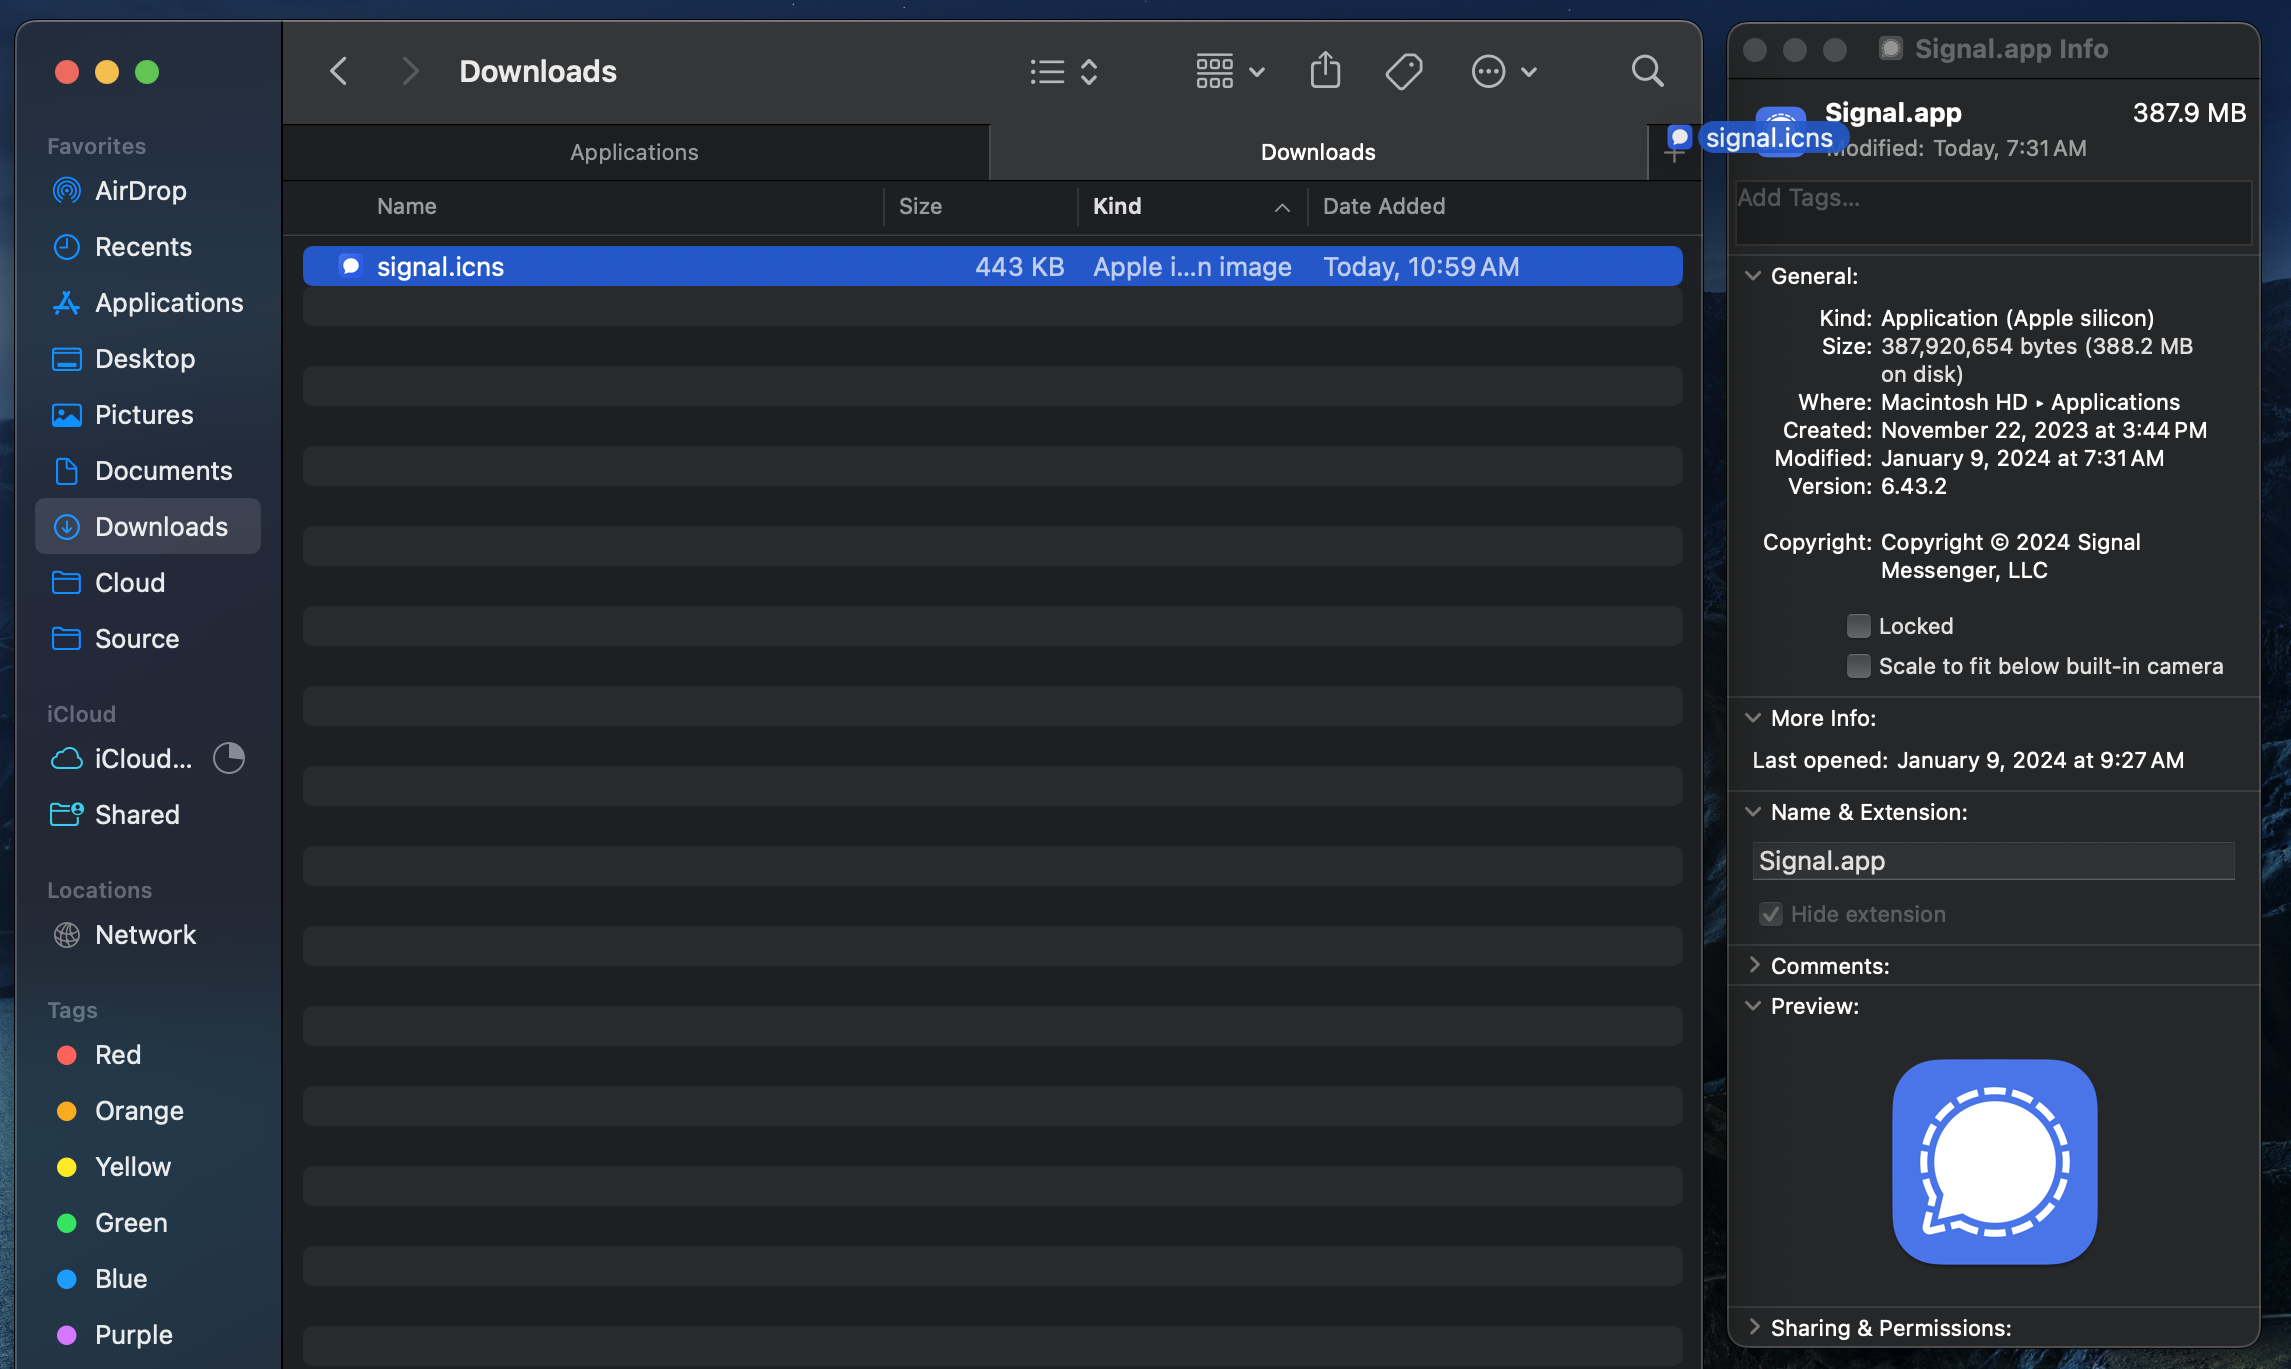 |