
diff options
Diffstat (limited to 'blog/2022-03-23-nextcloud-on-ubuntu.org')
| -rw-r--r-- | blog/2022-03-23-nextcloud-on-ubuntu.org | 170 |
1 files changed, 95 insertions, 75 deletions
diff --git a/blog/2022-03-23-nextcloud-on-ubuntu.org b/blog/2022-03-23-nextcloud-on-ubuntu.org index f5642c0..c28da25 100644 --- a/blog/2022-03-23-nextcloud-on-ubuntu.org +++ b/blog/2022-03-23-nextcloud-on-ubuntu.org @@ -1,80 +1,90 @@ -+++ -date = 2022-03-23 -title = "Installing Nextcloud on Ubuntu" -description = "Learn how to install the self-hosted cloud storage solution, Nextcloud, on Ubuntu." -draft = false -+++ +#+title: Installing Nextcloud on Ubuntu +#+date: 2022-03-23 -## What is Nextcloud? - -[Nextcloud](https://nextcloud.com/) is a self-hosted solution for storage, -communications, editing, calendar, contacts, and more. +** What is Nextcloud? +:PROPERTIES: +:CUSTOM_ID: what-is-nextcloud +:END: +[[https://nextcloud.com/][Nextcloud]] is a self-hosted solution for +storage, communications, editing, calendar, contacts, and more. This tutorial assumes that you have an Ubuntu server and a domain name configured to point toward the server. -## Install Dependencies - +** Install Dependencies +:PROPERTIES: +:CUSTOM_ID: install-dependencies +:END: To start, you will need to install the packages that Nextcloud requires: -```sh +#+begin_src sh sudo apt install apache2 mariadb-server libapache2-mod-php7.4 sudo apt install php7.4-gd php7.4-mysql php7.4-curl php7.4-mbstring php7.4-intl sudo apt install php7.4-gmp php7.4-bcmath php-imagick php7.4-xml php7.4-zip -``` +#+end_src -## Set Up MySQL +** Set Up MySQL +:PROPERTIES: +:CUSTOM_ID: set-up-mysql +:END: +Next, you will need to log in to MySQL as the =root= user of the +machine. -Next, you will need to log in to MySQL as the `root` user of the machine. - -```sh +#+begin_src sh sudo mysql -uroot -p -``` +#+end_src -Once you've logged in, you must create a new user so that Nextcloud can manage -the database. You will also create a `nextcloud` database and assign privileges: +Once you've logged in, you must create a new user so that Nextcloud can +manage the database. You will also create a =nextcloud= database and +assign privileges: -```sql +#+begin_src sql CREATE USER 'username'@'localhost' IDENTIFIED BY 'password'; CREATE DATABASE IF NOT EXISTS nextcloud CHARACTER SET utf8mb4 COLLATE utf8mb4_general_ci; GRANT ALL PRIVILEGES ON nextcloud.* TO 'username'@'localhost'; FLUSH PRIVILEGES; quit; -``` - -## Download & Install Nextcloud +#+end_src +** Download & Install Nextcloud +:PROPERTIES: +:CUSTOM_ID: download-install-nextcloud +:END: To download Nextcloud, go the -[Nextcloud downloads page](https://nextcloud.com/install/#instructions-server), -click on `Archive File` and right-click the big blue button to copy the link. +[[https://nextcloud.com/install/#instructions-server][Nextcloud +downloads page]], click on =Archive File= and right-click the big blue +button to copy the link. -Then, go to your server and enter the following commands to download, unzip, and -move the files to your destination directory. This example uses `example.com` as -the destination, but you can put it wherever you want to server your files from. +Then, go to your server and enter the following commands to download, +unzip, and move the files to your destination directory. This example +uses =example.com= as the destination, but you can put it wherever you +want to server your files from. -```sh +#+begin_src sh wget https://download.nextcloud.com/server/releases/nextcloud-23.0.3.zip sudo apt install unzip unzip nextcloud-23.0.3.zip sudo cp -r nextcloud /var/www/example.com -``` +#+end_src -## Configure the Apache Web Server - -Now that the database is set up and Nextcloud is installed, you need to set up -the Apache configuration files to tell the server how to handle requests for -`example.com/nextcloud`. +** Configure the Apache Web Server +:PROPERTIES: +:CUSTOM_ID: configure-the-apache-web-server +:END: +Now that the database is set up and Nextcloud is installed, you need to +set up the Apache configuration files to tell the server how to handle +requests for =example.com/nextcloud=. First, open the following file in the editor: -```sh +#+begin_src sh sudo nano /etc/apache2/sites-available/nextcloud.conf -``` +#+end_src -Once the editor is open, paste the following information in. Then, save and -close the file. +Once the editor is open, paste the following information in. Then, save +and close the file. -```config +#+begin_src config <VirtualHost *:80> DocumentRoot /var/www/example.com ServerName example.com @@ -93,69 +103,79 @@ close the file. </IfModule> </Directory> </VirtualHost> -``` +#+end_src Once the file is saved, enable it with Apache: -```sh +#+begin_src sh sudo a2ensite nextcloud.conf -``` +#+end_src Next, enable the Apache mods required by Nextcloud: -```sh +#+begin_src sh sudo a2enmod rewrite headers env dir mime -``` +#+end_src -Finally, restart Apache. If any errors arise, you must solve those before -continuing. +Finally, restart Apache. If any errors arise, you must solve those +before continuing. -```sh +#+begin_src sh sudo systemctl restart apache2 -``` +#+end_src For the app to work, you must have the correct file permissions on your -`nextcloud` directory. Set the owner to be `www-data`: +=nextcloud= directory. Set the owner to be =www-data=: -```sh +#+begin_src sh sudo chown -R www-data:www-data /var/www/example.com/nextcloud/ -``` - -## DNS +#+end_src +** DNS +:PROPERTIES: +:CUSTOM_ID: dns +:END: If you do not have a static IP address, you will need to update your DNS -settings (at your DNS provider) whenever your dynamic IP address changes. +settings (at your DNS provider) whenever your dynamic IP address +changes. For an example on how I do that with Cloudflare, see my other post: -[Updating Dynamic DNS with Cloudflare API](/blog/updating-dynamic-dns-with-cloudflare-api/) +[[/blog/updating-dynamic-dns-with-cloudflare-api/][Updating Dynamic DNS +with Cloudflare API]] -## Certbot +** Certbot +:PROPERTIES: +:CUSTOM_ID: certbot +:END: +If you want to serve Nextcloud from HTTPS rather than plain HTTP, use +the following commands to issue Let's Encrypt SSL certificates: -If you want to serve Nextcloud from HTTPS rather than plain HTTP, use the -following commands to issue Let's Encrypt SSL certificates: - -```sh +#+begin_src sh sudo apt install snapd sudo snap install core sudo snap refresh core sudo snap install --classic certbot sudo ln -s /snap/bin/certbot /usr/bin/certbot sudo certbot --apache -``` - -## Results +#+end_src -Voilà! -You're all done and should be able to access Nextcloud from your domain or -IP address. +** Results +:PROPERTIES: +:CUSTOM_ID: results +:END: +Voilà! You're all done and should be able to access Nextcloud from your +domain or IP address. -See the screenshots below for the dashboard and a settings page on my instance -of Nextcloud, using the `Breeze Dark` theme I installed from the Apps page. +See the screenshots below for the dashboard and a settings page on my +instance of Nextcloud, using the =Breeze Dark= theme I installed from +the Apps page. -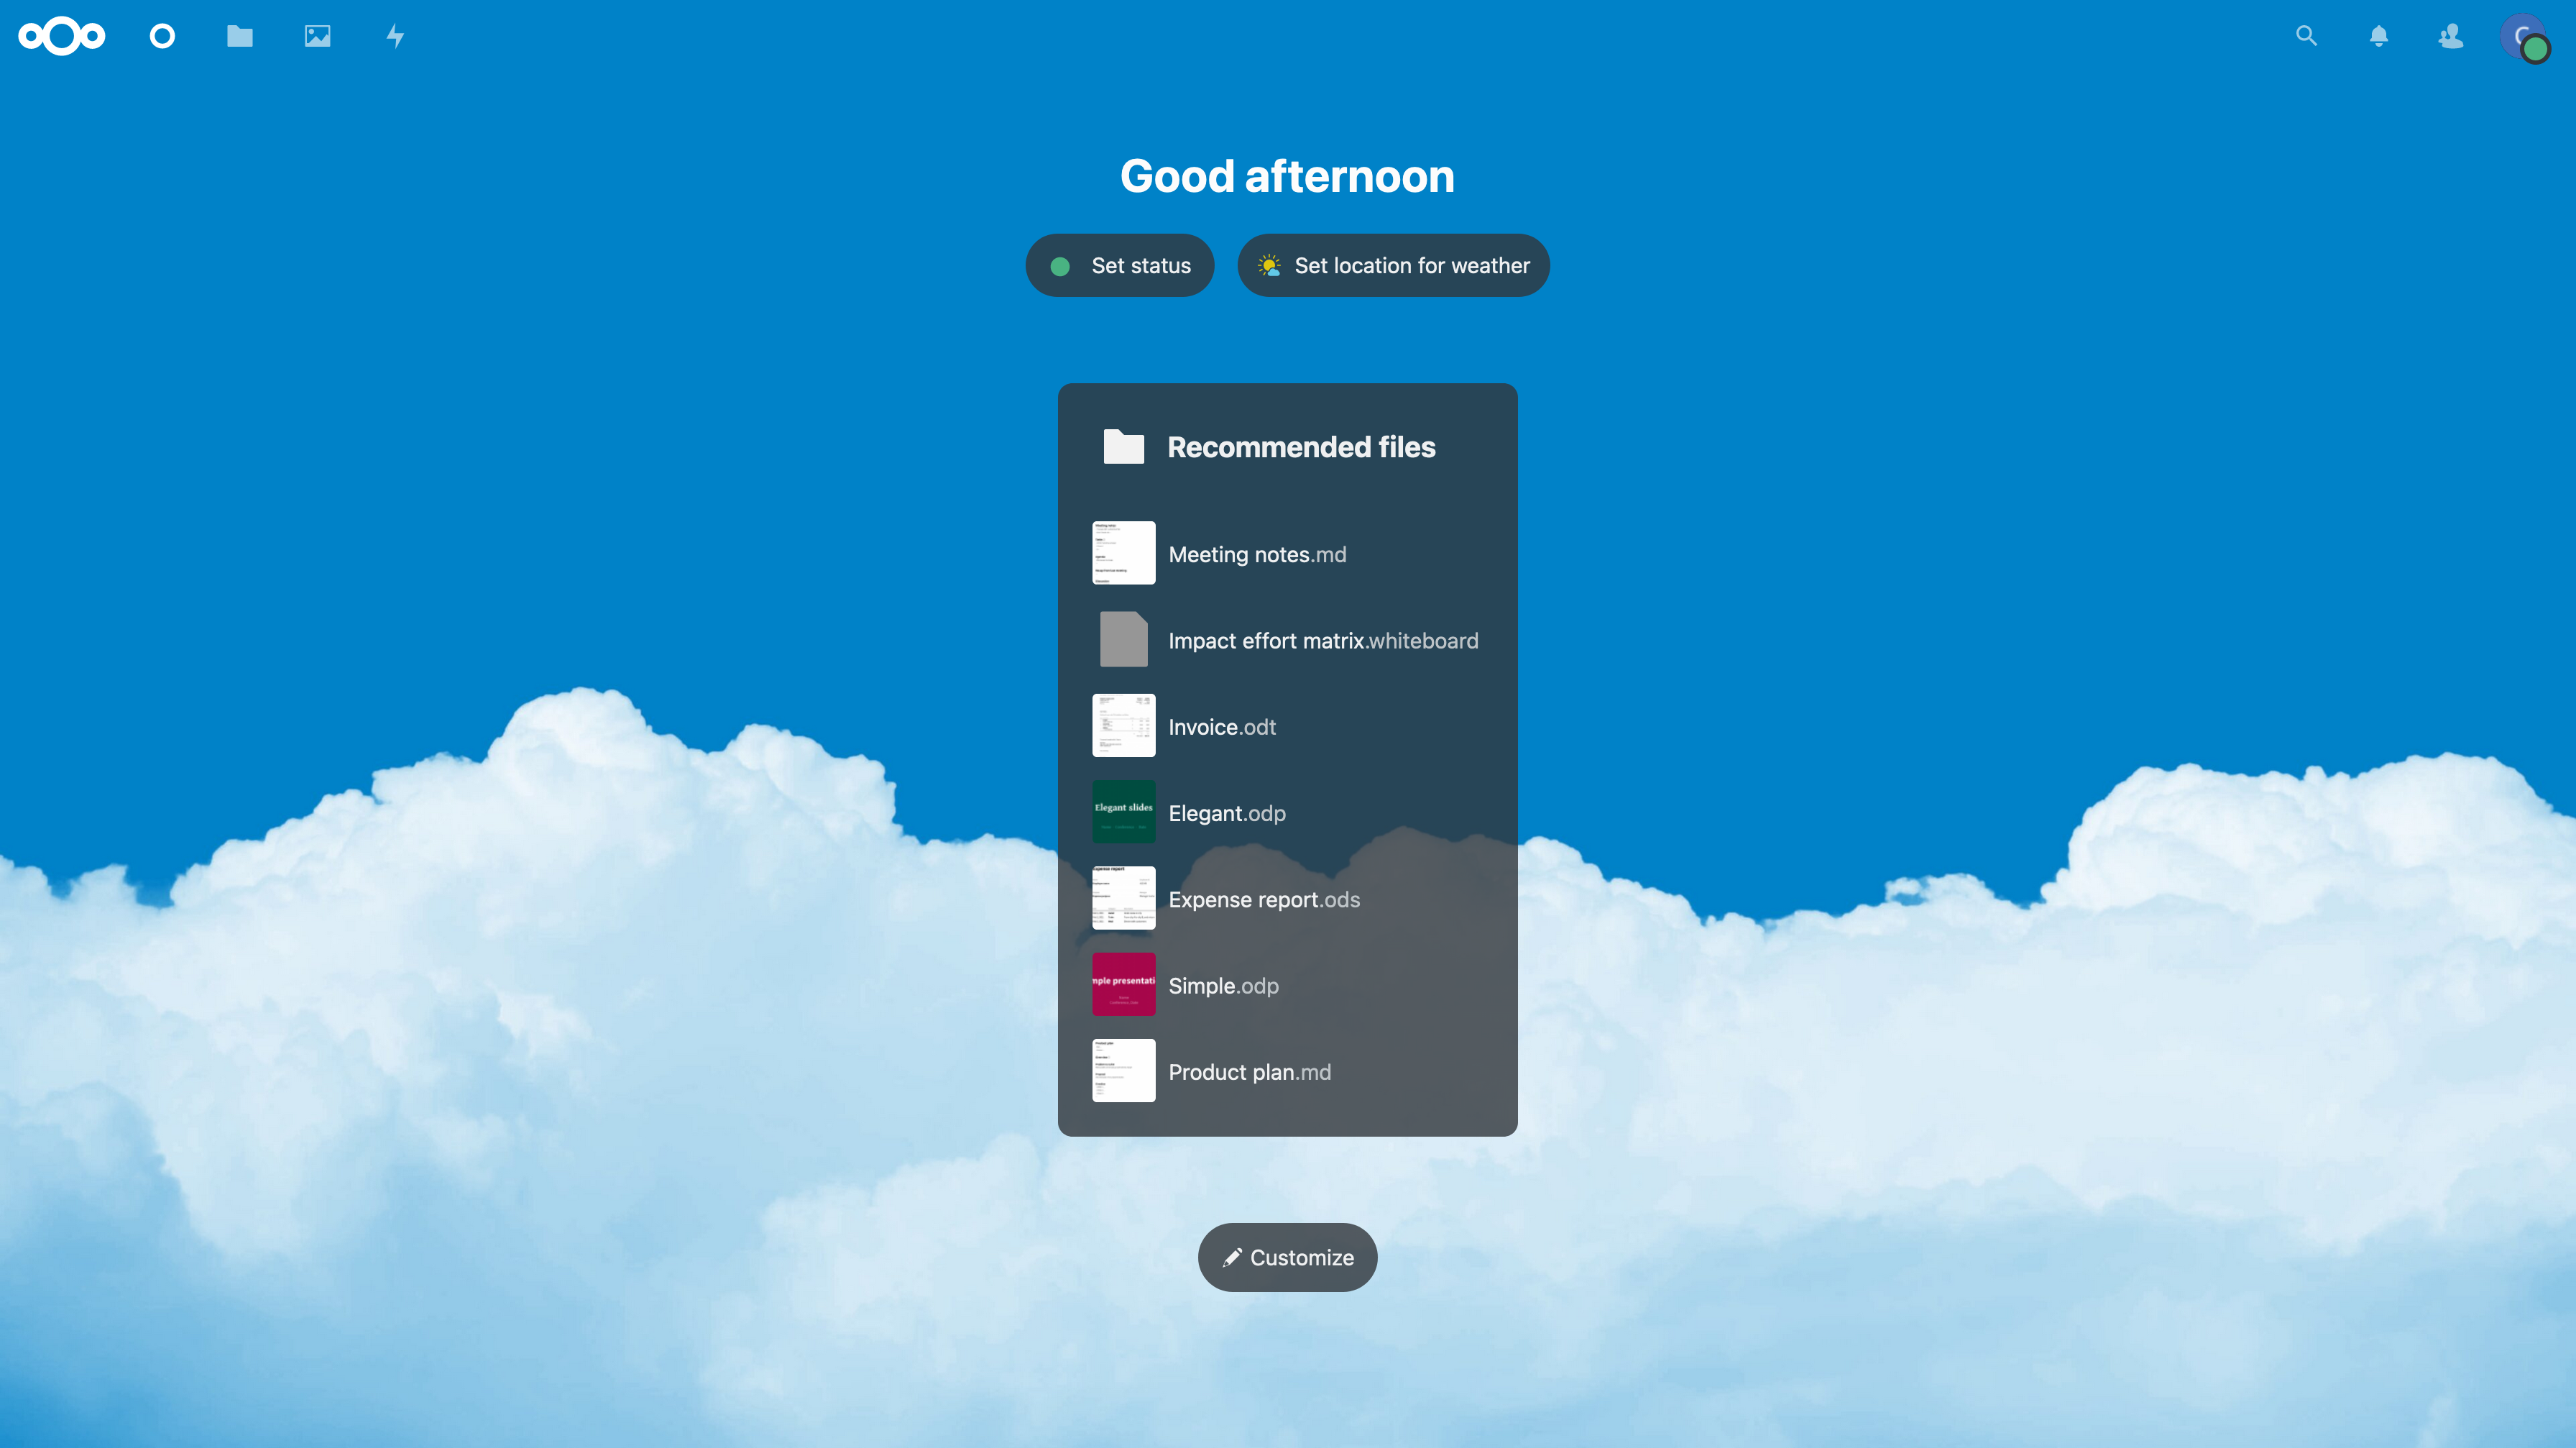 +#+caption: Nextcloud Dashboard +[[https://img.cleberg.net/blog/20220323-installing-nextcloud-on-ubuntu/nextcloud_dashboard.png]] -_Figure 01: Nextcloud Dashboard_ +/Figure 01: Nextcloud Dashboard/ -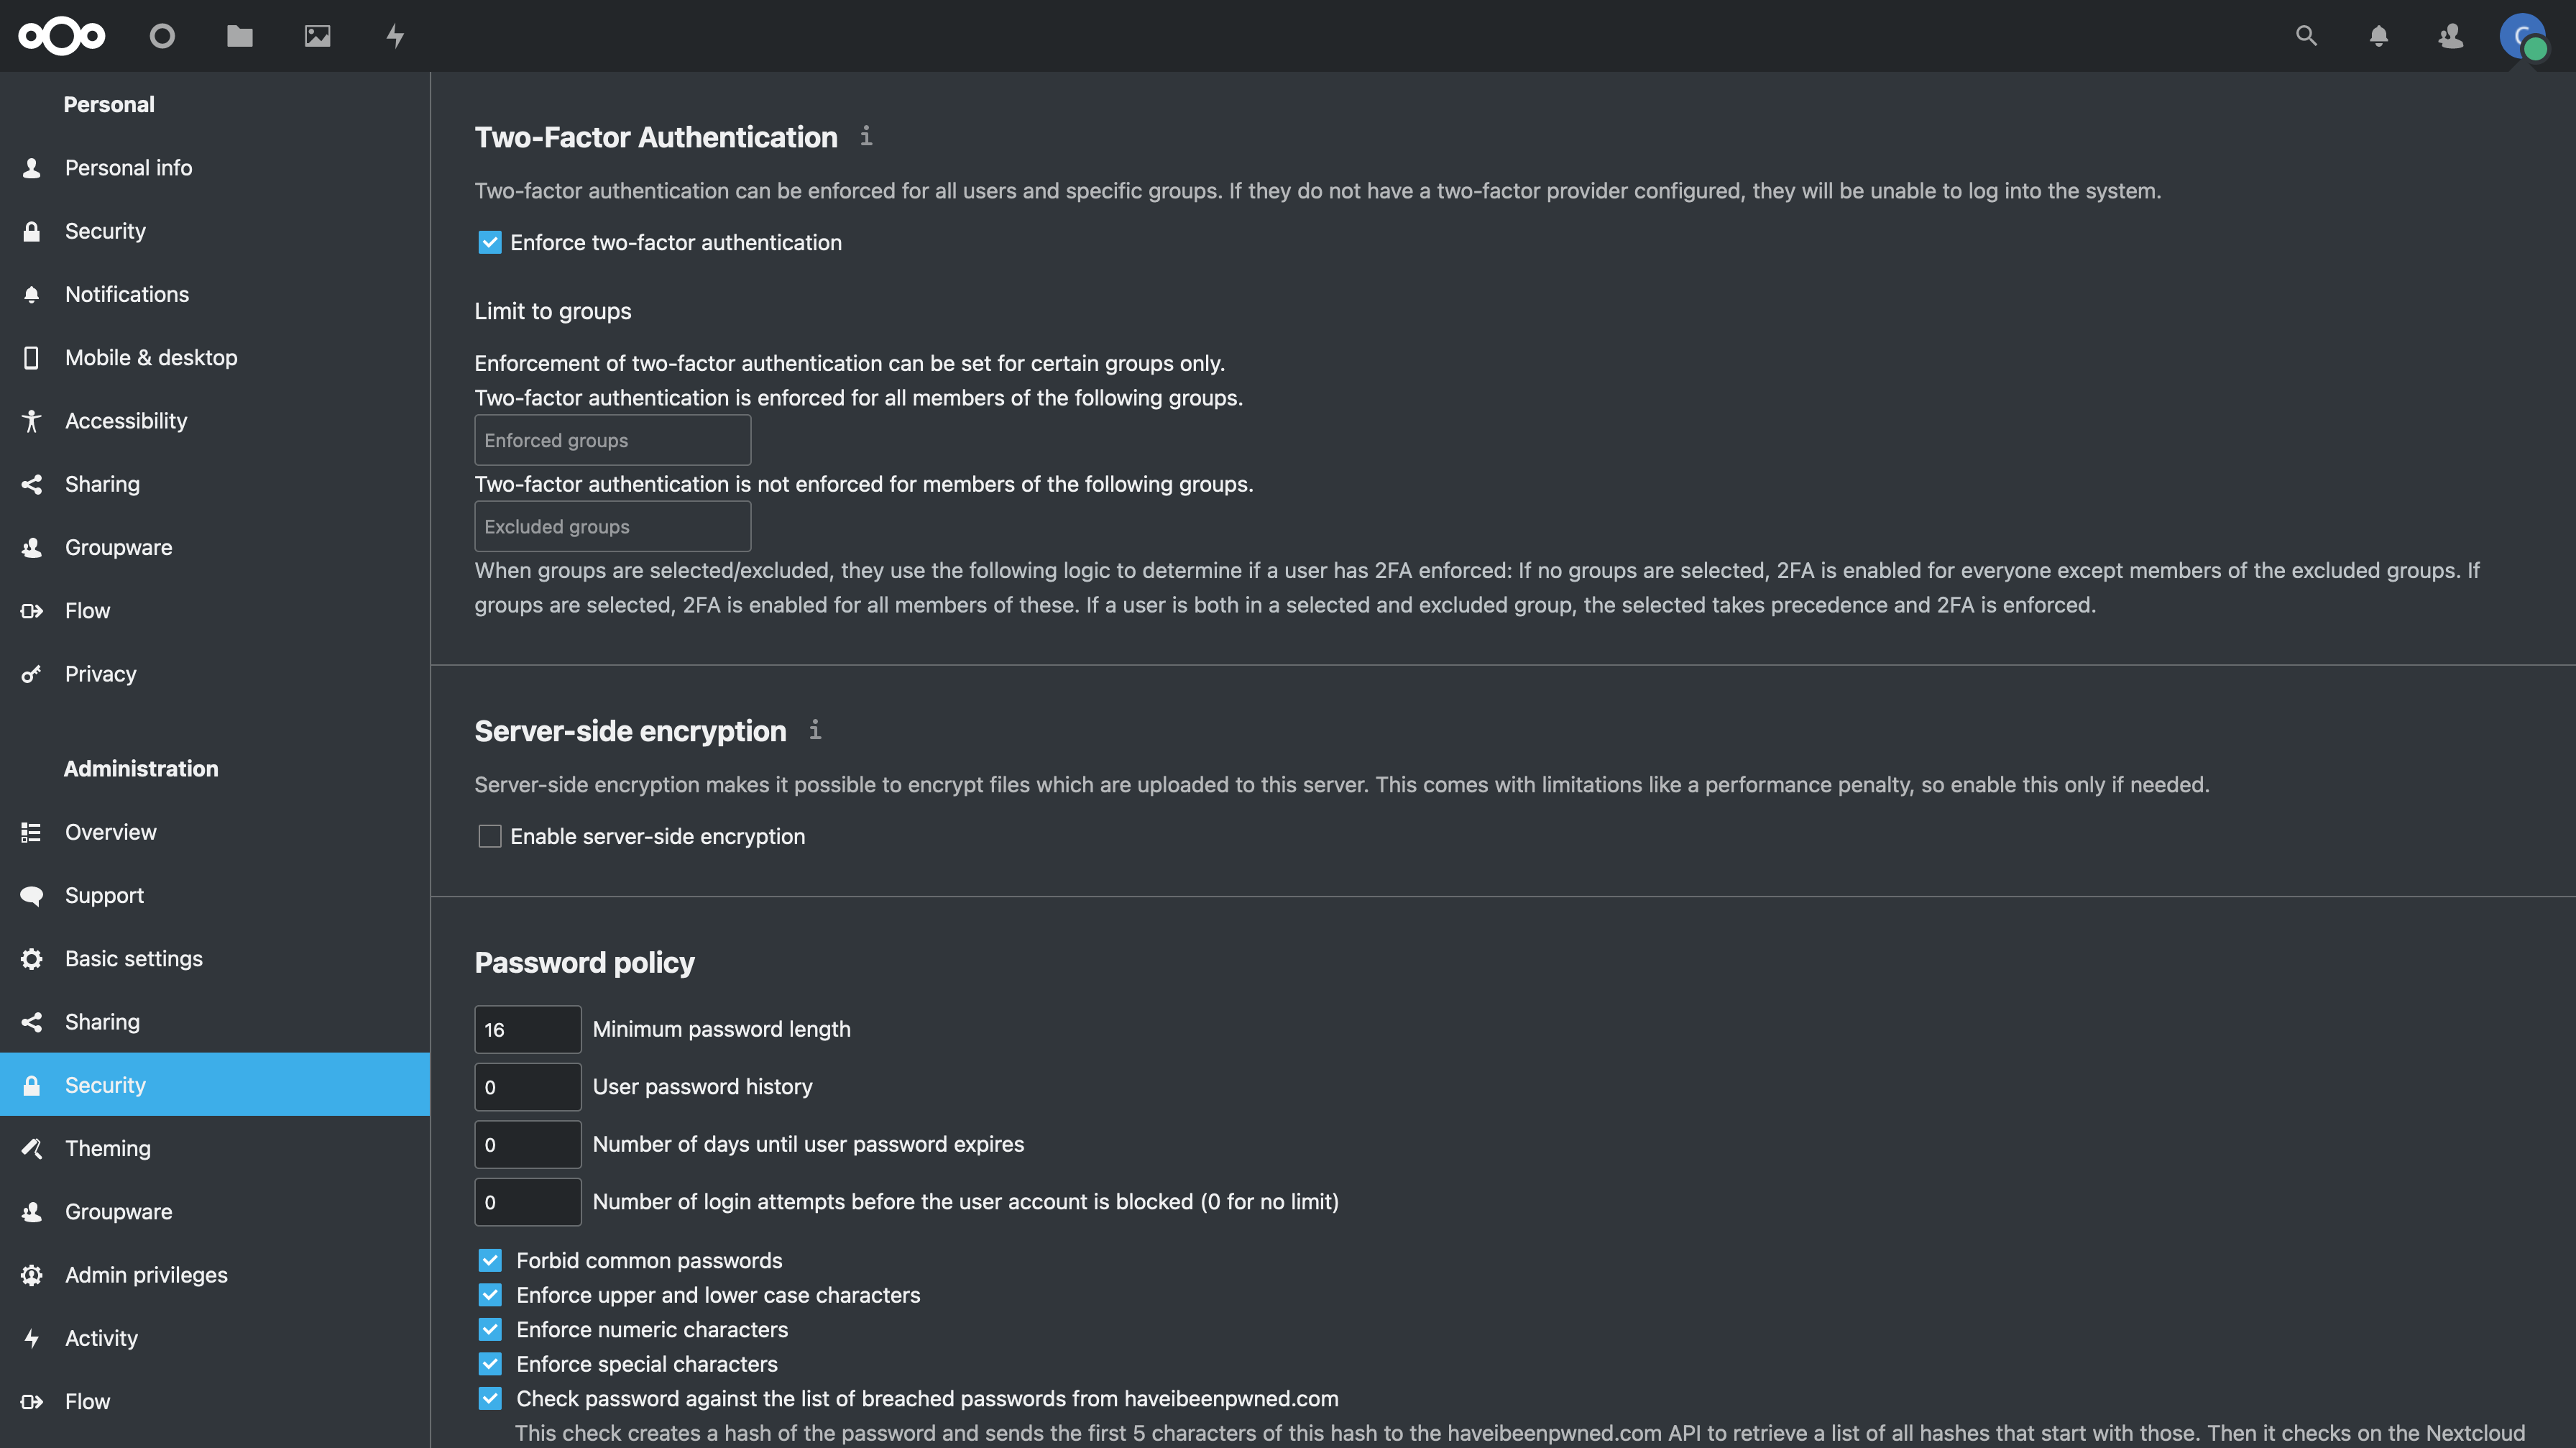 +#+caption: Nextcloud Settings +[[https://img.cleberg.net/blog/20220323-installing-nextcloud-on-ubuntu/nextcloud_settings.png]] -_Figure 02: Nextcloud Security Settings_ +/Figure 02: Nextcloud Security Settings/ |