
diff options
Diffstat (limited to 'content/blog/2023-06-08-self-hosting-baikal-server.md')
| -rw-r--r-- | content/blog/2023-06-08-self-hosting-baikal-server.md | 159 |
1 files changed, 0 insertions, 159 deletions
diff --git a/content/blog/2023-06-08-self-hosting-baikal-server.md b/content/blog/2023-06-08-self-hosting-baikal-server.md deleted file mode 100644 index f83a9e9..0000000 --- a/content/blog/2023-06-08-self-hosting-baikal-server.md +++ /dev/null @@ -1,159 +0,0 @@ -+++ -date = 2023-06-08 -title = "Self-Hosting Baikal Server (CalDAV & CardDAV)" -description = "A guide to self-hosting the Baikal application on your own server." -+++ - -## What is Baikal? - -[Baikal](https://sabre.io/baikal/) is a lightweight CalDAV + CardDAV -server that you can self-host on your own machine. While I have tried (& -failed) to get this CalDAV + CardDAV server running before, it was quite -easy this time. Not really sure what I did differently this time, but -I'm documenting my process here to ensure I don't forget. - -## Installation - -First, create a folder on your server and open a -`docker-compose.yml` file for editing: - -```sh -mkdir baikal && cd baikal -nano docker-compose.yml -``` - -Within this file, you'll need to paste the information below. You can -customize the `ports` section to use any port on your server -to pass through to port 80 in the container. You can also edit the -`volumes` section to use docker volumes instead of local -folders. - -```conf -version: "2" -services: - baikal: - image: ckulka/baikal:nginx - restart: always - ports: - - "8567:80" - volumes: - - ./config:/var/www/baikal/config - - ./data:/var/www/baikal/Specific -``` - -Once finished with editing, save and close the file. Then, launch the -docker container: - -```sh -sudo docker-compose up -d -``` - -## Intial Setup - -As long as no issues came up when starting the container, you should be -able to visit the server's set-up page at -`http://<server_ip>:<port>`. The application will ask you to -create an administrator account and choose the database type for your -storage. Personally, I opted to use SQLite. - -Make sure the administrator credentials are adequate to protect against -common attacks. - -## Creating Users - -Once you've set up the application, you will be greeted by the -Dashboard page, which will show the version of the app, status of the -admin/CalDAV/CardDAV services, and the number of users, calendars, -events, address books, and contacts. - -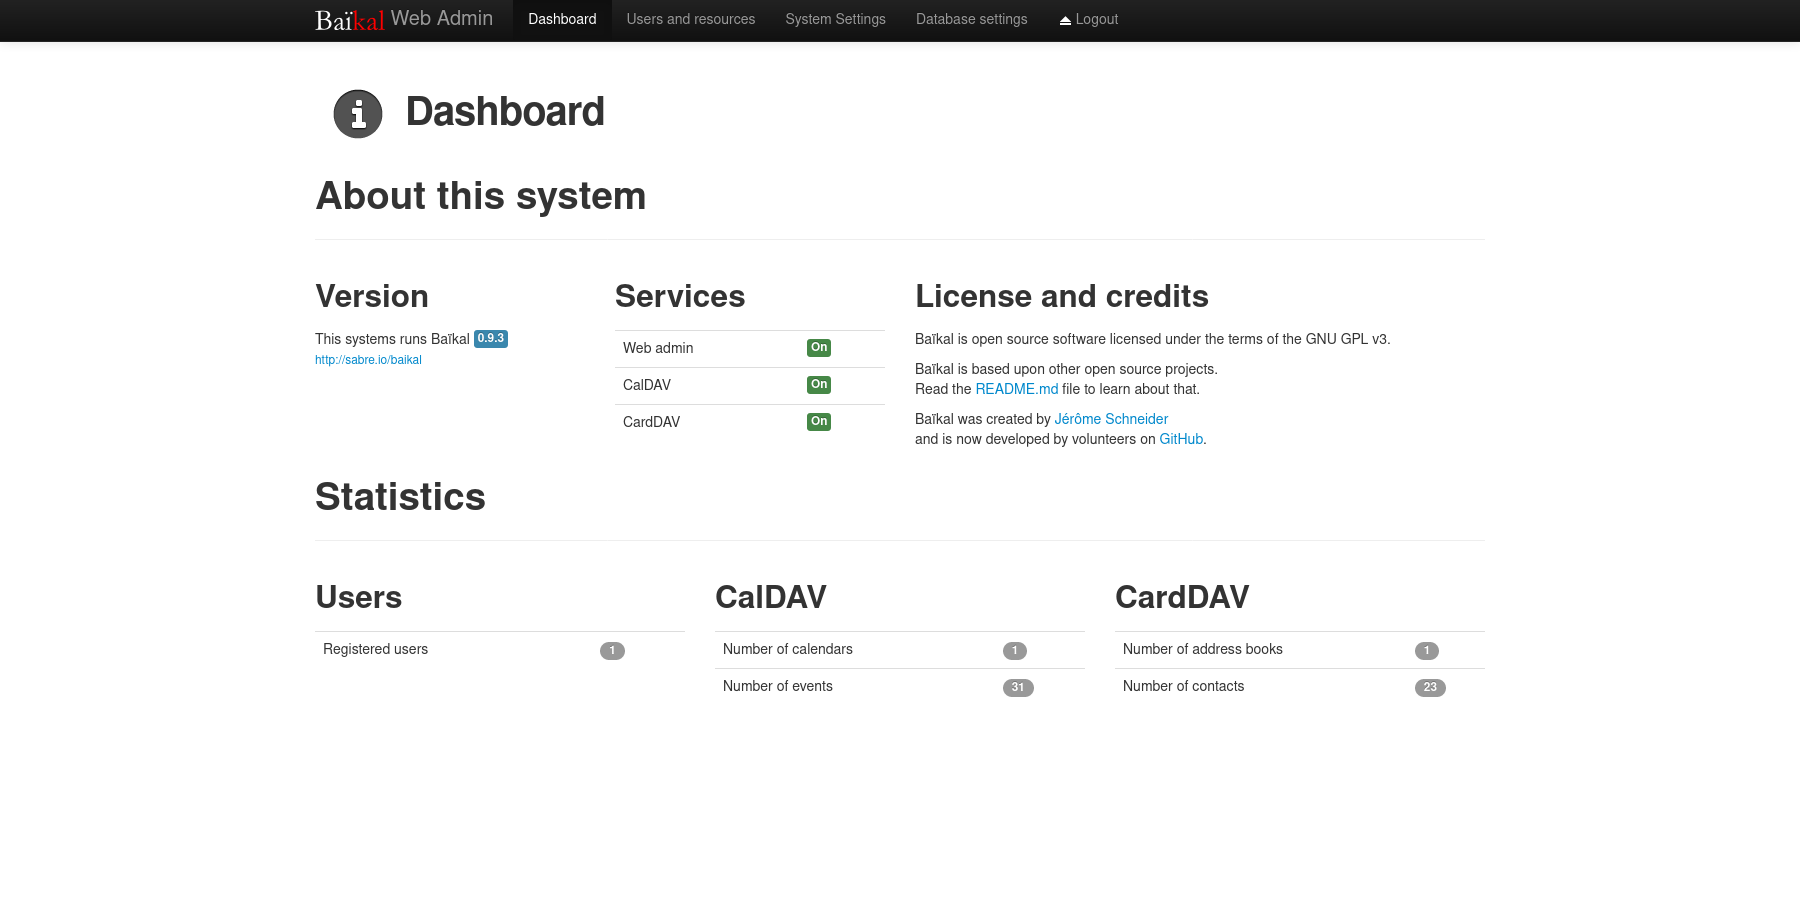 - -To create a new user, navigate to the `Users and resources` -page. This process is as simple as entering a username, password, and -email. - -Once a user has been created, you can create any number of calendars and -address books for user, as well as inspect their information. - -## Setting Up a Public URL - -Once your application is working locally, you can open access remotely -via a URL by using a reverse-proxy like Nginx. - -As a prerequisite, you must own a domain name and set up DNS records to -point a domain name to the server hosting Baikal. - -Start by navigating to your web server's configuration directory and -create a new file for this application. - -```sh -cd /etc/nginx/sites-available/ -nano dav -``` - -Within this file, paste in the configuration from below and change -`dav.example.com` to match the URL you'll be using. - -```conf -server { - if ($host ~ ^[^.]+\.example\.com$) { - return 301 https://$host$request_uri; - } - - listen [::]:80; - listen 80; - server_name dav.example.com; - return 404; -} - -server { - listen [::]:443 ssl http2; - listen 443 ssl http2; - server_name dav.example.com; - access_log /var/log/nginx/dav.access.log; - error_log /var/log/nginx/dav.error.log; - - location / { - proxy_http_version 1.1; - proxy_pass http://localhost:8567; - proxy_set_header Host $host; - } - - ssl_certificate /etc/letsencrypt/live/example.com/fullchain.pem; - ssl_certificate_key /etc/letsencrypt/live/example.com/privkey.pem; - include /etc/letsencrypt/options-ssl-nginx.conf; - ssl_dhparam /etc/letsencrypt/ssl-dhparams.pem; -} -``` - -For Nginx on Ubuntu, you'll need to symlink the configuration file to -the `sites-enabled` directory and then restart Nginx. - -```sh -sudo ln -s /etc/nginx/sites-available/dav /etc/nginx/sites-enabled/dav -sudo systemctl restart nginx.service -``` - -At this point, the Baikal server should be available over the internet -at the URL configured above! - -## Configuring Clients - -Lastly, configuring clients and applications is essential to making sure -the DAV server is being fully utilized. - -You can also use the `Users and resources` page to inspect a -user's personal link to their calendars and address books by clicking -the info (i) button. It will show a URI like -`/dav.php/calendars/your-user/default/`. - -However, I found that the following URL works for most applications: -`/dav.php/principals/your-user/`. - -I used the `principals` URL above for Thunderbird (calendar, -tasks, and contacts), as well as iOS (calendar, tasks, and contacts) and -everything works flawlessly so far. - -Syncing is quick between the server and clients, and I haven't seen any -disruptions in the service or data integrity. |