
diff options
Diffstat (limited to 'content/blog/2024-02-21-self-hosting-otter-wiki.md')
| -rw-r--r-- | content/blog/2024-02-21-self-hosting-otter-wiki.md | 135 |
1 files changed, 0 insertions, 135 deletions
diff --git a/content/blog/2024-02-21-self-hosting-otter-wiki.md b/content/blog/2024-02-21-self-hosting-otter-wiki.md deleted file mode 100644 index b15d267..0000000 --- a/content/blog/2024-02-21-self-hosting-otter-wiki.md +++ /dev/null @@ -1,135 +0,0 @@ -+++ -date = 2024-02-21 -title = "Self-Hosting An Otter Wiki" -description = "Learn how to easily self-host An Otter Wiki." -+++ - -## An Otter Wiki - -[An Otter Wiki](https://otterwiki.com/) is an easy to use wiki software that -takes almost no effort to set up and maintain. - -## Installation - -To install An Otter Wiki, I'm going to use Docker Compose to create the -container and then use Nginx as a reverse proxy to allow external access via a -subdomain I own. - -### Docker Compose - -Start by creating a directory for the container's files. - -```sh -mkdir ~/otterwiki -``` - -Next, create the `docker-compose.yml` file to define the container's parameters. - -```sh -nano ~/otterwiki/docker-compose.yml -``` - -Within the file, paste the following content. You can read the project's -documentation if you want to further override or customize the container. - -```conf -version: '3' -services: - otterwiki: - image: redimp/otterwiki:2 - restart: unless-stopped - # Internal port must be assigned to port 80 - # External port can be customized - ports: - - 8337:80 - volumes: - - ./app-data:/app-data -``` - -Once the file is saved and closed, you can launch the container. - -```sh -cd ~/otterwiki -sudo docker-compose up -d -``` - -The container is now available at `localhost:8337`. Next, we will use Nginx to -serve this app externally. - -### Nginx - -To access the app externally, let's set up a reverse proxy. I'll start by -creating the Nginx configuration file for my wiki. - -```sh -sudo nano /etc/nginx/sites-available/wiki -``` - -Within the file, I have saved the following content. This assumes you already -have a TLS/SSL cert to use with this subdomain. If not, simply remove the -`ssl_*` variables, remove the `80` server block, and change the `443` -server block to `80` to serve the app without SSL. - -```conf -server { - if ($host ~ ^[^.]+\.example\.com$) { - return 301 https://$host$request_uri; - } - - listen [::]:80; - listen 80; - server_name wiki.example.com; - return 404; -} - -server { - listen [::]:443 ssl http2; - listen 443 ssl http2; - server_name wiki.example.com; - access_log /var/log/nginx/wiki.access.log; - error_log /var/log/nginx/wiki.error.log; - - ssl_certificate /etc/letsencrypt/live/example.com/fullchain.pem; - ssl_certificate_key /etc/letsencrypt/live/example.com/privkey.pem; - include /etc/letsencrypt/options-ssl-nginx.conf; - ssl_dhparam /etc/letsencrypt/ssl-dhparams.pem; - - location / { - set $upstream_wiki http://127.0.0.1:8337; - proxy_pass $upstream_wiki; - - proxy_set_header Host $http_host; - proxy_set_header X-Real-IP $remote_addr; - proxy_set_header X-Forwarded-For $proxy_add_x_forwarded_for; - proxy_set_header X-Forwarded-Host $http_host; - } -} -``` - -Save and close the configuration file. On Nginx, we need to symlink the file to -enable it. - -```sh -sudo ln -s /etc/nginx/sites-available/wiki /etc/nginx/sites-enabled/wiki -``` - -Once enabled, restart the Nginx server to start serving the app externally. - -```sh -sudo systemctl restart nginx.service -``` - -## Screenshots - -In the screenshot below, you can see the initial launch screen for An Otter -Wiki. Start by creating your admin account and configure the app as necessary. - -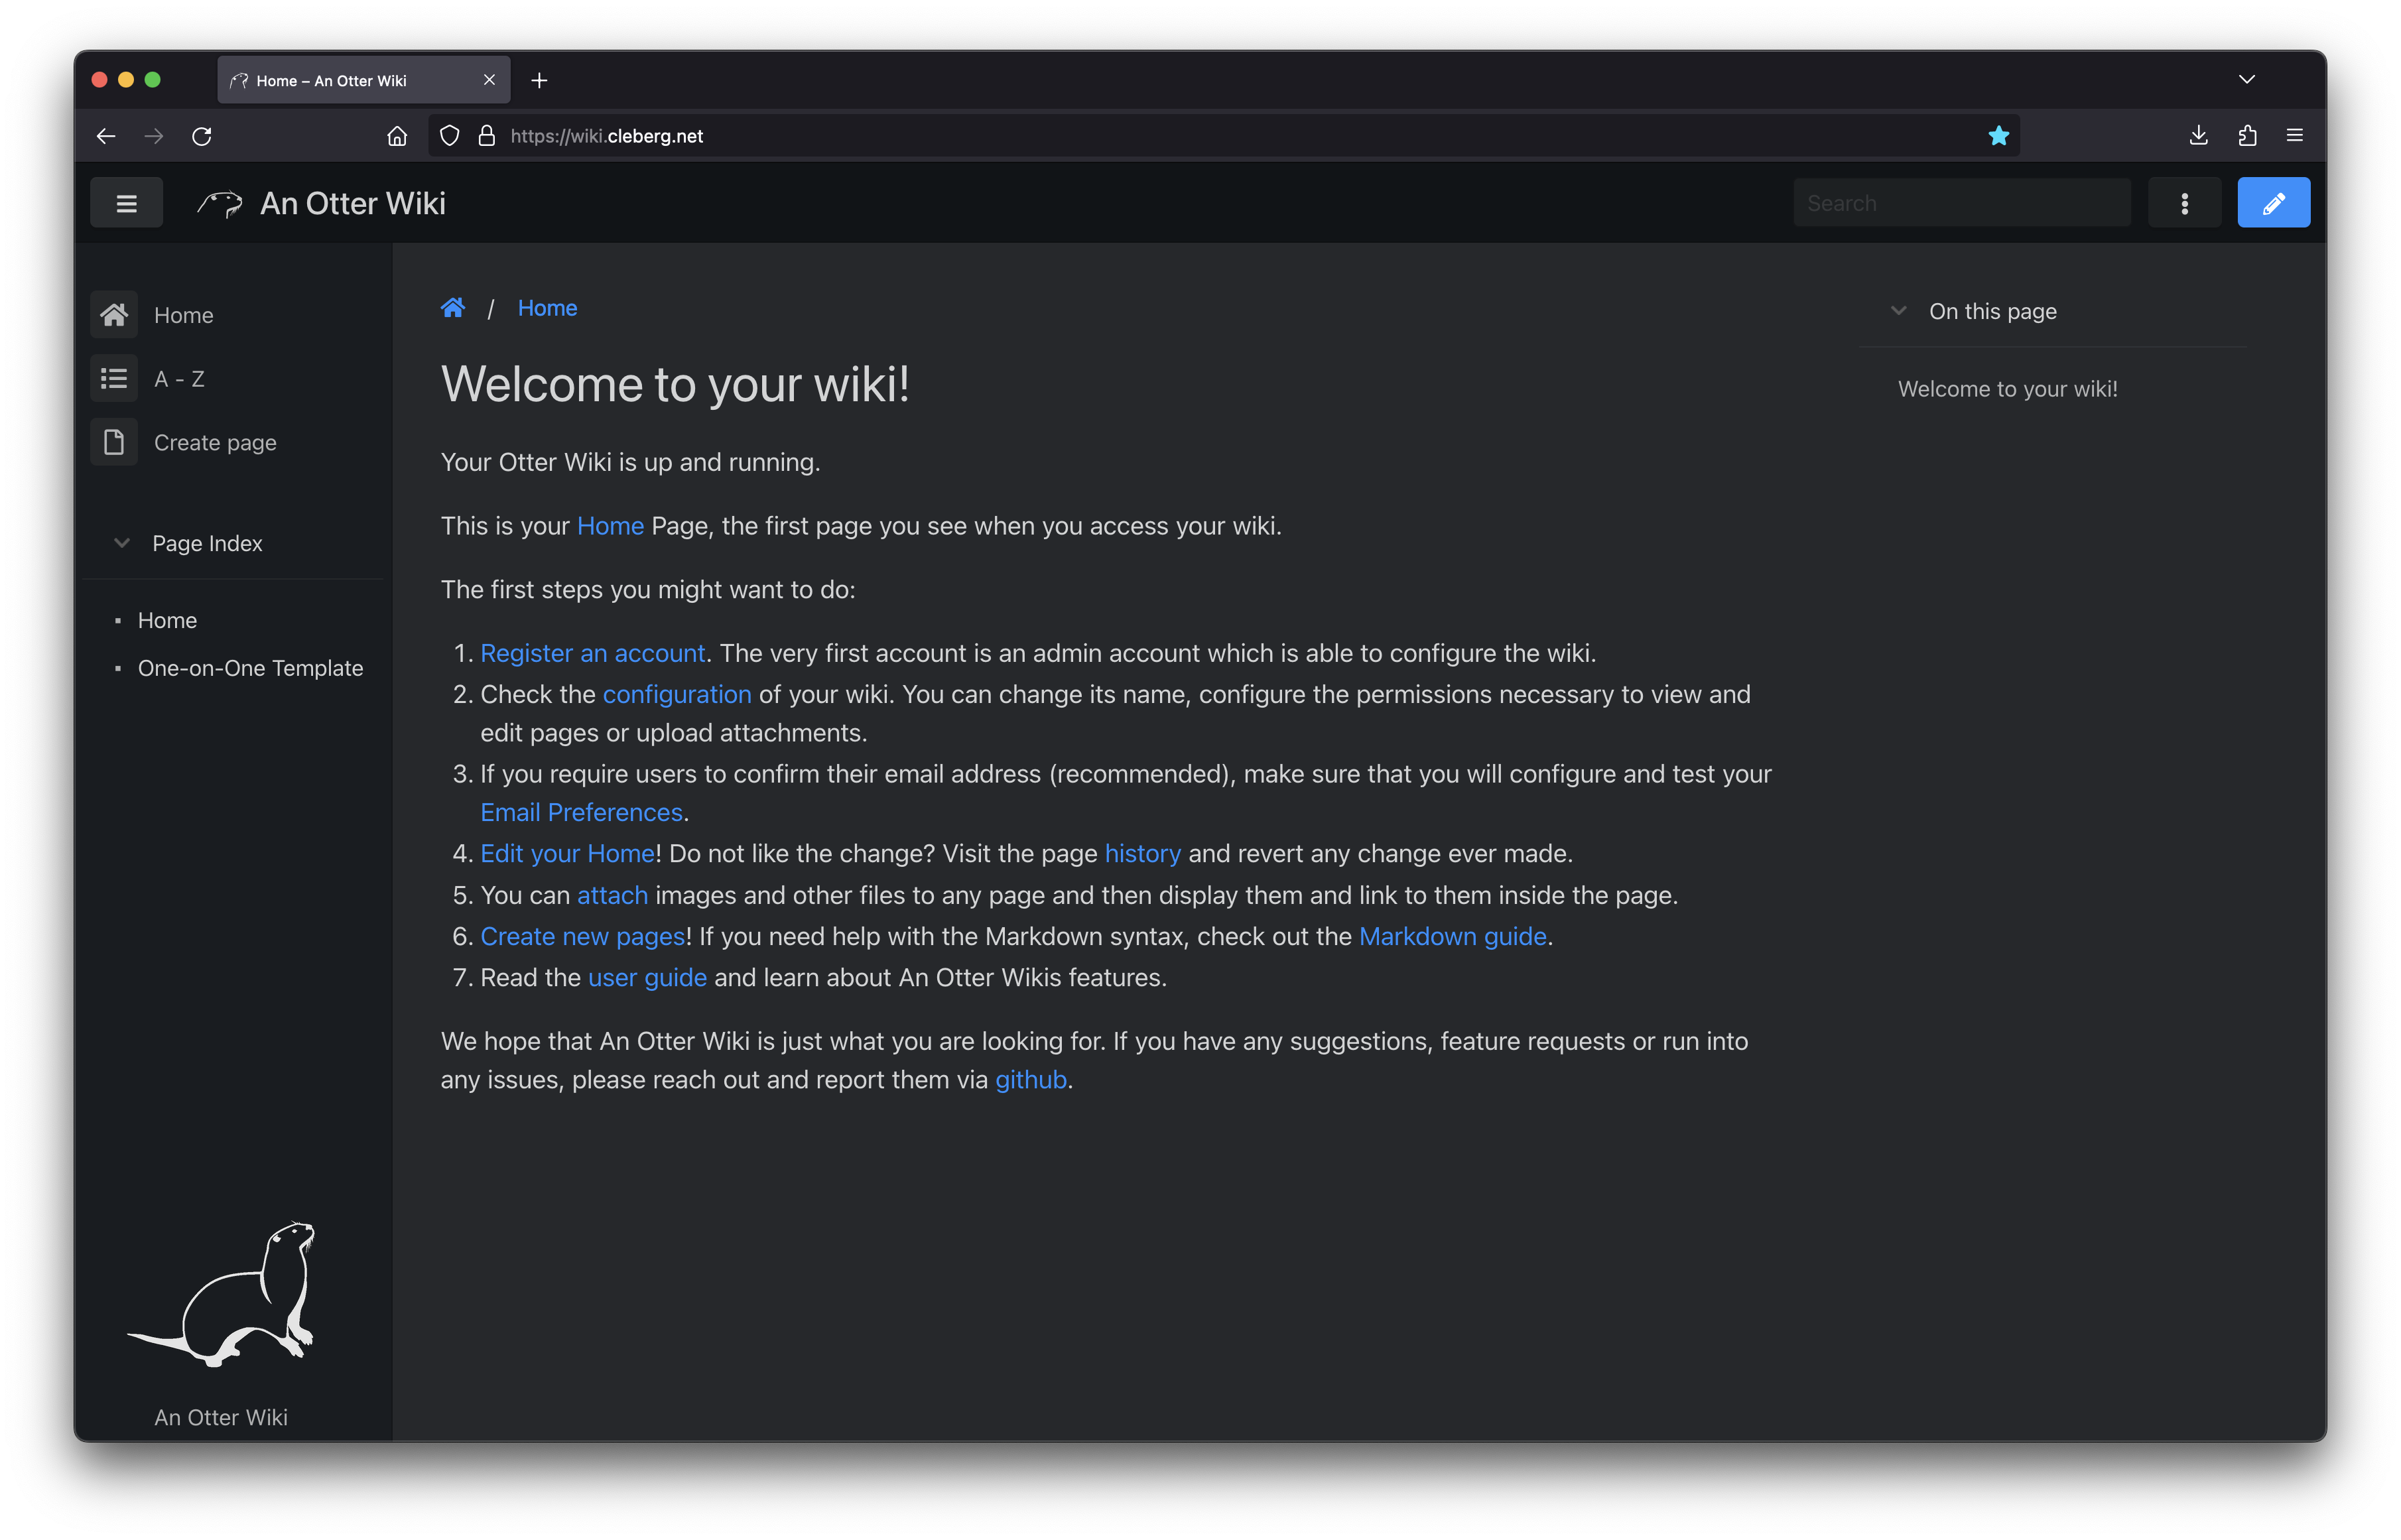 - -You can also see the default editing screen for creating and editing pages. It's -as easy as typing Markdown and hitting the save button. - -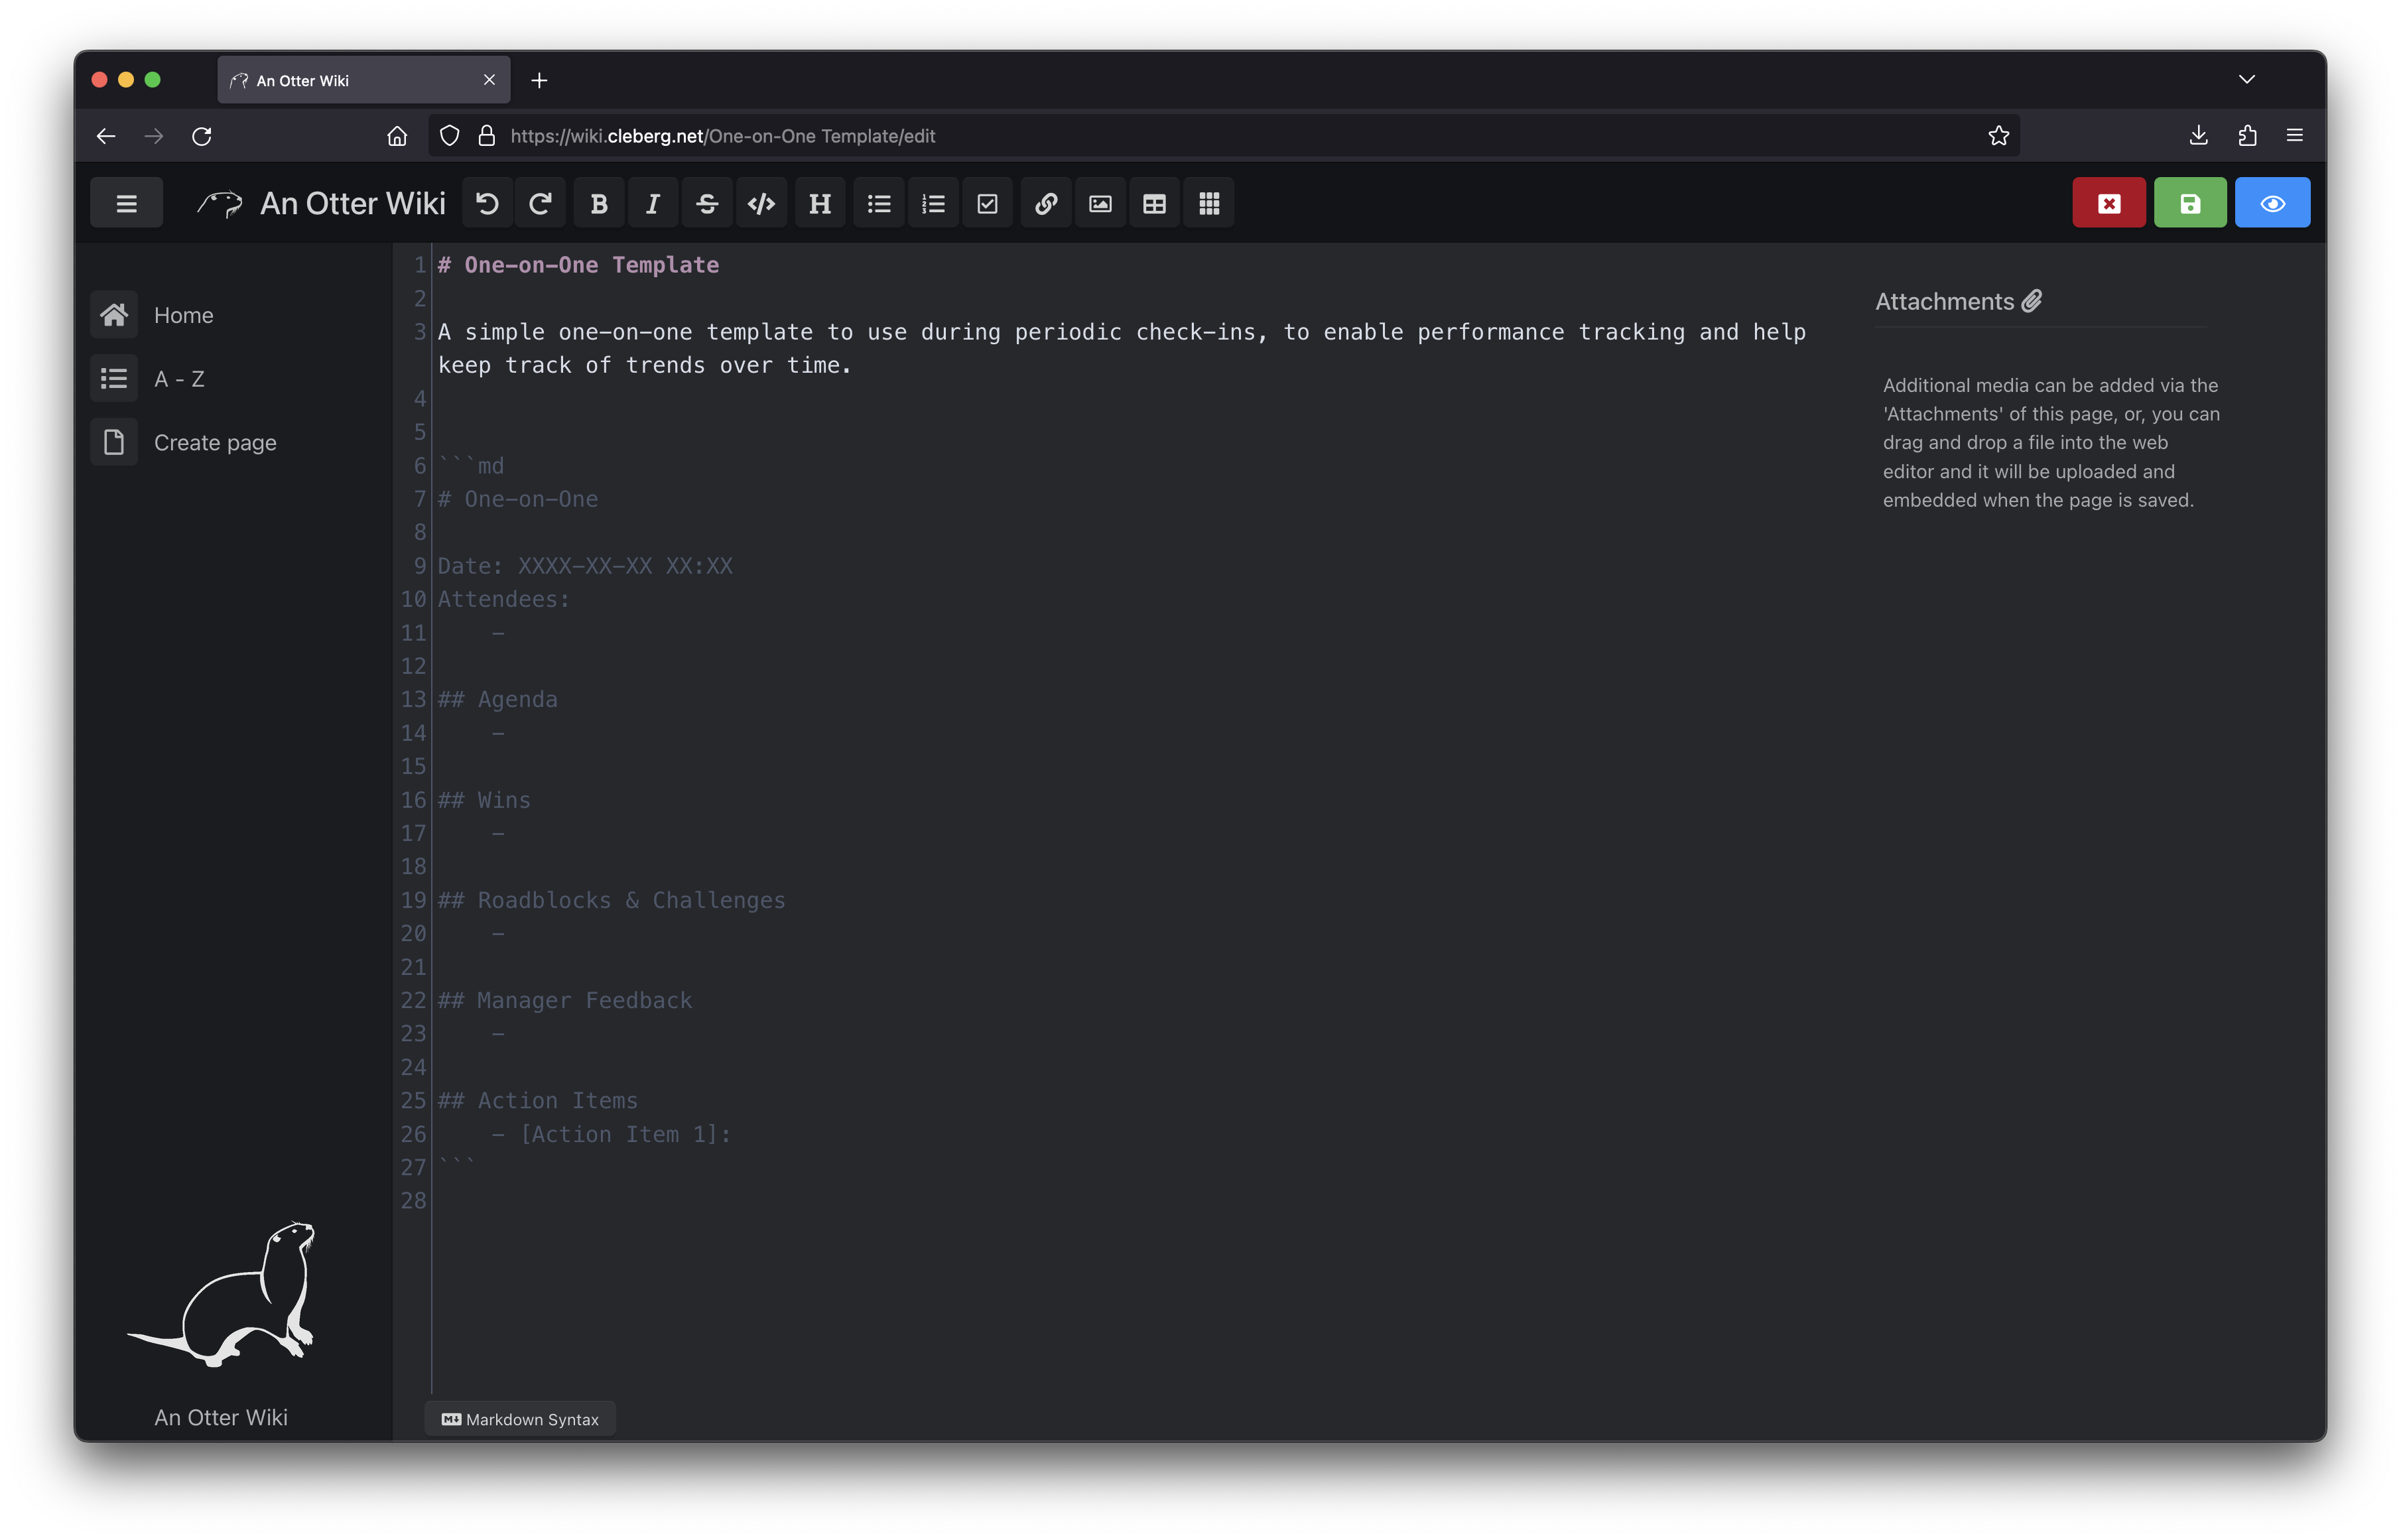 - -Overall, I like An Otter Wiki and will be looking forward to seeing how much use -I get out of it going forward. |