1
2
3
4
5
6
7
8
9
10
11
12
13
14
15
16
17
18
19
20
21
22
23
24
25
26
27
28
29
30
31
32
33
34
35
36
37
38
39
40
41
42
43
44
45
46
47
48
49
50
51
52
53
54
55
56
57
58
59
60
61
62
63
64
65
66
67
68
69
70
71
72
73
74
75
76
77
78
79
80
81
82
83
84
85
86
87
88
89
90
91
92
93
94
95
96
97
98
99
100
101
102
103
104
105
106
107
108
109
110
111
112
113
114
115
116
117
118
119
120
121
122
123
124
125
126
127
128
129
130
131
132
133
134
135
136
137
138
139
140
141
142
143
144
145
146
147
148
149
150
151
152
153
154
155
156
157
158
159
160
161
162
163
164
165
166
167
168
169
170
171
172
173
174
175
176
177
178
179
180
181
182
183
184
185
186
187
188
189
190
191
192
193
194
195
196
197
198
199
200
201
202
203
204
205
206
207
208
209
210
211
212
213
214
215
216
217
218
219
220
221
222
223
224
225
226
227
228
229
230
231
232
233
234
235
236
237
238
239
240
241
242
243
244
245
246
247
248
249
250
251
252
253
254
255
256
257
258
259
260
261
262
263
264
265
266
267
268
269
270
271
272
273
274
275
|
+++
date = 2020-01-25
title = "Linux Software"
description = "A look at some useful Linux applications."
+++
# GUI Applications
## Etcher
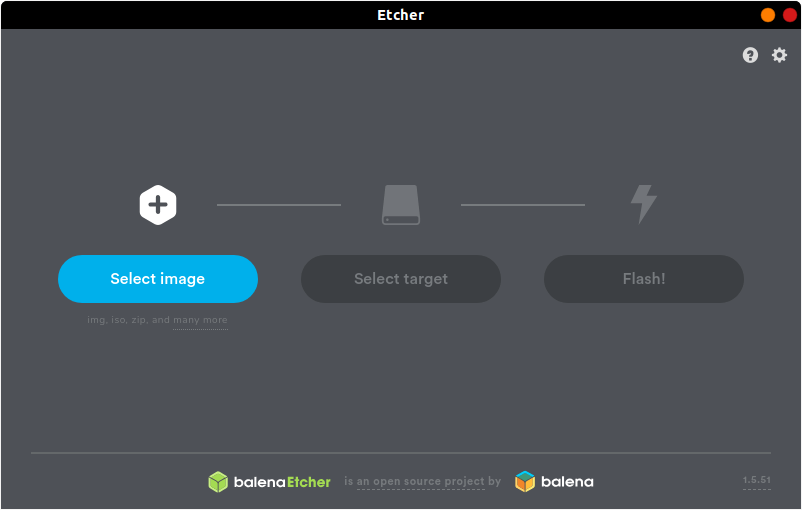
[Etcher](https://www.balena.io/etcher/) is a quick and easy way to burn
ISO images to CDs and USB devices. There are two different ways you can
install this program. First, you can navigate to the [official
website](https://www.balena.io/etcher/) and download the AppImage file,
which can run without installation.
However, AppImage files are not executable by default, so you'll either
need to right-click to open the properties of the file and click the
"Allow executing file as program" box in the Permissions tab or use
the following command:
```sh
chmod u+x FILE_NAME
```
If you don't like AppImage files or just prefer repositories, you can
use the following commands to add the author's repository and install
it through the command-line only.
First, you'll have to echo the repo and write it to a list file:
```sh
echo "deb https://deb.etcher.io stable etcher" | sudo tee /etc/apt/sources.list.d/balena-etcher.list
```
Next, add the application keys to Ubuntu's keyring:
```sh
sudo apt-key adv --keyserver keyserver.ubuntu.com --recv-keys 379CE192D401AB61
```
Finally, update the repositories and install the app.
```sh
sudo apt update && sudo apt install balena-etcher-electron
```
Using Arch, Manjaro, or another distro using the AUR? Use this command
instead:
```sh
sudo pacman -S etcher
```
## Atom

[Atom](https://atom.io) is the self-proclaimed "hackable text editor
for the 21st century". This text editor is made by GitHub, [now owned
by
Microsoft](https://news.microsoft.com/2018/06/04/microsoft-to-acquire-github-for-7-5-billion/),
and has some of the best add-ons available to customize the layout and
abilities of the app.
First, add the Atom repository to your sources.
```sh
sudo add-apt-repository ppa:webupd8team/atom
```
Next, update your package listings and install atom.
```sh
sudo apt update && sudo apt install atom
```
If you have issues updating your packages with the Atom repository,
you'll need to use the snap package described below instead of the
repository. To remove the repository we just added, use this command:
```sh
sudo add-apt-repository -r ppa:webupd8team/atom
```
You can also install Atom as a snap package, but it must be installed
with the `--classic` flag. A [full explanation is
available](https://language-bash.com/blog/how-to-snap-introducing-classic-confinement)
if you'd like to read more about why you need the classic flag.
```sh
snap install atom --classic
```
Using Arch, Manjaro, or another distro using the AUR? Use this command
instead:
```sh
sudo pacman -S atom
```
---
## Visual Studio Code

[Visual Studio Code](https://code.visualstudio.com) is yet another
fantastic choice for programming on Linux, especially if you need those
extra add-ons to spice up your late-night coding sessions. The theme
used in the screenshot is
[Mars](https://marketplace.visualstudio.com/items?itemName=EliverLara.mars)
by theme creator [Eliver Lara](https://github.com/EliverLara), who makes
a ton of great themes for VS Code, Atom, and various Linux desktop
environments.
To install VS Code, you'll need to download the `.deb` file from the
official website. Once you've downloaded the file, either double-click
it to install through the Software Center or run the following command:
```sh
sudo dpkg -i FILE_NAME.deb
```
You can also install VS Code as a snap package, but it must be installed
with the `--classic` flag. A [full explanation is
available](https://language-bash.com/blog/how-to-snap-introducing-classic-confinement)
if you'd like to read more about why you need the classic flag.
```sh
snap install code --classic
```
Using Arch, Manjaro, or another distro using the AUR? Use these commands
instead:
```sh
sudo pacman -S yay binutils make gcc pkg-config fakeroot yay -S visual-studio-code-bin
```
## GNOME Tweaks
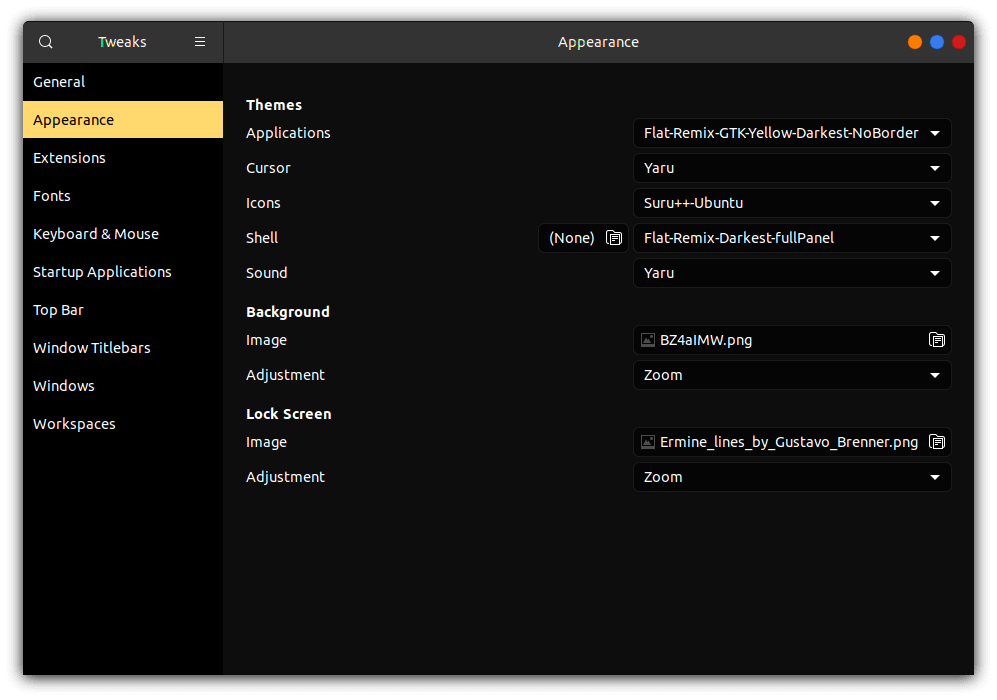
[Gnome Tweaks](https://gitlab.gnome.org/GNOME/gnome-tweaks) is the
ultimate tool to use if you want to customize your GNOME desktop
environment. This is how you can switch application themes (GTK), shell
themes, icons, fonts, and more. To install GNOME Tweaks on Ubuntu, you
just need to install the official package.
```sh
sudo apt install gnome-tweaks
```
If you've installed Manjaro or Arch with Gnome, you should have the
tweak tool pre-installed. If you're on Fedora, this tool is available
as an official package:
```sh
sudo dnf install gnome-tweaks
```
## Steam
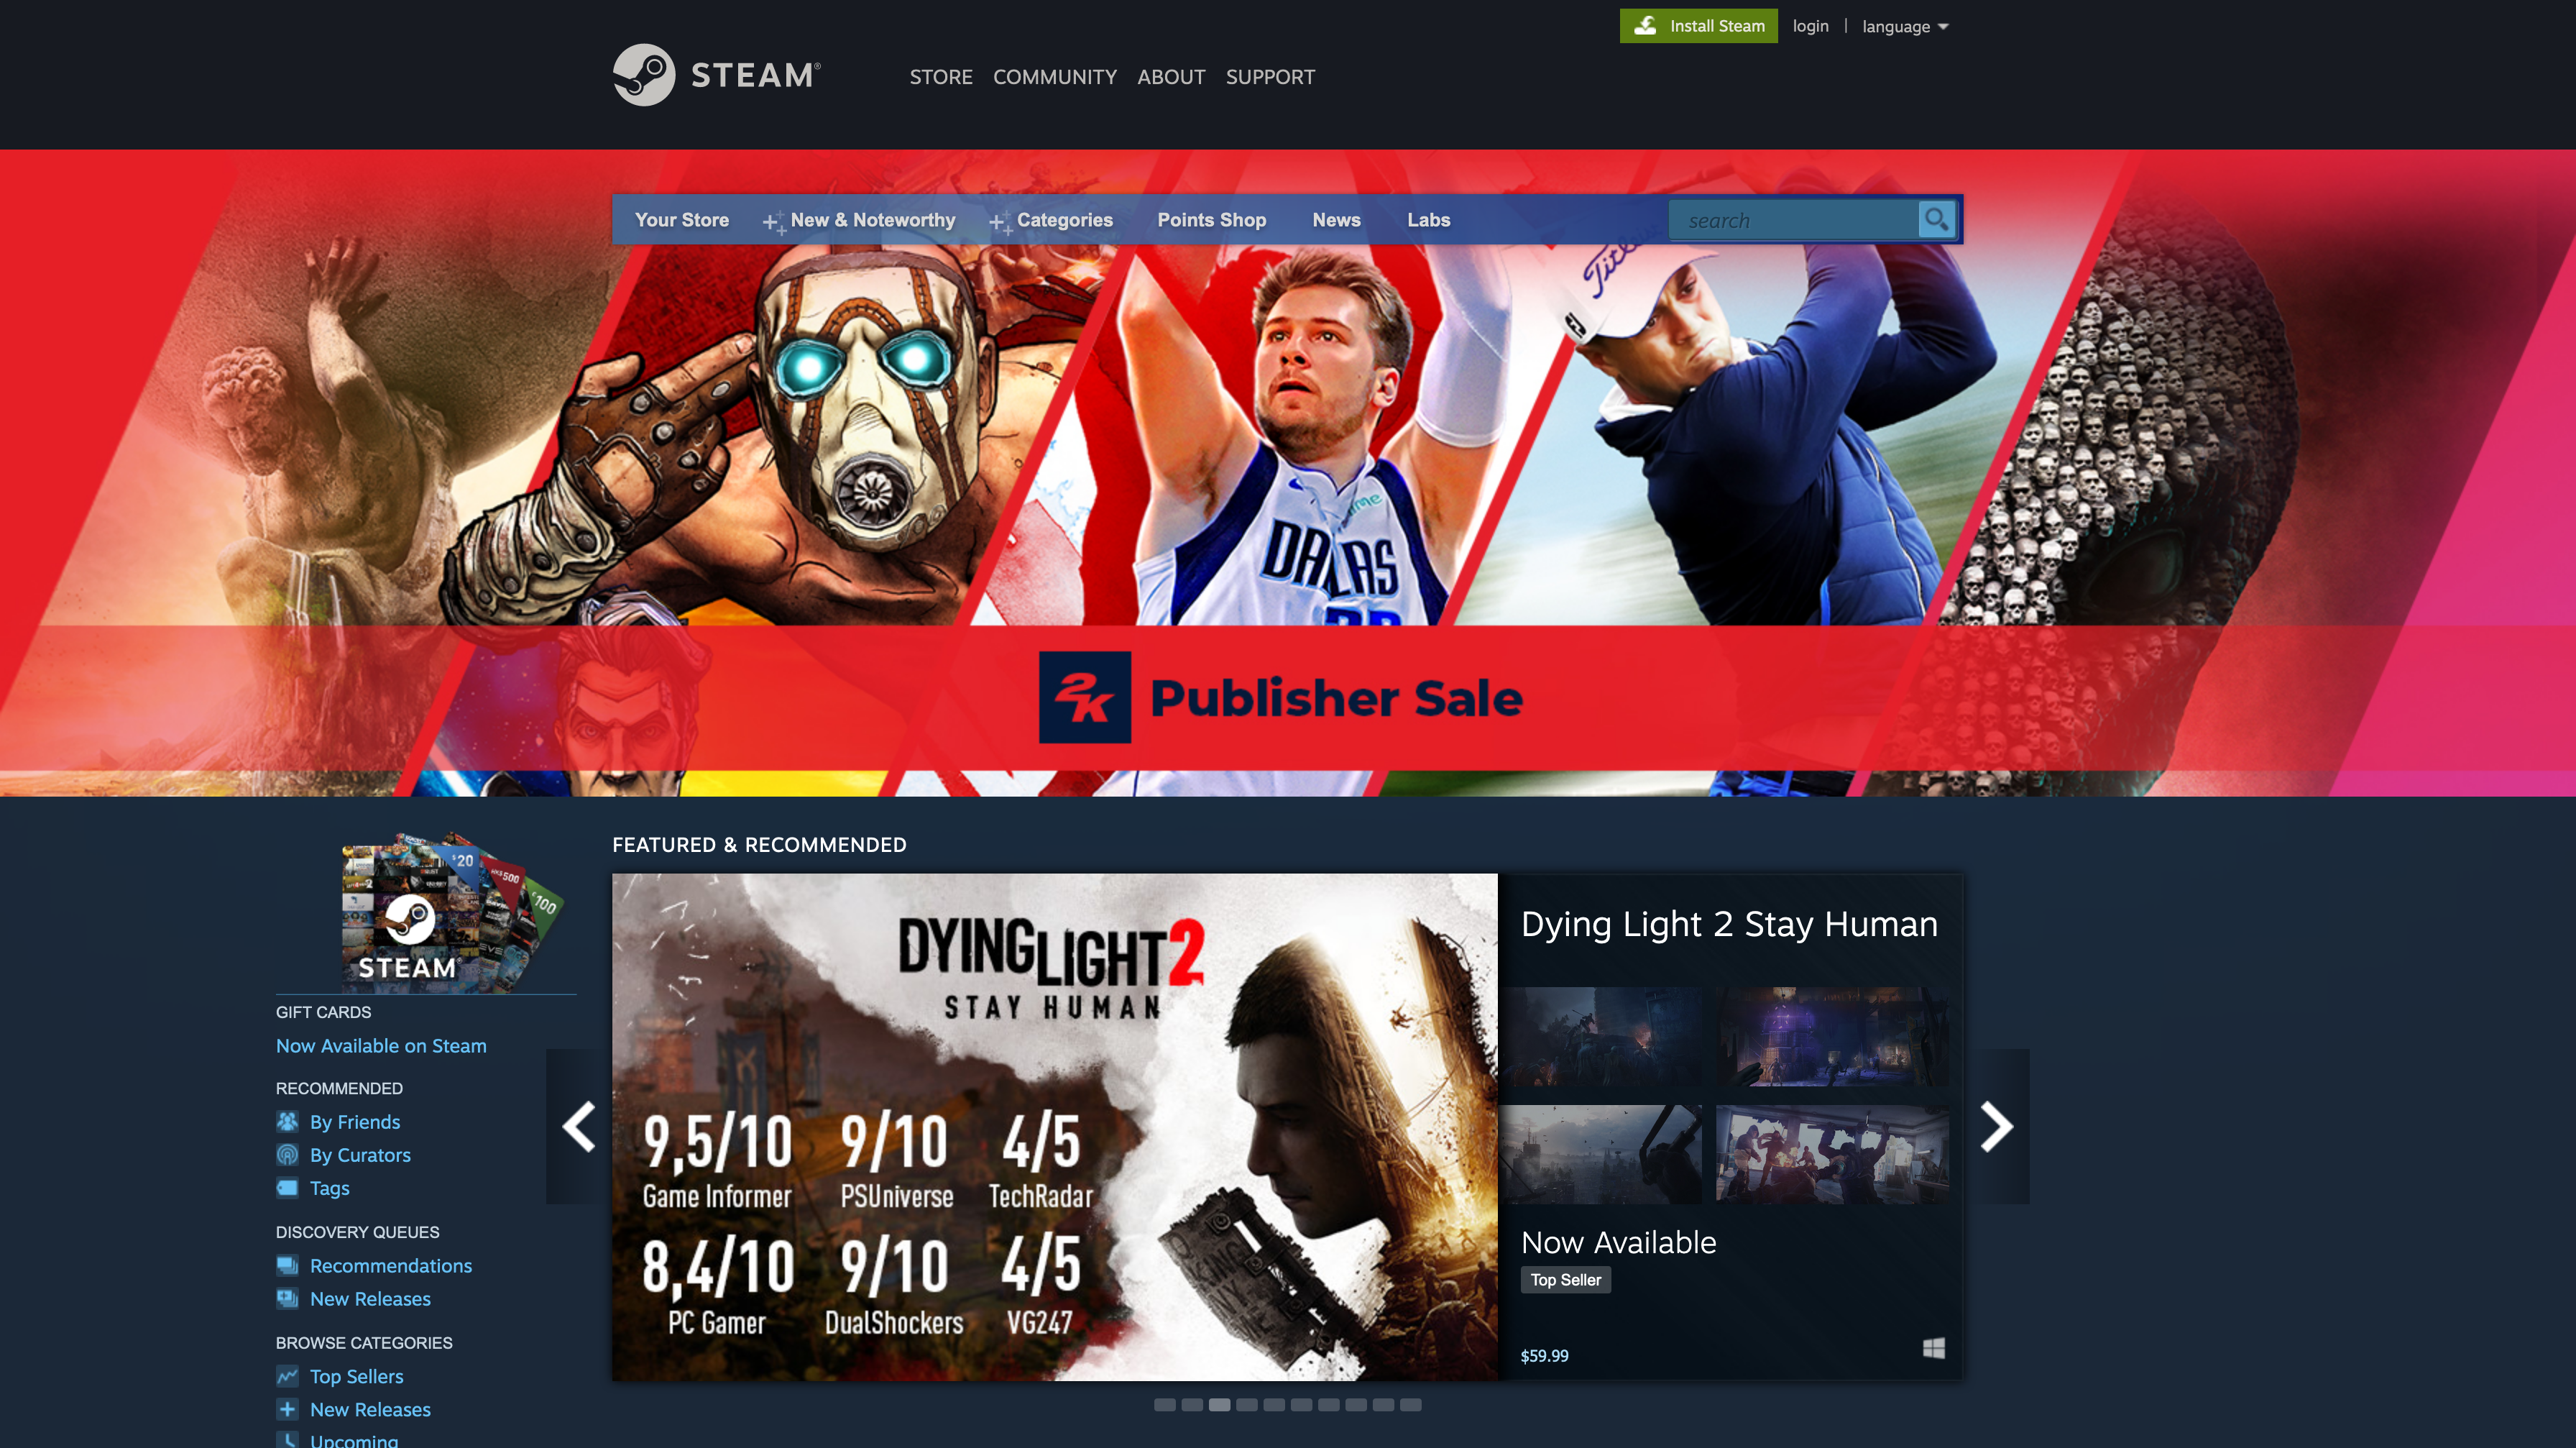
[Steam](https://steampowered.com) is one of the most popular gaming
libraries for computers and is one of the main reasons that many people
have been able to switch to Linux in recent years, thanks to Steam
Proton, which makes it easier to play games not officially created for
Linux platforms.
To install Steam on Ubuntu, you just need to install the official
package.
```sh
sudo apt install steam-installer
```
For Arch-based systems, you'll simply need to install the
`steam` package. However, this requires that you enable the
`multilib` source. To do so, use the following command:
```sh
sudo nano /etc/pacman.conf
```
Now, scroll down and uncomment the `multilib` section.
```config
# Before:
#[multilib]
#Include = /etc/pacman.d/mirrorlist
# After:
[multilib]
Include = /etc/pacman.d/mirrorlist
```
Finally, install the program:
```sh
sudo pacman -S steam
```
[Problem Launching Steam Games? Click
Here.](./2020-01-26-steam-on-ntfs-drives.html)
# Command-Line Packages
## neofetch
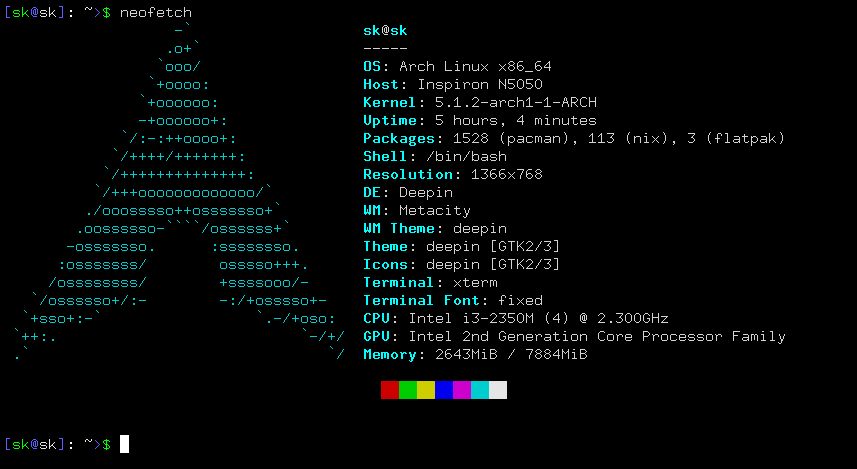
[Neofetch](https://github.com/dylanaraps/neofetch) is a customizable
tool used in the command-line to show system information. This is
exceptionally useful if you want to see your system's information
quickly without the clutter of some resource-heavy GUI apps.
This is an official package if you're running Ubuntu 17.04 or later, so
simply use the following command:
```sh
sudo apt install neofetch
```
If you're running Ubuntu 16.10 or earlier, you'll have to use a series
of commands:
```sh
sudo add-apt-repository ppa:dawidd0811/neofetch; sudo apt update; sudo apt install neofetch
```
Using Arch, Manjaro, or another distro using the AUR? Use this command
instead:
```sh
sudo pacman -S neofetch
```
## yt-dlp

[yt-dlp](https://github.com/yt-dlp/yt-dlp) is an extremely handy
command-line tool that allows you to download video or audio files from
various websites, such as YouTube. There are a ton of different options
when running this package, so be sure to run `yt-dlp --help` first to
look through everything you can do (or give up and search for the best
config online).
While this shouldn't be a problem for most users, yt-dlp requires
Python 2.6, 2.7, or 3.2+ to work correctly, so install Python if you
don't have it already. You can check to see if you have Python
installed by running:
```sh
python -V
```
To get the youtube-dl package, simply curl the URL and output the
results.
```sh
sudo curl -L https://github.com/yt-dlp/yt-dlp/releases/latest/download/yt-dlp -o /usr/local/bin/yt-dlp
```
Finally, make the file executable so that it can be run from the
command-line.
```sh
sudo chmod a+rx /usr/local/bin/yt-dlp
```
|
