1
2
3
4
5
6
7
8
9
10
11
12
13
14
15
16
17
18
19
20
21
22
23
24
25
26
27
28
29
30
31
32
33
34
35
36
37
38
39
40
41
42
43
44
45
46
47
48
49
50
51
52
53
54
55
56
57
58
59
60
61
62
63
64
65
66
67
68
69
70
71
72
73
74
75
76
77
78
79
80
81
82
83
84
85
86
87
88
89
90
91
92
93
94
95
96
97
98
99
100
101
102
103
104
105
106
107
108
109
110
111
112
113
114
115
116
117
118
119
120
121
122
123
124
125
126
127
128
129
130
131
132
133
134
135
136
137
138
139
140
141
142
143
144
145
146
147
148
149
150
151
152
153
154
155
156
157
158
159
160
161
162
163
164
165
166
167
168
169
170
171
172
173
174
175
176
177
178
179
180
181
182
183
184
185
186
187
188
189
190
191
192
193
194
195
196
197
198
199
200
201
202
|
+++
date = 2021-02-19
title = "macOS: Testing Out a New OS"
description = ""
draft = false
+++
# Diving into macOS
After spending nearly 15 years working with Windows and 8 years on Linux, I have
experienced macOS for the first time. By chance, my spouse happened to buy a new
MacBook and gifted me their 2013 model. Of course, I still consider my Linux
desktop to be my daily driver and keep Windows around for gaming needs, but over
the past week I've found myself using the MacBook more and more for things that
don't require gaming specs or advanced dev tools.
# Initial Thoughts
Before I move on to the technical aspects of my set-up, I want to take some time
and express my thoughts on the overall OS.
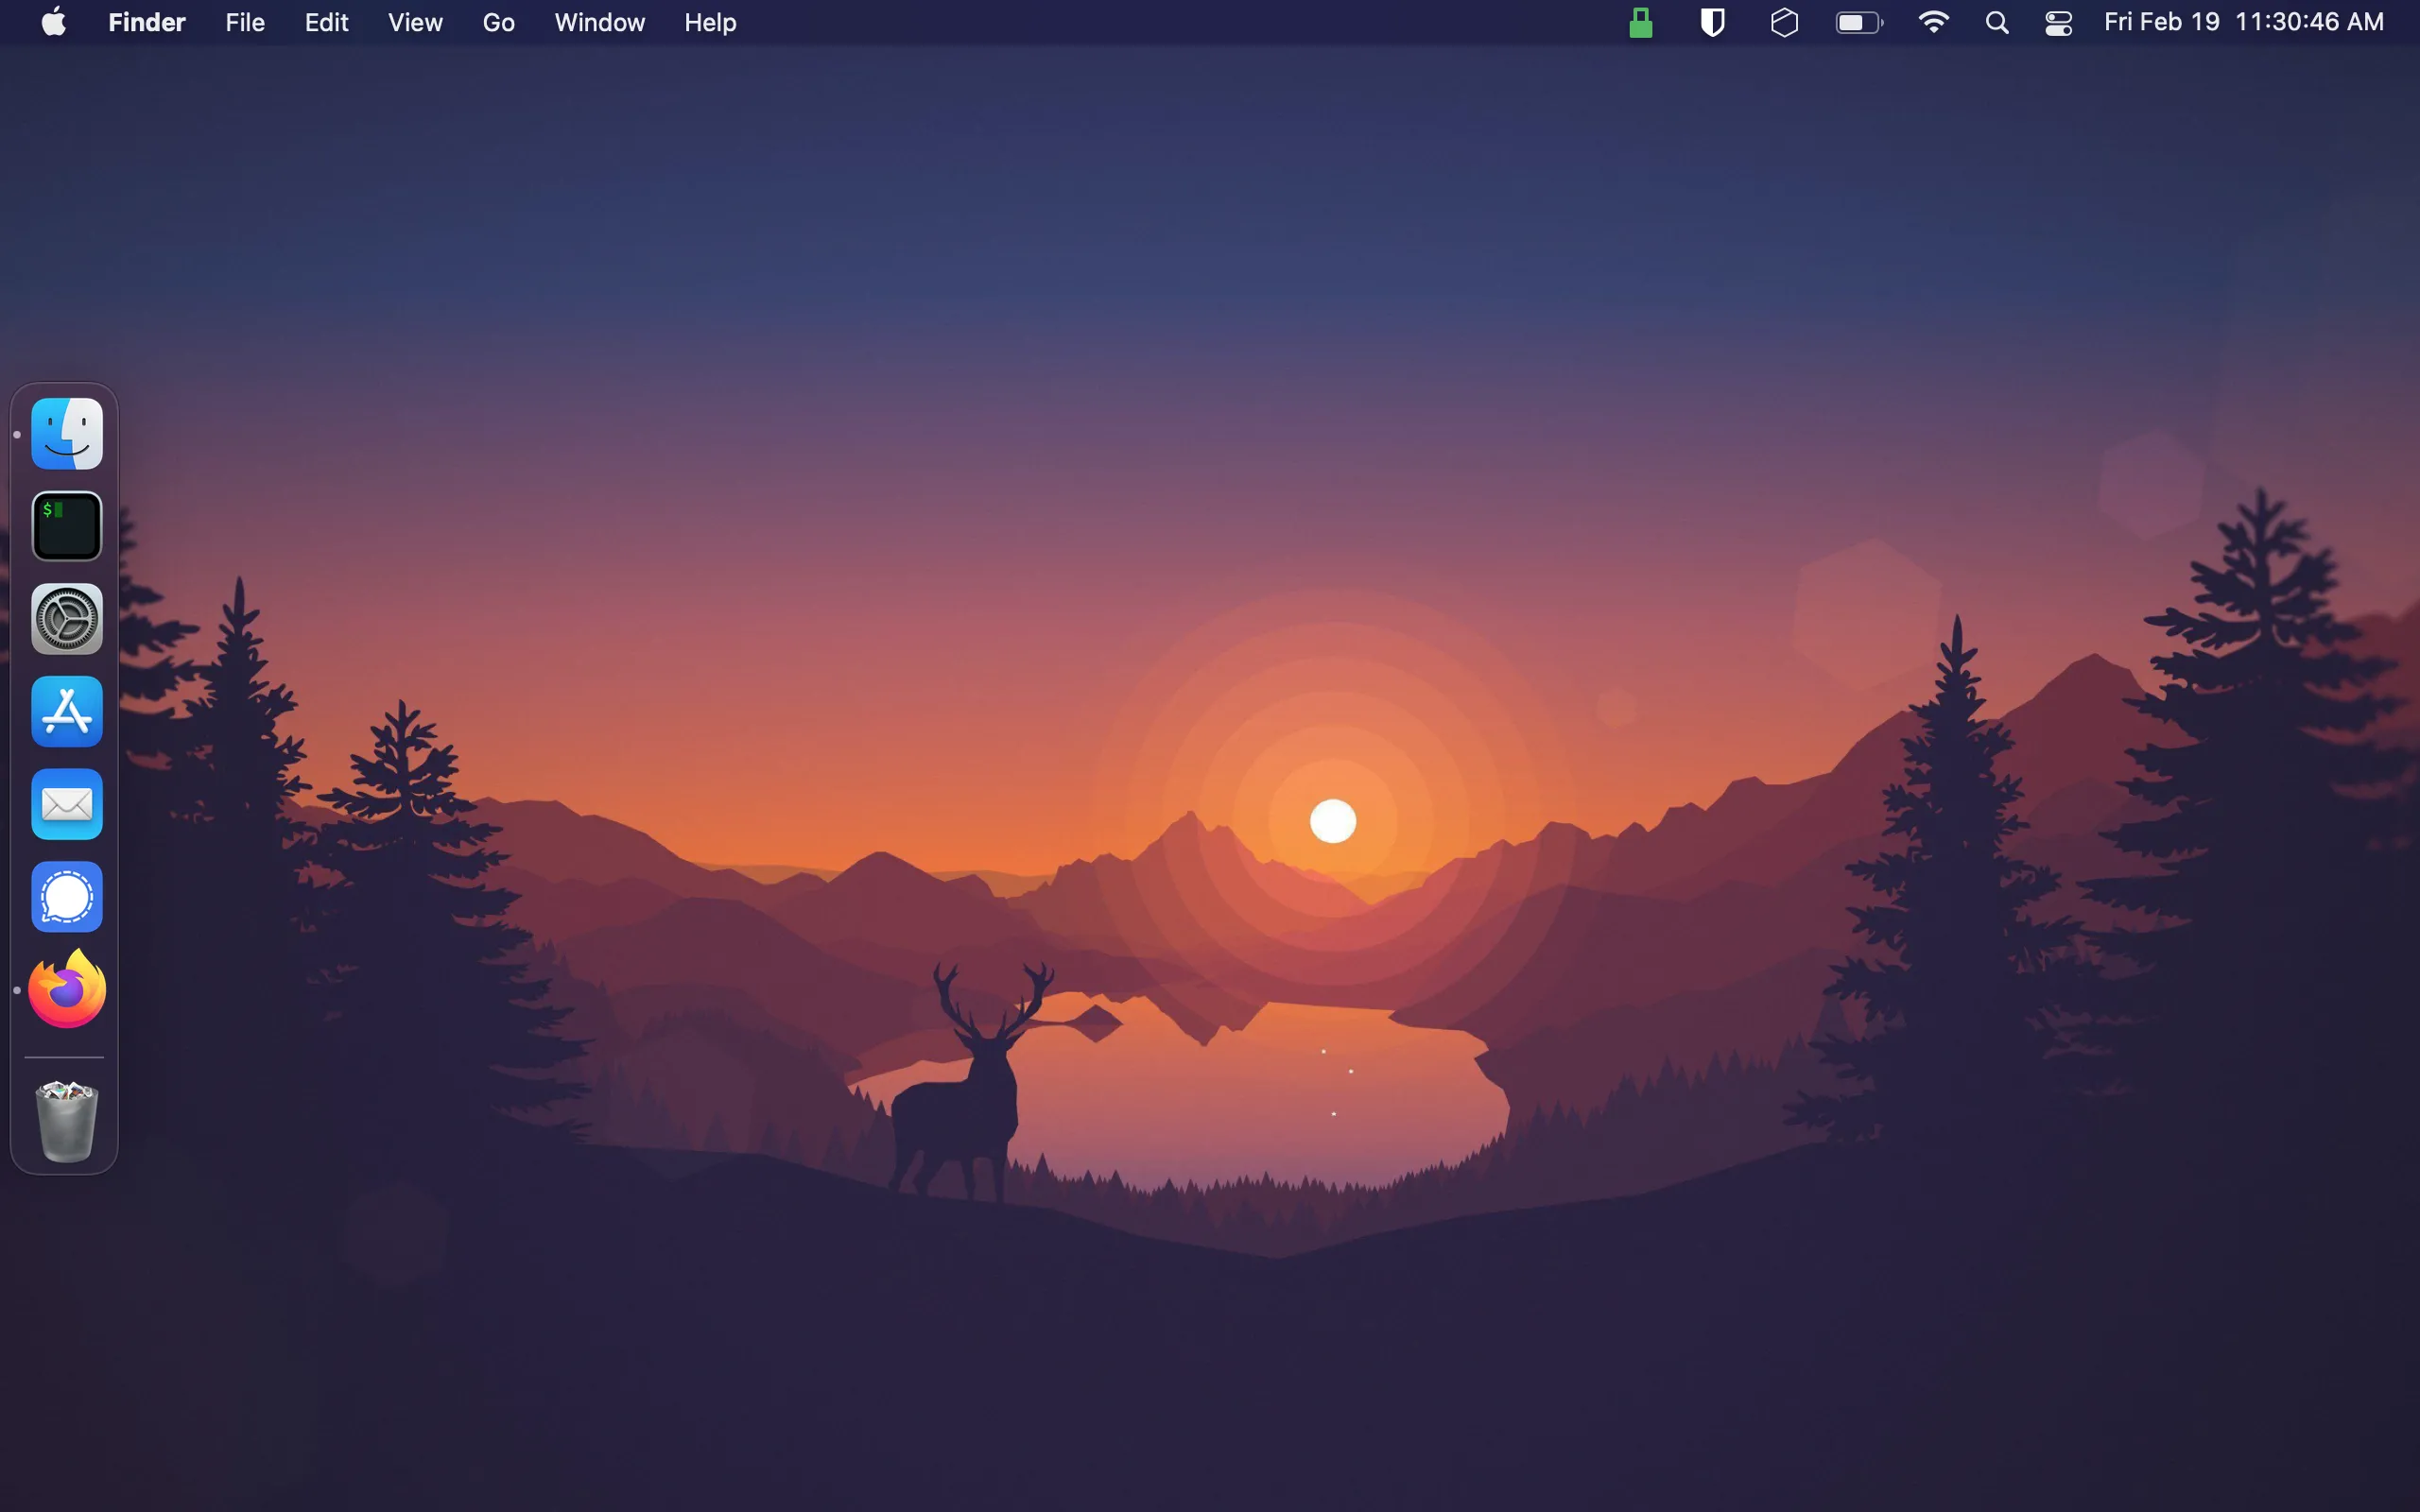
As expected, the initial computer setup is a breeze with Mac's guided GUI
installer.
The desktop itself reminds me of GNOME more than anything else I've seen: even
Pantheon from [ElementaryOS](https://elementary.io/), which people commonly
refer to as the closest Linux distro to macOS. The desktop toolbar is great and
far surpasses the utility of the GNOME toolbar due to the fact that the
extensions and icons *actually work*. I launch macOS and immediately see my
shortcuts for Tresorit, Bitwarden, and Mullvad pop up as the computer loads.
Even further, the app dock is very useful and will be yet another familiarity
for GNOME users. I know many people like panels instead of docks, but I've
always found docks to have a more pleasing UI. However, I had to disable the
"Show recent applications in Dock" preference; I can't stand items taking up
precious screen space if I'm not currently using them. On that same note, it's
taking me some time to get use to the fact that I have to manually quit an app
or else it will still stay open/active in the dock, even if I've closed out all
windows for that app (e.g. Firefox).
Overall, I'm having a lot of fun and for users who spend a large majority of
their time performing basic tasks like web browsing, writing, watching media,
etc., macOS is a fantastic option.
The rest of this post explains the technicalities of how I set up my CLI
environment to make me feel more at-home, similar to the environments I set up
on Fedora, Ubuntu, etc.
# Making it Feel Like Home
If you're someone who uses Linux primarily, no doubt your first thought when
booting macOS will be the same as mine was: "Where is the terminal and how do I
set up my favorite utilities?"
Luckily, macOS hasn't completely hidden away the development tools from the
average user. You can easily find the Terminal app in the Launchpad area, but
it's probably not what you're used to. I was surprised (and happy) to see that
the default shell is `zsh`, the shell I use on all of my Linux distros. However,
the commands are not the same - even the ones you may think are native to the
shell. Commands like `dir` do not exist, so other native commands like `ls -la`
or `pwd` are more useful here.
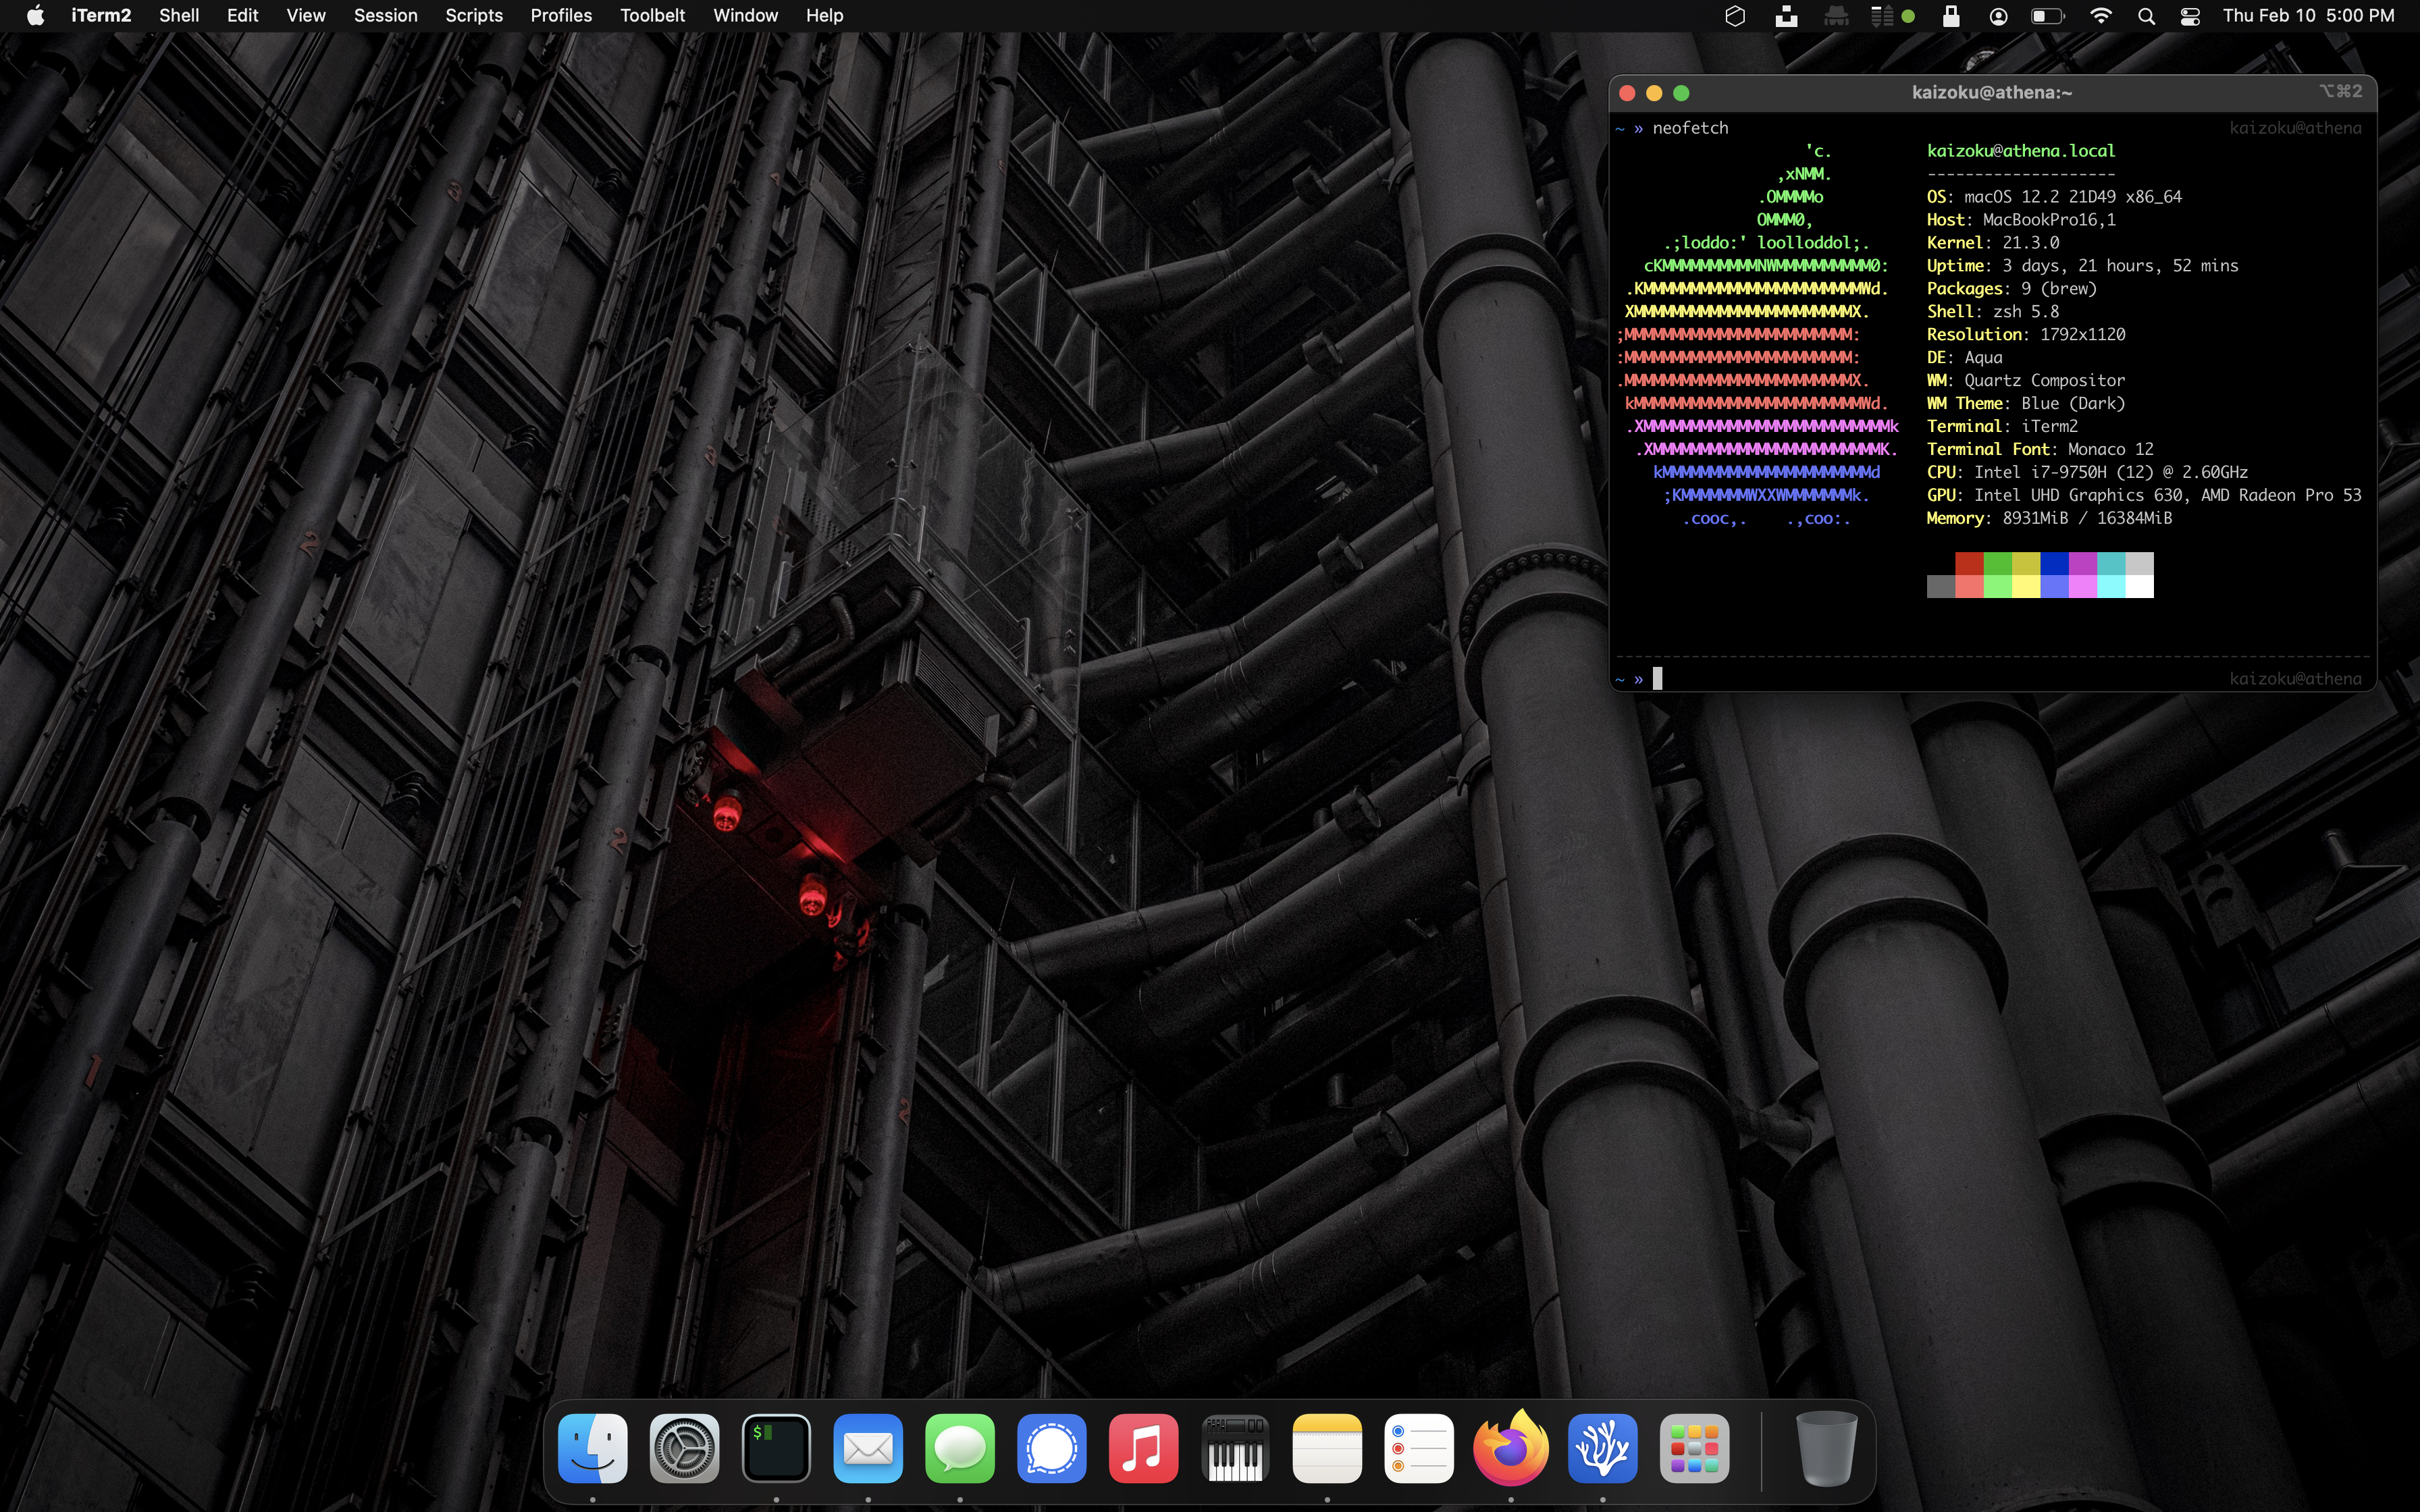
With only a few minutes of installing and tweaking a few packages, I was able to
recreate a terminal environment that I feel very comfortable using. See the
image below for a preview of the iTerm2 app with a split view between my macOS
desktop shell and an SSH session into my server.
# Xcode
My first step was to search the web for any hints on how to get `zsh` back up to
the state I like, with extensions, themes, etc. My first step was to install the
CLI tools for [Xcode](https://developer.apple.com/xcode/), Apple's suite of
development tools.
```sh
sudo xcode-select -r
```
```sh
sudo xcode-select --install
```
# Homebrew
Next up is to install [Homebrew](https://brew.sh), a nifty package manager for
macOS.
```sh
/bin/bash -c "$(curl -fsSL https://raw.githubusercontent.com/Homebrew/install/HEAD/install.sh)"
```
I ran into a permission error when installing Homebrew:
```sh
Error: Failed to link all completions, docs and manpages:
Permission denied @ rb_file_s_symlink - (../../../Homebrew/completions/zsh/_brew, /usr/local/share/zsh/site-functions/_brew)
Failed during: /usr/local/bin/brew update --force --quiet
```
I found that the following permission modification worked like a charm. However,
I noted that some users online discussed the fact that this solution may not
work if your system has multiple users who use Homebrew.
```sh
sudo chown -R $(whoami) $(brew --prefix)/*
```
Next up is to ensure Homebrew is updated and cleaned.
```sh
brew update
```
```sh
brew cleanup
```
# iTerm2
Now that I've installed the basic utilities for development, I moved onto
installing iTerm2, a much better terminal than the default.
```sh
brew install --cask iterm2
```
I also used the `Make iTerm2 Default Term` and `Install Shell Integration`
options in the iTerm2 application menu to make sure I don't run into any issues
later on with different terminals.
We will also install `zsh` so we can use it in iTerm2.
```sh
brew install zsh
```
# Oh-My-Zsh
I've shown the great aspects of [Oh My Zsh](https://ohmyz.sh) in other blog
posts, so I'll skip over that speech for now. Simply install it and run an
update.
```sh
sh -c "$(curl -fsSL https://raw.githubusercontent.com/robbyrussell/oh-my-zsh/master/tools/install.sh)"
```
```sh
omz update
```
Finally, restart the iTerm2 application to ensure all changes go into effect.
# Oh-My-Zsh Themes
Let's change the theme of the terminal to make it a little more friendly.
```sh
open ~/.zshrc
```
The third section of this file should contain a line like the code below. Change
that theme to [any theme you
want](https://github.com/ohmyzsh/ohmyzsh/wiki/Themes), save the file, and exit.
```sh
ZSH_THEME="af-magic"
```
After changing the `.zshrc` file, you'll need to close your terminal and
re-open it to see the changes. Optionally, just open a new tab if you're using
iTerm2, and you'll see the new shell config.
# Oh-My-Zsh Plugins
Of course, my customization of `zsh` would not be complete without
[zsh-autosuggestions](https://github.com/zsh-users/zsh-autosuggestions). This
will bring up commands you've run in the past as you type them. For example, if
you've run `ssh user@192.168.1.99` before, the terminal will show this command
as soon as you start typing it (e.g. `zsh u`), and you can hit the right arrow
to autocomplete the command.
```sh
git clone https://github.com/zsh-users/zsh-autosuggestions ${ZSH_CUSTOM:-~/.oh-my-zsh/custom}/plugins/zsh-autosuggestions
```
```sh
open ~/.zshrc
```
```sh
# Scroll down the script and edit this line to add zsh-autosuggestions
plugins=(git zsh-autosuggestions)
```
Remember: After changing the `.zshrc` file, you'll need to close your terminal
and re-open it to see the changes. Optionally, just open a new tab if you're
using iTerm2, and you'll see the new shell config.
|
