1
2
3
4
5
6
7
8
9
10
11
12
13
14
15
16
17
18
19
20
21
22
23
24
25
26
27
28
29
30
31
32
33
34
35
36
37
38
39
40
41
42
43
44
45
46
47
48
49
50
51
52
53
54
55
56
57
58
59
60
61
62
63
64
65
66
67
68
69
70
71
72
73
74
75
76
77
78
79
80
81
82
83
84
85
86
87
88
89
90
91
92
93
94
95
96
97
98
99
100
101
102
103
104
105
106
107
108
109
110
111
112
113
114
115
116
117
118
119
120
121
122
123
124
125
126
127
128
129
130
131
132
133
134
135
136
137
138
139
140
141
142
143
144
145
146
147
148
149
150
151
152
153
154
155
156
157
158
159
160
161
162
163
164
165
166
167
168
169
170
171
172
173
174
175
176
177
178
179
180
181
182
183
184
185
186
187
188
189
190
191
192
193
194
195
196
197
198
199
200
201
202
203
204
205
206
207
208
209
210
211
212
213
214
215
216
217
218
219
220
221
222
223
224
225
226
227
228
229
230
231
232
233
234
235
236
237
238
239
240
241
242
243
244
245
246
247
248
|
+++
date = 2022-03-08
title = "Migrating Plex to a New Server with Nvidia GPU Transcoding"
description = ""
draft = false
+++
# Migration Phases
I recently decided to migrate my server from an old OptiPlex desktop
machine to a custom-built tower with better hardware in every category.
In order to do this, I would need to properly migrate a full Plex
installation.
The second part of this migration is that the new server uses an Nvidia
GPU and does not have any integrated graphics, which requires extra work
for installation, but provides much better hardware transcoding options
for Plex.
Therefore, I have broken this migration down into three phases:
1. Configure the New Server
2. Migrate Plex Data & Devices
3. Configure GPU Transcoding
# Phase 1: Configure the New Server
## Choosing an OS
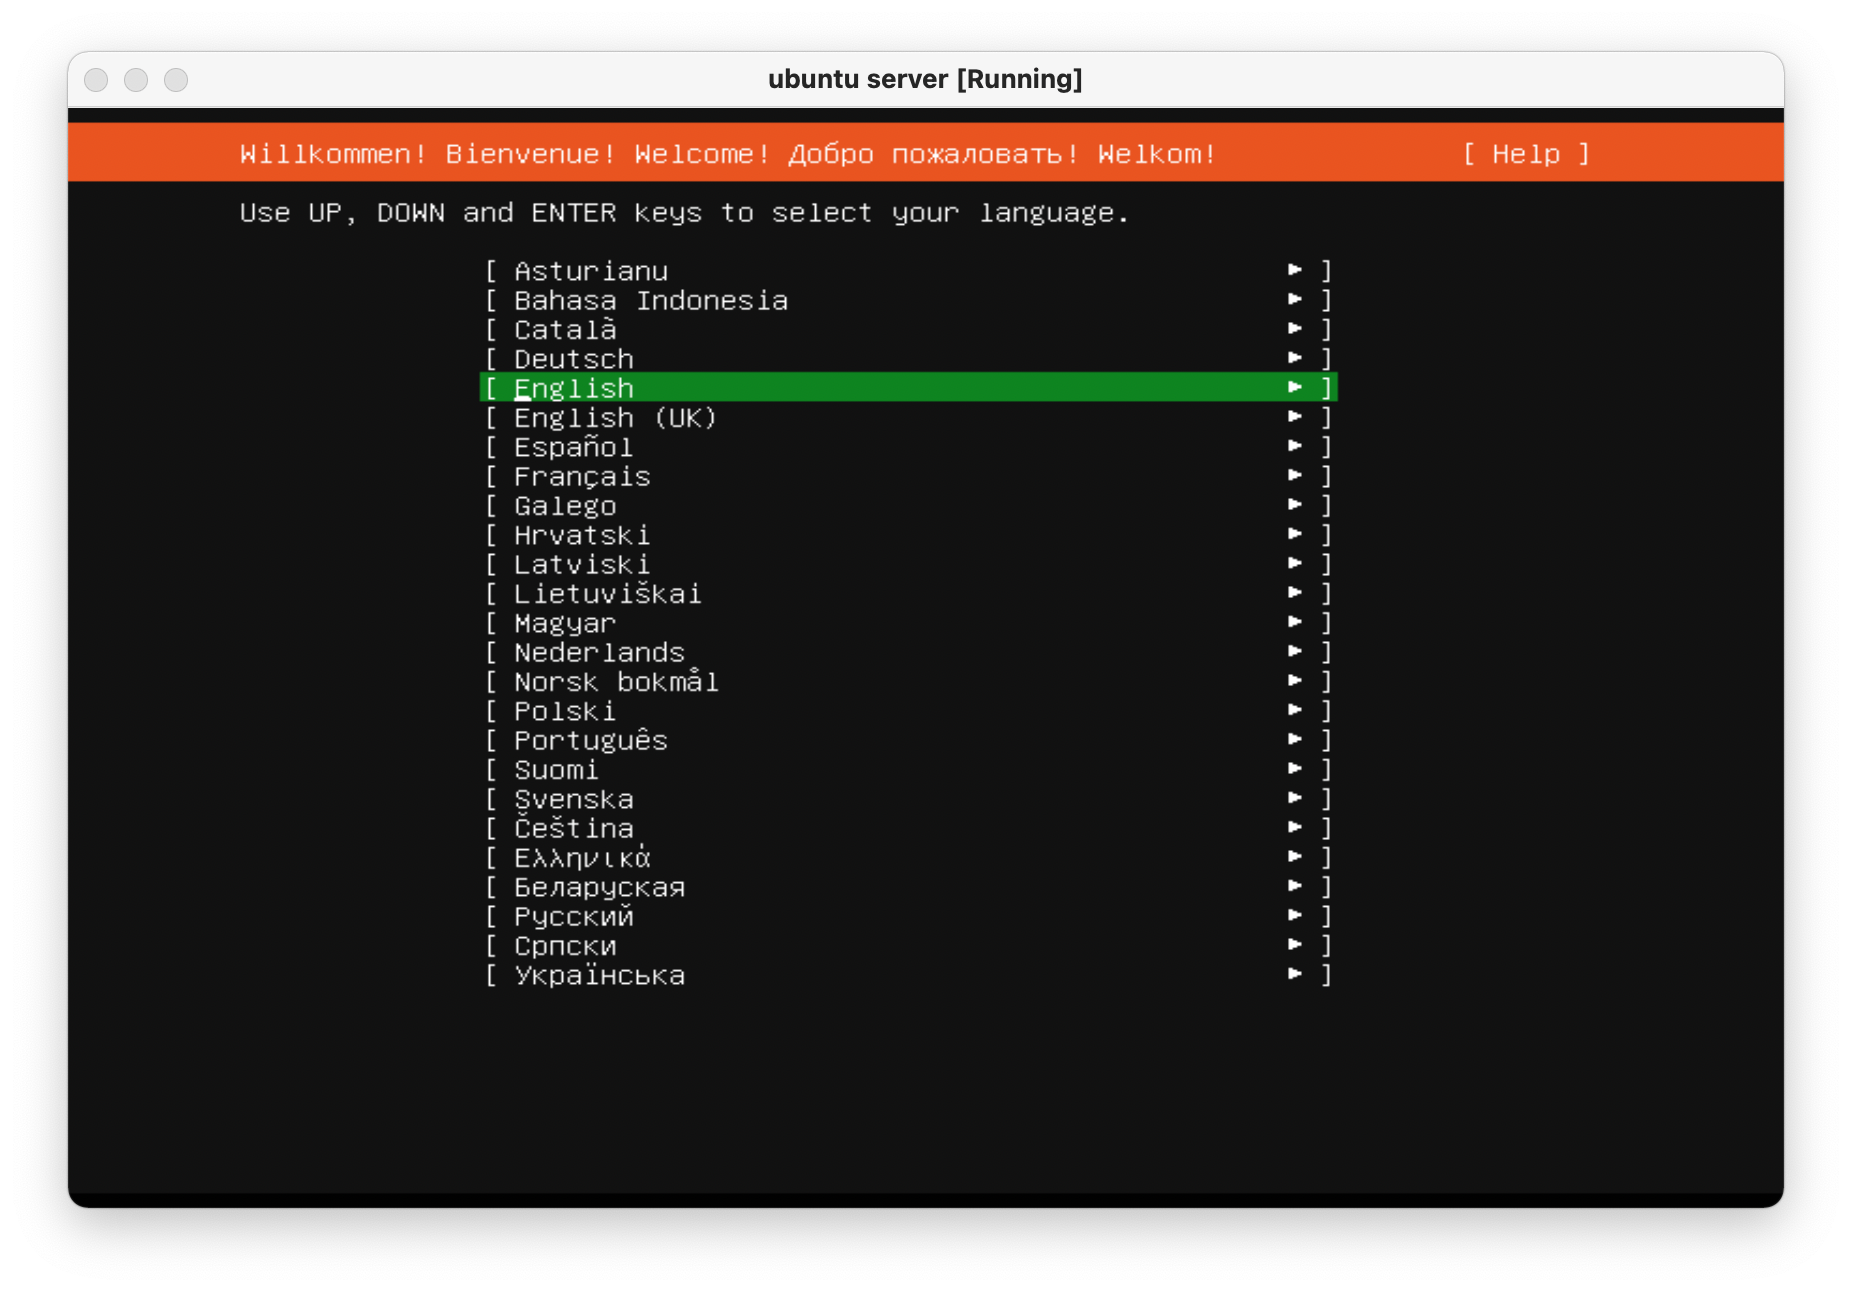
In order to migrate Plex to my new server, I first needed to choose an
appropriate operating system (OS) and install it on the machine. Given
that I have encountered numerous issues installing other Linux
distributions properly with Nvidia graphics, I chose [Ubuntu
Server](https://ubuntu.com/download/server).
The first step is to create a bootable USB with Ubuntu Server. This is
easy with [Etcher](https://www.balena.io/etcher/), an app that runs on
many different platforms. Just download the Ubuntu Server
`.iso` image, launch Etcher, and install the
`.iso` on the USB.
Once the USB is created, insert it into my server, reboot, and click
`Esc` (or any of the `F1-12` keys) until the BIOS
menu appears. Finally, launch the USB boot drive.
## Booting with Nvidia
In order to install Ubuntu Server with an Nvidia Graphics card (and no
integrated graphics on this device for some reason), you\'ll have to
configure the boot menu to allow different graphics drivers to be
loaded.
When booting from the USB, the machine will launch the initial
installation menu. From this menu, type `e` to view the
default command options that come with the device - it\'s a good idea to
take a photo of this screen, so you can enter these commands on the next
screen (along with adding support for Nvidia).
Finally, type `Ctrl + C` to enter the command line. From this
command line, enter the commands found on the `e` screen.
\*Remember to add `nomodeset` to the `linux ...`
line so that your Nvidia device will display the installation screens
properly!\*
Here\'s an example of the commands I pulled from the `e`
screen and entered on the command line.
```sh
setparams 'Install Ubuntu Server'
setgfxpayload=keep
linux /casper/vmlinuz quiet nomodeset ---
initrd /casper/initrd
boot
```
Once the machine is rebooted, enter the `e` screen again and
add `nomodeset` to the `linux ...` line again and
press `Ctrl + X` to save the boot options.
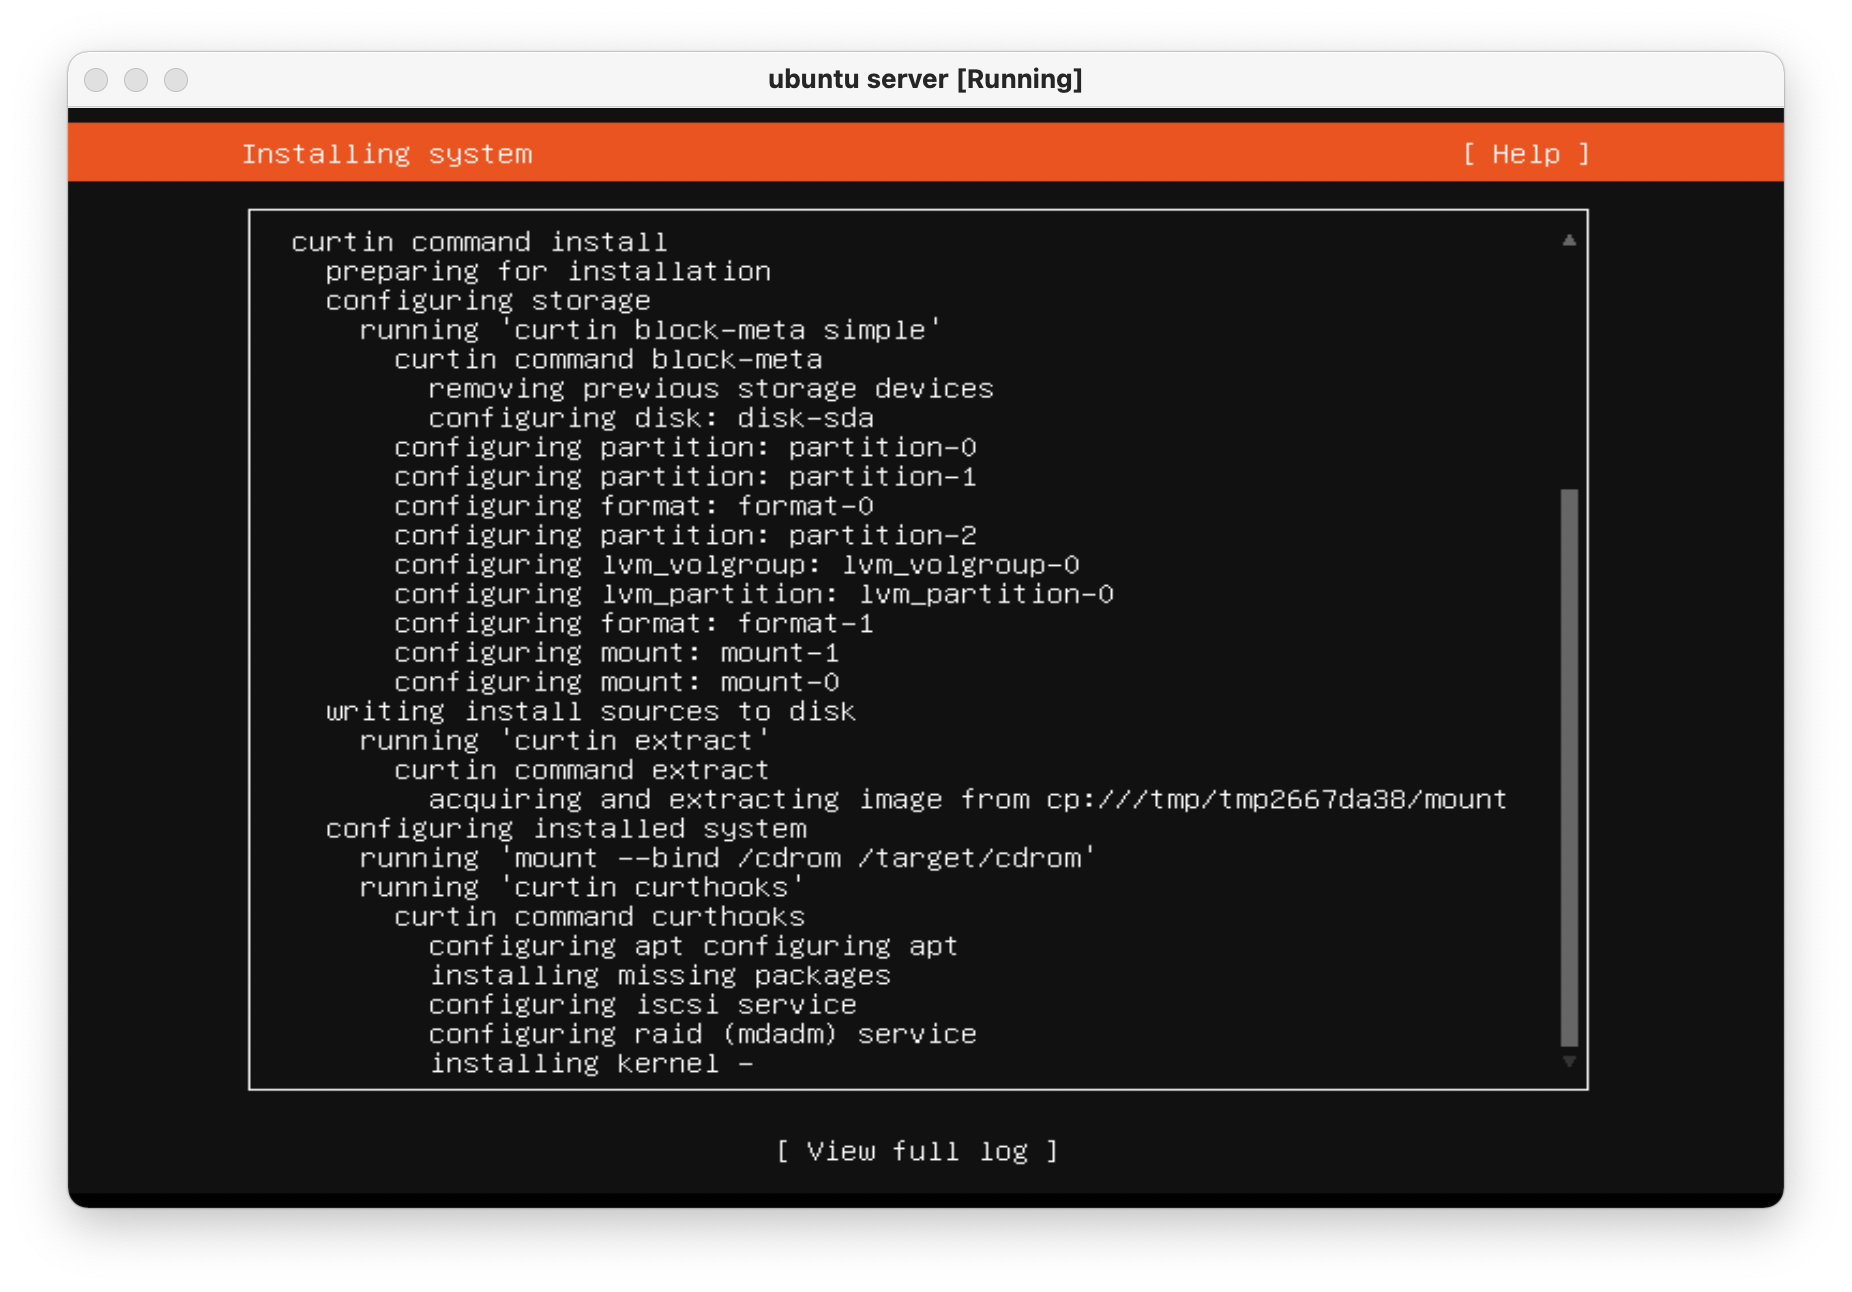
The machine is now fully installed and can properly display on an
external display using the Nvidia GPU.
Always remember to update and upgrade on a new installation:
```sh
sudo apt update; sudo apt upgrade -y; sudo apt autoremove -y
```
# Phase 2: Migrate Plex Data & Devices
This phase uses the great Plex article on migrations ([Move an
Installation to Another
System](https://support.plex.tv/articles/201370363-move-an-install-to-another-system/))
and adds a bit more information to help with commands and context.
## Terminology
**Source:\*** The original server that is being replaced.\
**Destination:\*** The new server.\
**Client:\*** Any application that can be used to modify settings for
both source/destination.
## Step 01: \[Client\] Update Settings
Open up a Plex app and *disable* the `Account` \>
`Library` \>
`Empty trash automatically after every scan` preference for
the source server.
## Step 02: \[Destination\] Install Plex
Open up the [Plex Media Server download
page](https://www.plex.tv/media-server-downloads/) and copy the link for
the appropriate platform.
Execute the following commands on the destination server to install
Plex:
```sh
wget <url>
sudo dpkg -i <filename>
sudo systemctl stop plexmediaserver.service
```
## Step 03: \[Source\] Stop Plex & Migrate Data
First, stop the Plex service so that no data is created or modified
during the migration.
```sh
sudo systemctl stop plexmediaserver.service
```
Next, copy the data to the new server. To find where the Plex data
directory is located, Plex has another excellent article available:
[Where is the Plex Media Server data directory
located?](https://support.plex.tv/articles/202915258-where-is-the-plex-media-server-data-directory-located/).
There are many ways to copy the data to the new server and will largely
depend on the size of the folder being copied. Personally, my data
folder was \~23GB and I opted to simply use the `scp` command
to copy the files over SSH.
This process was throttled by the old server\'s slow HDD and ports and
took approximately 90 minutes to complete. In comparison, moving the
data from the new server\'s `home/user/` directory to the
`/var/.../Plex Media Server` directory took 2-3 minutes.
```sh
scp -r "/var/lib/plexmediaserver/Library/Application Support/Plex Media Server" your_user@xxx.xxx.xxx.xxx:"'/path/to/destination/'"
```
## Step 04: \[Destination\] Update File Permissions
In case you move the data directory to a common area on the new server,
it will have to be moved to the proper location before Plex can function
properly:
```sh
mv "Plex Media Server" /var/lib/plexmediaserver/Library/Application Support/
```
To ensure permissions were retained properly, the server will need to
show that all files and folders in the data directory are owned by
`plex:plex` (or whichever user is running the Plex
application).
```sh
sudo chown -R plex:plex "/var/lib/plexmediaserver/Library/Application Support/Plex Media Server"
```
Finally, start the service and check the status.
```sh
sudo systemctl start plexmediaserver.service
sudo systemctl status plexmediaserver.service
```
## Step 05: \[Client\] Update Libraries & Metadata
The first step - now that the new server is up and running - is to sign
out of the client and sign back in. Once this is done, update any
library locations, if necessary. This was unnecessary in my case since I
simply moved my storage drives from the source server to the destination
server.
Next, perform the following actions in the client:
1. On the left sidebar, click `More` \> Three-Dot Menu \>
`Scan Library Files`
2. *Enable* the `Account` \> `Library` \>
`Empty trash automatically after every scan` preference
for the source server.
3. On the left sidebar, click `More` \> Three-Dot Menu \>
`Manage Server` \> `Empty Trash`
4. On the left sidebar, click `More` \> Three-Dot Menu \>
`Manage Server` \> `Clean Bundles`
5. On the left sidebar, click `More` \> Three-Dot Menu \>
`Manage Server` \> `Optimize Database`
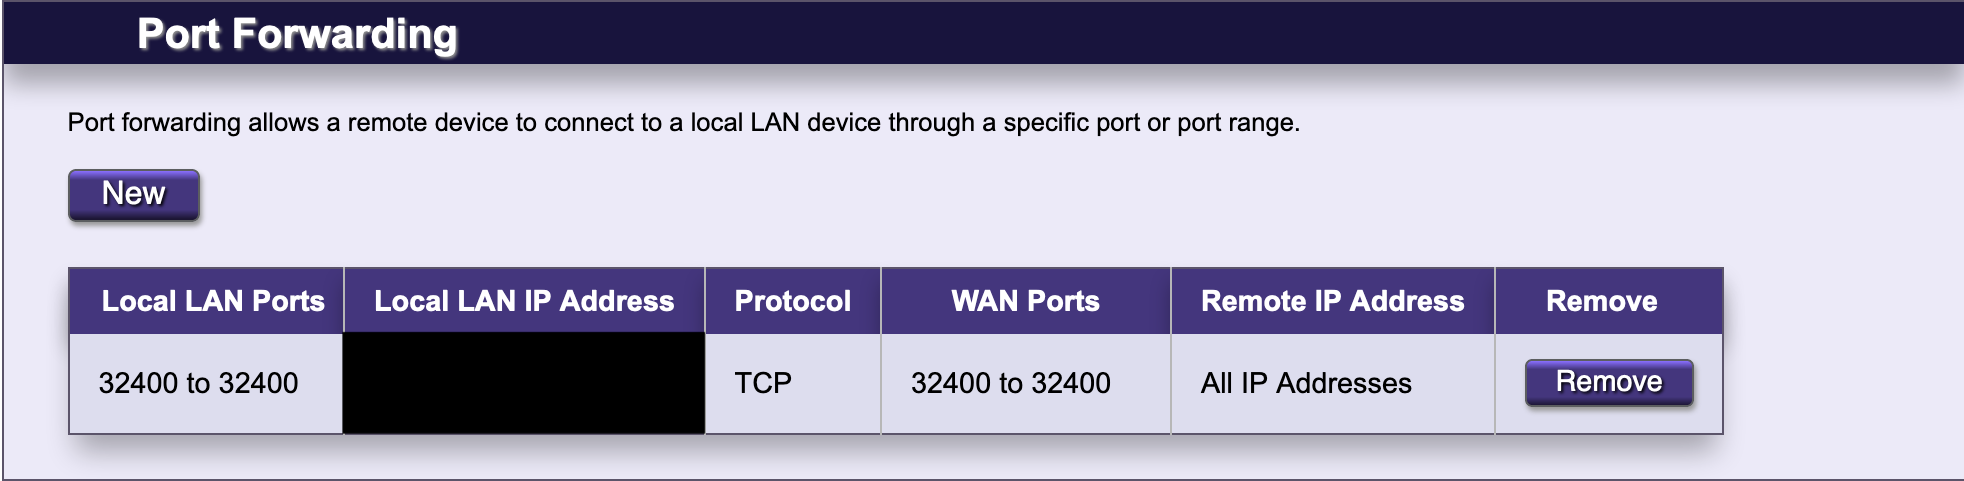
Finally, double-check the Remote Access settings to make sure no changes
have caused issues with accessing the server from outside the network.
In my case, I use a single port forwarding rule in my router and needed
to update the Local LAN IP Address to the new server IP address.
# Phase 3: Configure GPU Transcoding
The final piece to the migration is enabling hardware transcoding so
that Plex can fully utilize the new Nvidia GPU available in the server.
The first step is to install Nvidia graphics drivers. This process may
take a few minutes, but the commands are pretty simple:
```sh
sudo add-apt-repository ppa:graphics-drivers/ppa
sudo apt update
sudo apt-get install ubuntu-drivers-common
sudo ubuntu-drivers autoinstall
```
Finally, reboot so that the changes are loaded:
```sh
sudo reboot now
```
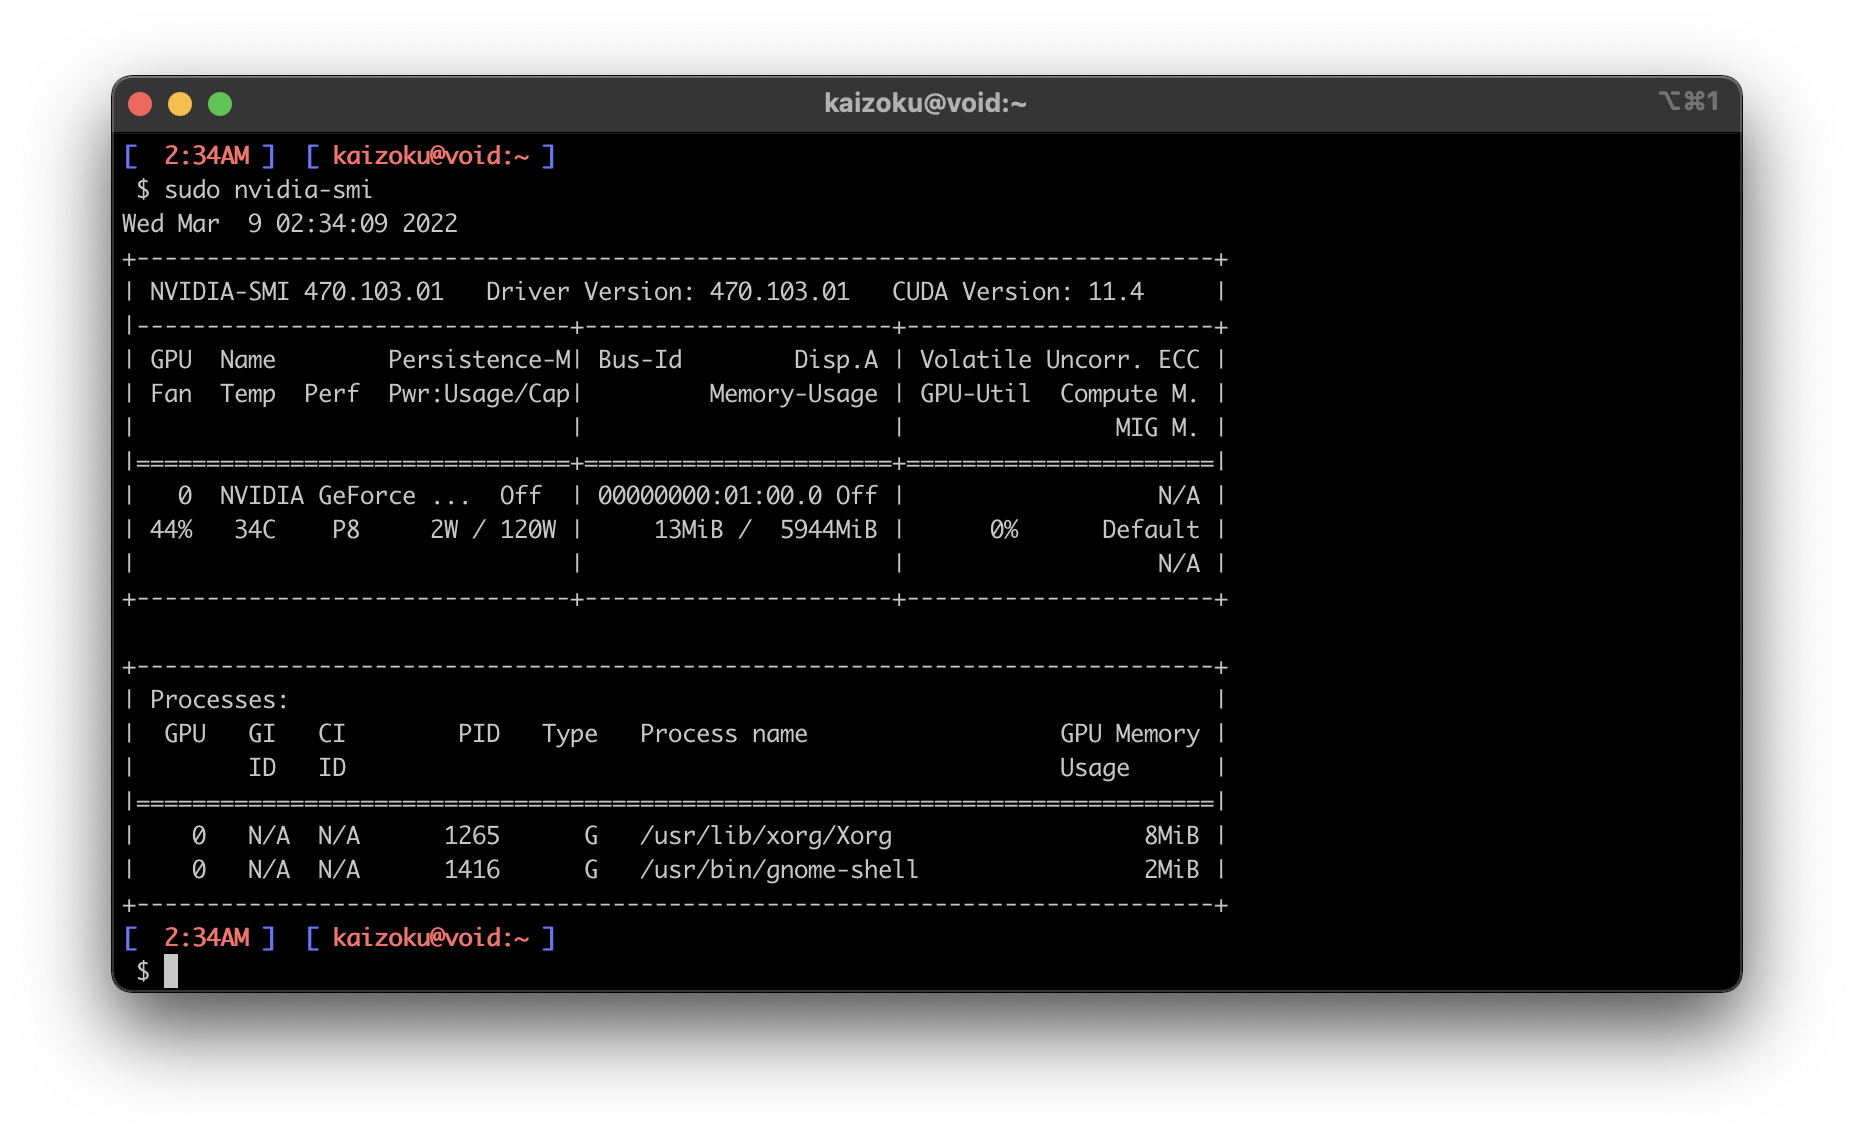
To ensure that the Nvidia graphics drivers are working properly, run the
following command to view the available GPUs, statistics, and processes:
```sh
sudo nvidia-smi
```
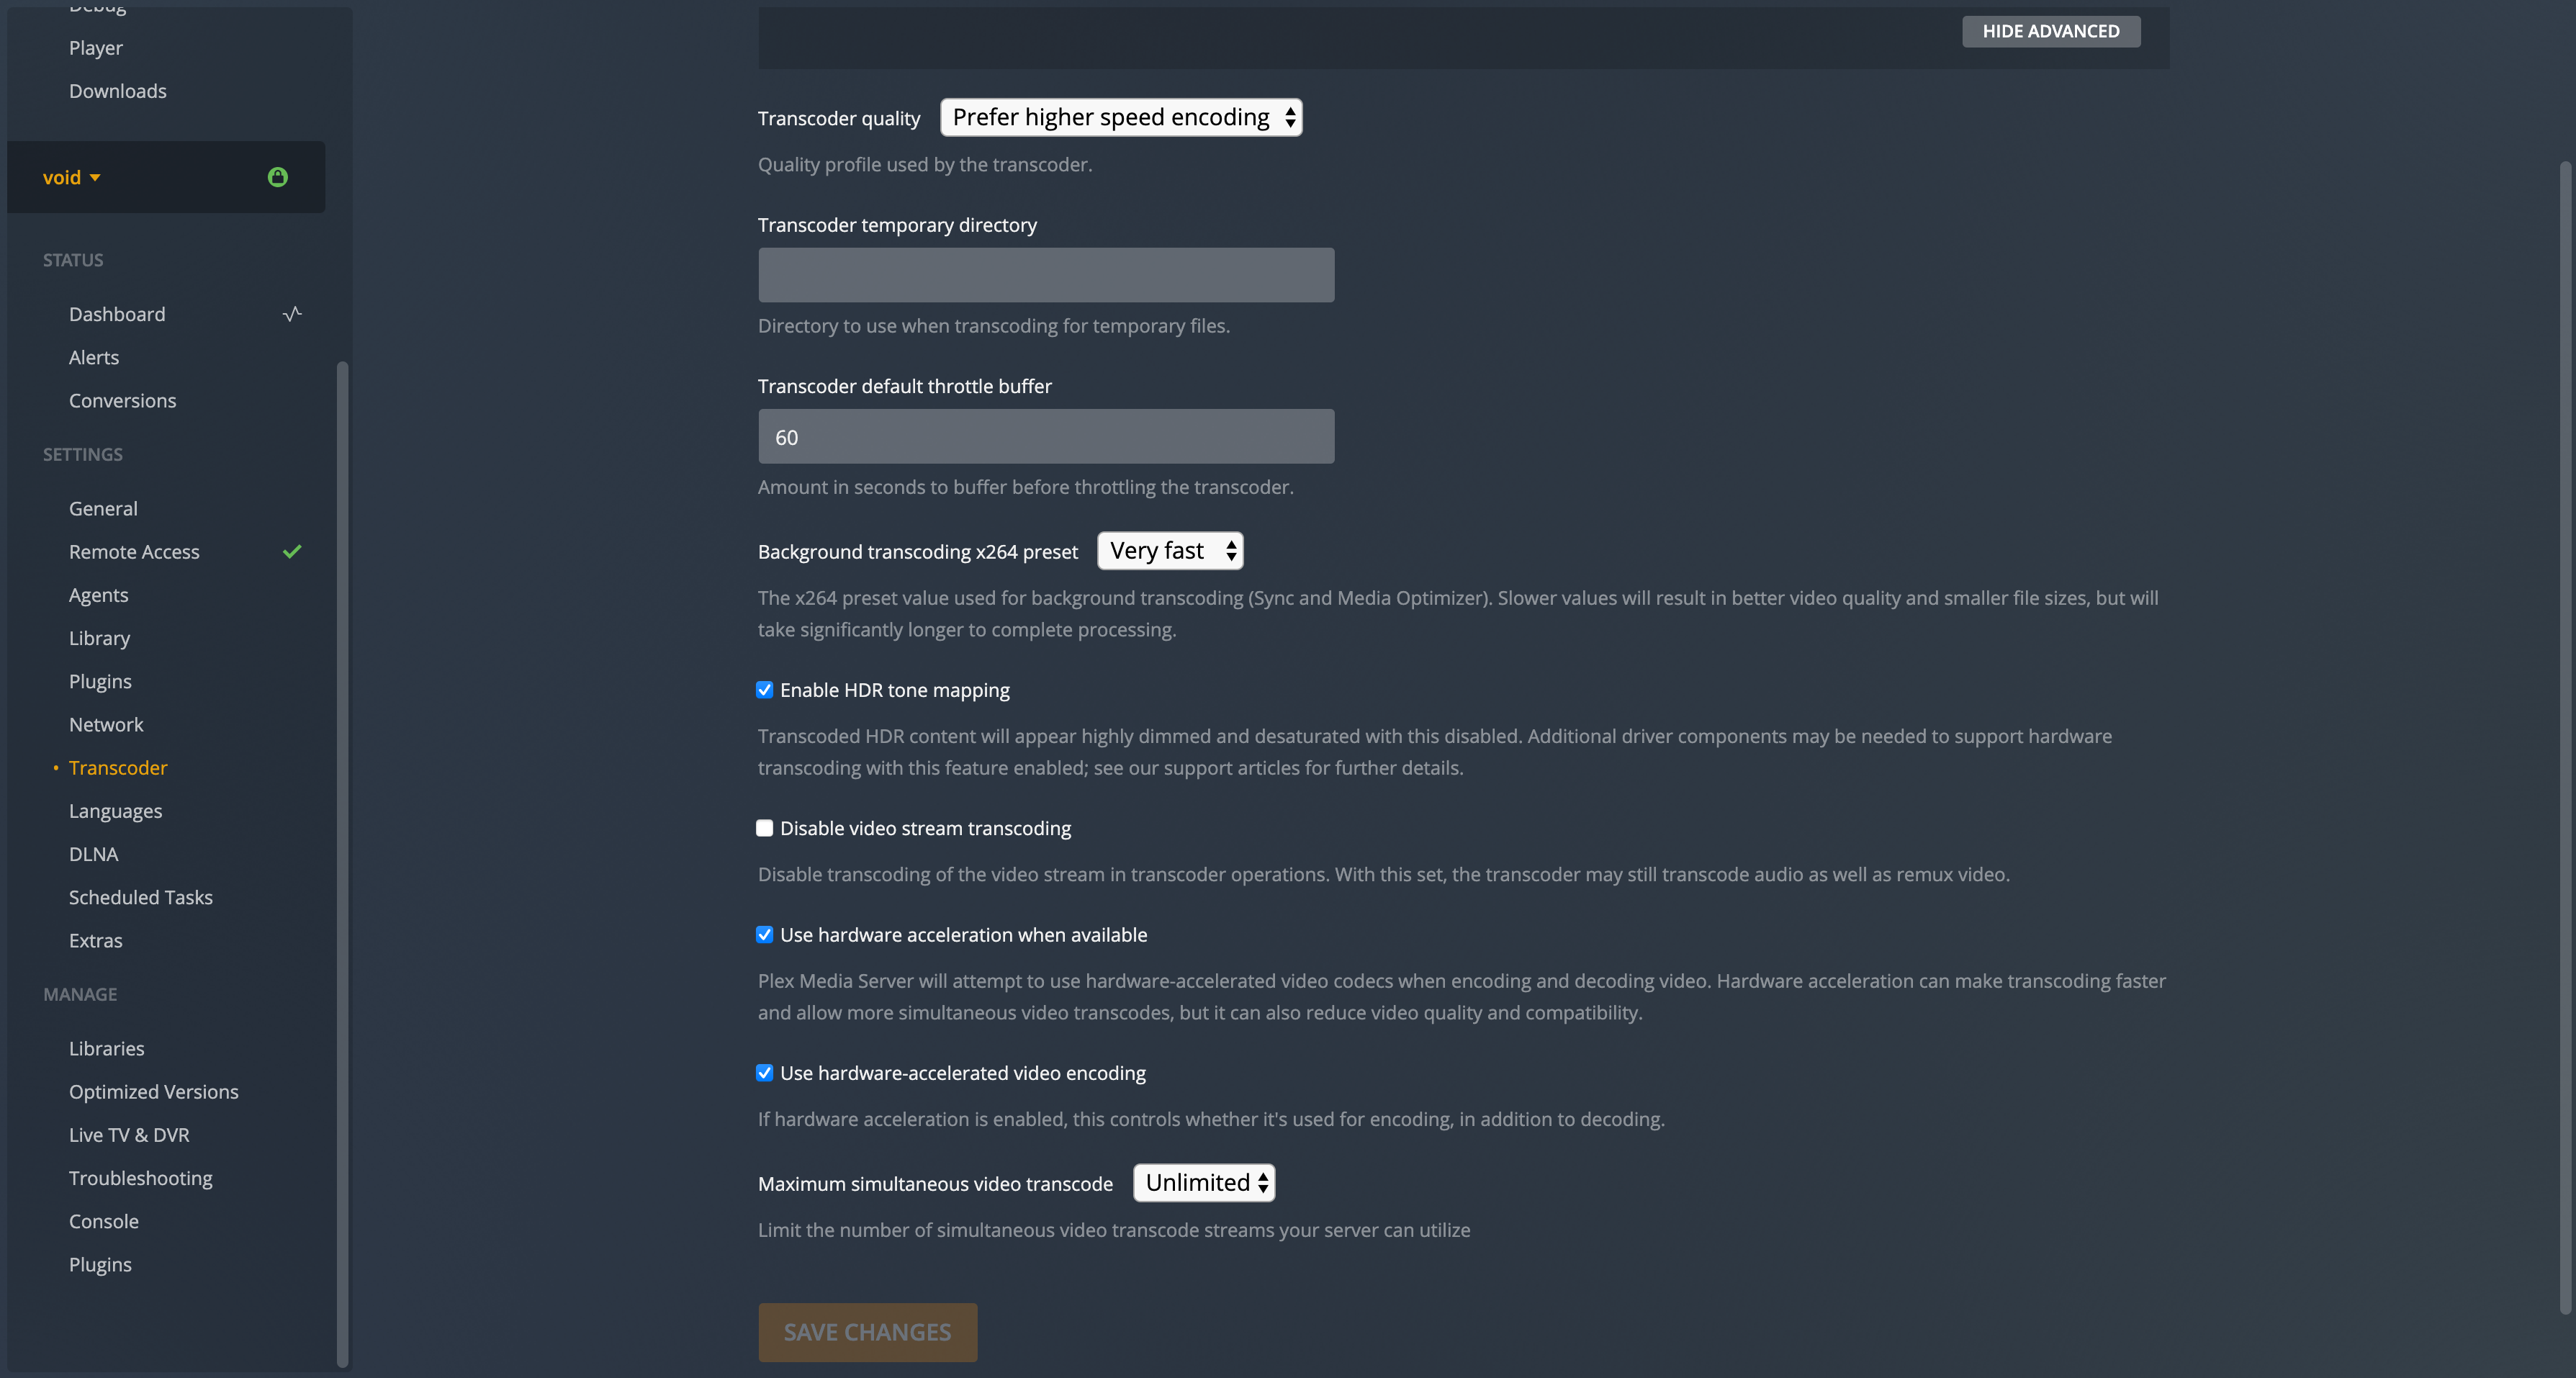
Finally, enable hardware transcoding settings in the Plex application:
|
