1
2
3
4
5
6
7
8
9
10
11
12
13
14
15
16
17
18
19
20
21
22
23
24
25
26
27
28
29
30
31
32
33
34
35
36
37
38
39
40
41
42
43
44
45
46
47
48
49
50
51
52
53
54
55
56
57
58
59
60
61
62
63
64
65
66
67
68
69
70
71
72
73
74
75
76
77
78
79
80
81
82
83
84
85
86
87
88
89
90
91
92
93
94
95
96
97
98
99
100
101
102
103
104
105
106
107
108
109
110
111
112
113
114
115
116
117
118
119
120
121
122
123
124
125
126
127
128
129
130
131
132
133
134
135
136
137
138
139
140
141
142
143
144
145
146
147
148
149
150
151
152
153
154
155
156
157
158
159
|
+++
date = 2023-06-08
title = "Self-Hosting Baikal Server (CalDAV & CardDAV)"
description = "A guide to self-hosting the Baïkal application on your own server."
+++
## What is Baïkal?
[Baïkal](https://sabre.io/baikal/) is a lightweight CalDAV + CardDAV
server that you can self-host on your own machine. While I have tried (&
failed) to get this CalDAV + CardDAV server running before, it was quite
easy this time. Not really sure what I did differently this time, but
I'm documenting my process here to ensure I don't forget.
## Installation
First, create a folder on your server and open a
`docker-compose.yml` file for editing:
```sh
mkdir baikal && cd baikal
nano docker-compose.yml
```
Within this file, you'll need to paste the information below. You can
customize the `ports` section to use any port on your server
to pass through to port 80 in the container. You can also edit the
`volumes` section to use docker volumes instead of local
folders.
```conf
version: "2"
services:
baikal:
image: ckulka/baikal:nginx
restart: always
ports:
- "8567:80"
volumes:
- ./config:/var/www/baikal/config
- ./data:/var/www/baikal/Specific
```
Once finished with editing, save and close the file. Then, launch the
docker container:
```sh
sudo docker-compose up -d
```
## Intial Setup
As long as no issues came up when starting the container, you should be
able to visit the server's set-up page at
`http://<server_ip>:<port>`. The application will ask you to
create an administrator account and choose the database type for your
storage. Personally, I opted to use SQLite.
Make sure the administrator credentials are adequate to protect against
common attacks.
## Creating Users
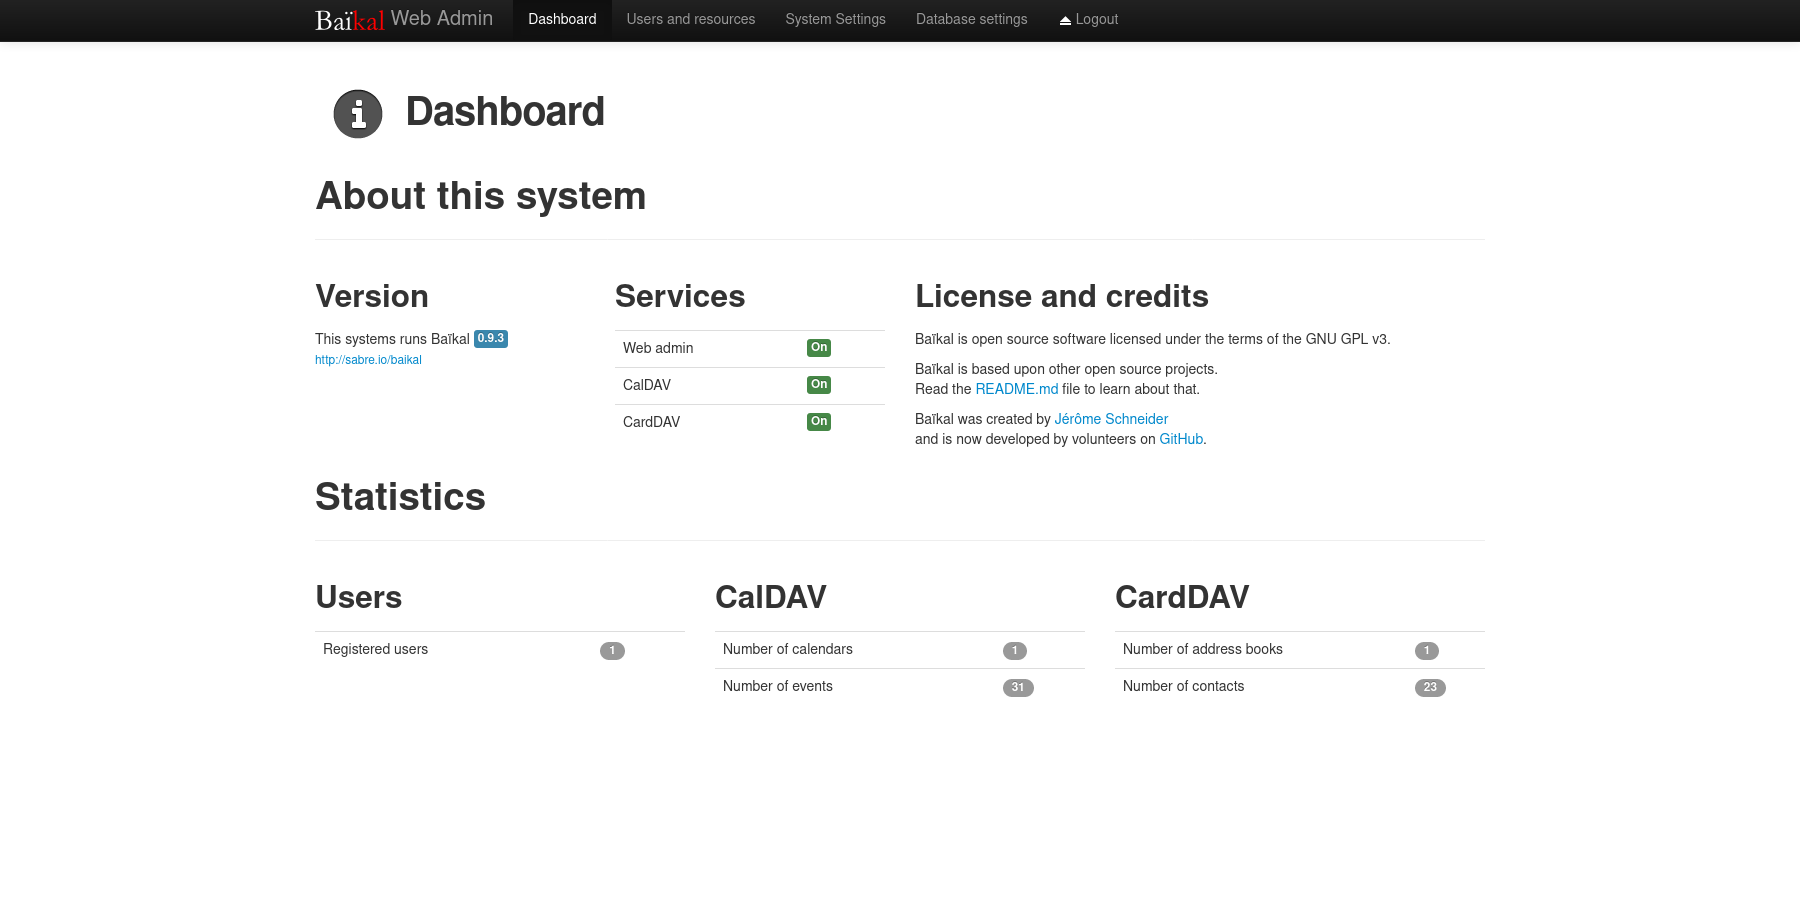
Once you've set up the application, you will be greeted by the
Dashboard page, which will show the version of the app, status of the
admin/CalDAV/CardDAV services, and the number of users, calendars,
events, address books, and contacts.
To create a new user, navigate to the `Users and resources`
page. This process is as simple as entering a username, password, and
email.
Once a user has been created, you can create any number of calendars and
address books for user, as well as inspect their information.
## Setting Up a Public URL
Once your application is working locally, you can open access remotely
via a URL by using a reverse-proxy like Nginx.
As a prerequisite, you must own a domain name and set up DNS records to
point a domain name to the server hosting Baïkal.
Start by navigating to your web server's configuration directory and
create a new file for this application.
```sh
cd /etc/nginx/sites-available/
nano dav
```
Within this file, paste in the configuration from below and change
`dav.example.com` to match the URL you'll be using.
```conf
server {
if ($host ~ ^[^.]+\.example\.com$) {
return 301 https://$host$request_uri;
}
listen [::]:80;
listen 80;
server_name dav.example.com;
return 404;
}
server {
listen [::]:443 ssl http2;
listen 443 ssl http2;
server_name dav.example.com;
access_log /var/log/nginx/dav.access.log;
error_log /var/log/nginx/dav.error.log;
location / {
proxy_http_version 1.1;
proxy_pass http://localhost:8567;
proxy_set_header Host $host;
}
ssl_certificate /etc/letsencrypt/live/example.com/fullchain.pem;
ssl_certificate_key /etc/letsencrypt/live/example.com/privkey.pem;
include /etc/letsencrypt/options-ssl-nginx.conf;
ssl_dhparam /etc/letsencrypt/ssl-dhparams.pem;
}
```
For Nginx on Ubuntu, you'll need to symlink the configuration file to
the `sites-enabled` directory and then restart Nginx.
```sh
sudo ln -s /etc/nginx/sites-available/dav /etc/nginx/sites-enabled/dav
sudo systemctl restart nginx.service
```
At this point, the Baïkal server should be available over the internet
at the URL configured above!
## Configuring Clients
Lastly, configuring clients and applications is essential to making sure
the DAV server is being fully utilized.
You can also use the `Users and resources` page to inspect a
user's personal link to their calendars and address books by clicking
the info (i) button. It will show a URI like
`/dav.php/calendars/your-user/default/`.
However, I found that the following URL works for most applications:
`/dav.php/principals/your-user/`.
I used the `principals` URL above for Thunderbird (calendar,
tasks, and contacts), as well as iOS (calendar, tasks, and contacts) and
everything works flawlessly so far.
Syncing is quick between the server and clients, and I haven't seen any
disruptions in the service or data integrity.
|
