1
2
3
4
5
6
7
8
9
10
11
12
13
14
15
16
17
18
19
20
21
22
23
24
25
26
27
28
29
30
31
32
33
34
35
36
37
38
39
40
41
42
43
44
45
46
47
48
49
50
51
52
53
54
55
56
57
58
59
60
61
62
63
64
65
66
67
68
69
70
71
72
73
74
75
76
77
78
79
80
81
82
83
84
85
86
87
88
89
90
91
92
93
94
95
96
97
98
99
100
101
102
103
104
105
106
107
108
109
110
111
112
113
114
115
116
117
118
119
120
121
122
123
124
125
126
127
128
129
130
131
132
133
134
135
136
137
138
139
140
141
142
143
144
145
146
147
148
149
150
151
152
153
154
155
156
157
158
159
160
161
162
|
+++
date = 2022-03-23
title = "Self-Hosting Nextcloud"
description = ""
draft = false
+++
# What is Nextcloud?
[Nextcloud](https://nextcloud.com/) is a self-hosted solution for storage,
communications, editing, calendar, contacts, and more.
This tutorial assumes that you have an Ubuntu server and a domain name
configured to point toward the server.
# Install Dependencies
To start, you will need to install the packages that Nextcloud requires:
```sh
sudo apt install apache2 mariadb-server libapache2-mod-php7.4
sudo apt install php7.4-gd php7.4-mysql php7.4-curl php7.4-mbstring php7.4-intl
sudo apt install php7.4-gmp php7.4-bcmath php-imagick php7.4-xml php7.4-zip
```
# Set Up MySQL
Next, you will need to log in to MySQL as the `root` user of the machine.
```sh
sudo mysql -uroot -p
```
Once you've logged in, you must create a new user so that Nextcloud can manage
the database. You will also create a `nextcloud` database and assign privileges:
``` sql
CREATE USER 'username'@'localhost' IDENTIFIED BY 'password';
CREATE DATABASE IF NOT EXISTS nextcloud CHARACTER SET utf8mb4 COLLATE utf8mb4_general_ci;
GRANT ALL PRIVILEGES ON nextcloud.** TO 'username'@'localhost';
FLUSH PRIVILEGES;
quit;
```
# Download & Install Nextcloud
To download Nextcloud, go the [Nextcloud downloads
page](https://nextcloud.com/install/#instructions-server), click on `Archive
File` and right-click the big blue button to copy the link.
Then, go to your server and enter the following commands to download, unzip, and
move the files to your destination directory. This example uses `example.com` as
the destination, but you can put it wherever you want to server your files from.
```sh
wget https://download.nextcloud.com/server/releases/nextcloud-23.0.3.zip
sudo apt install unzip
unzip nextcloud-23.0.3.zip
sudo cp -r nextcloud /var/www/example.com
```
# Configure the Apache Web Server
Now that the database is set up and Nextcloud is installed, you need to set up
the Apache configuration files to tell the server how to handle requests for
`example.com/nextcloud`.
First, open the following file in the editor:
```sh
sudo nano /etc/apache2/sites-available/nextcloud.conf
```
Once the editor is open, paste the following information in. Then, save and
close the file.
``` config
<VirtualHost *:80>
DocumentRoot /var/www/example.com
ServerName example.com
ServerAlias www.example.com
ErrorLog ${APACHE_LOG_DIR}/error.log
CustomLog ${APACHE_LOG_DIR}/access.log combined
<Directory /var/www/example.com/nextcloud/>
Require all granted
AllowOverride All
Options FollowSymLinks MultiViews
Satisfy Any
<IfModule mod_dav.c>
Dav off
</IfModule>
</Directory>
</VirtualHost>
```
Once the file is saved, enable it with Apache:
```sh
sudo a2ensite nextcloud.conf
```
Next, enable the Apache mods required by Nextcloud:
```sh
sudo a2enmod rewrite headers env dir mime
```
Finally, restart Apache. If any errors arise, you must solve those before
continuing.
```sh
sudo systemctl restart apache2
```
For the app to work, you must have the correct file permissions on your
`nextcloud` directory. Set the owner to be `www-data`:
```sh
sudo chown -R www-data:www-data /var/www/example.com/nextcloud/
```
# DNS
If you do not have a static IP address, you will need to update your DNS
settings (at your DNS provider) whenever your dynamic IP address changes.
For an example on how I do that with Cloudflare, see my other post: [Updating
Dynamic DNS with Cloudflare API](../updating-dynamic-dns-with-cloudflare-api/)
# Certbot
If you want to serve Nextcloud from HTTPS rather than plain HTTP, use the
following commands to issue Let's Encrypt SSL certificates:
```sh
sudo apt install snapd
sudo snap install core
sudo snap refresh core
sudo snap install --classic certbot
sudo ln -s /snap/bin/certbot /usr/bin/certbot
sudo certbot --apache
```
# Results
Voilà! You're all done and should be able to access Nextcloud from your domain
or IP address.
See the screenshots below for the dashboard and a settings page on my instance
of Nextcloud, using the `Breeze Dark` theme I installed from the Apps page.
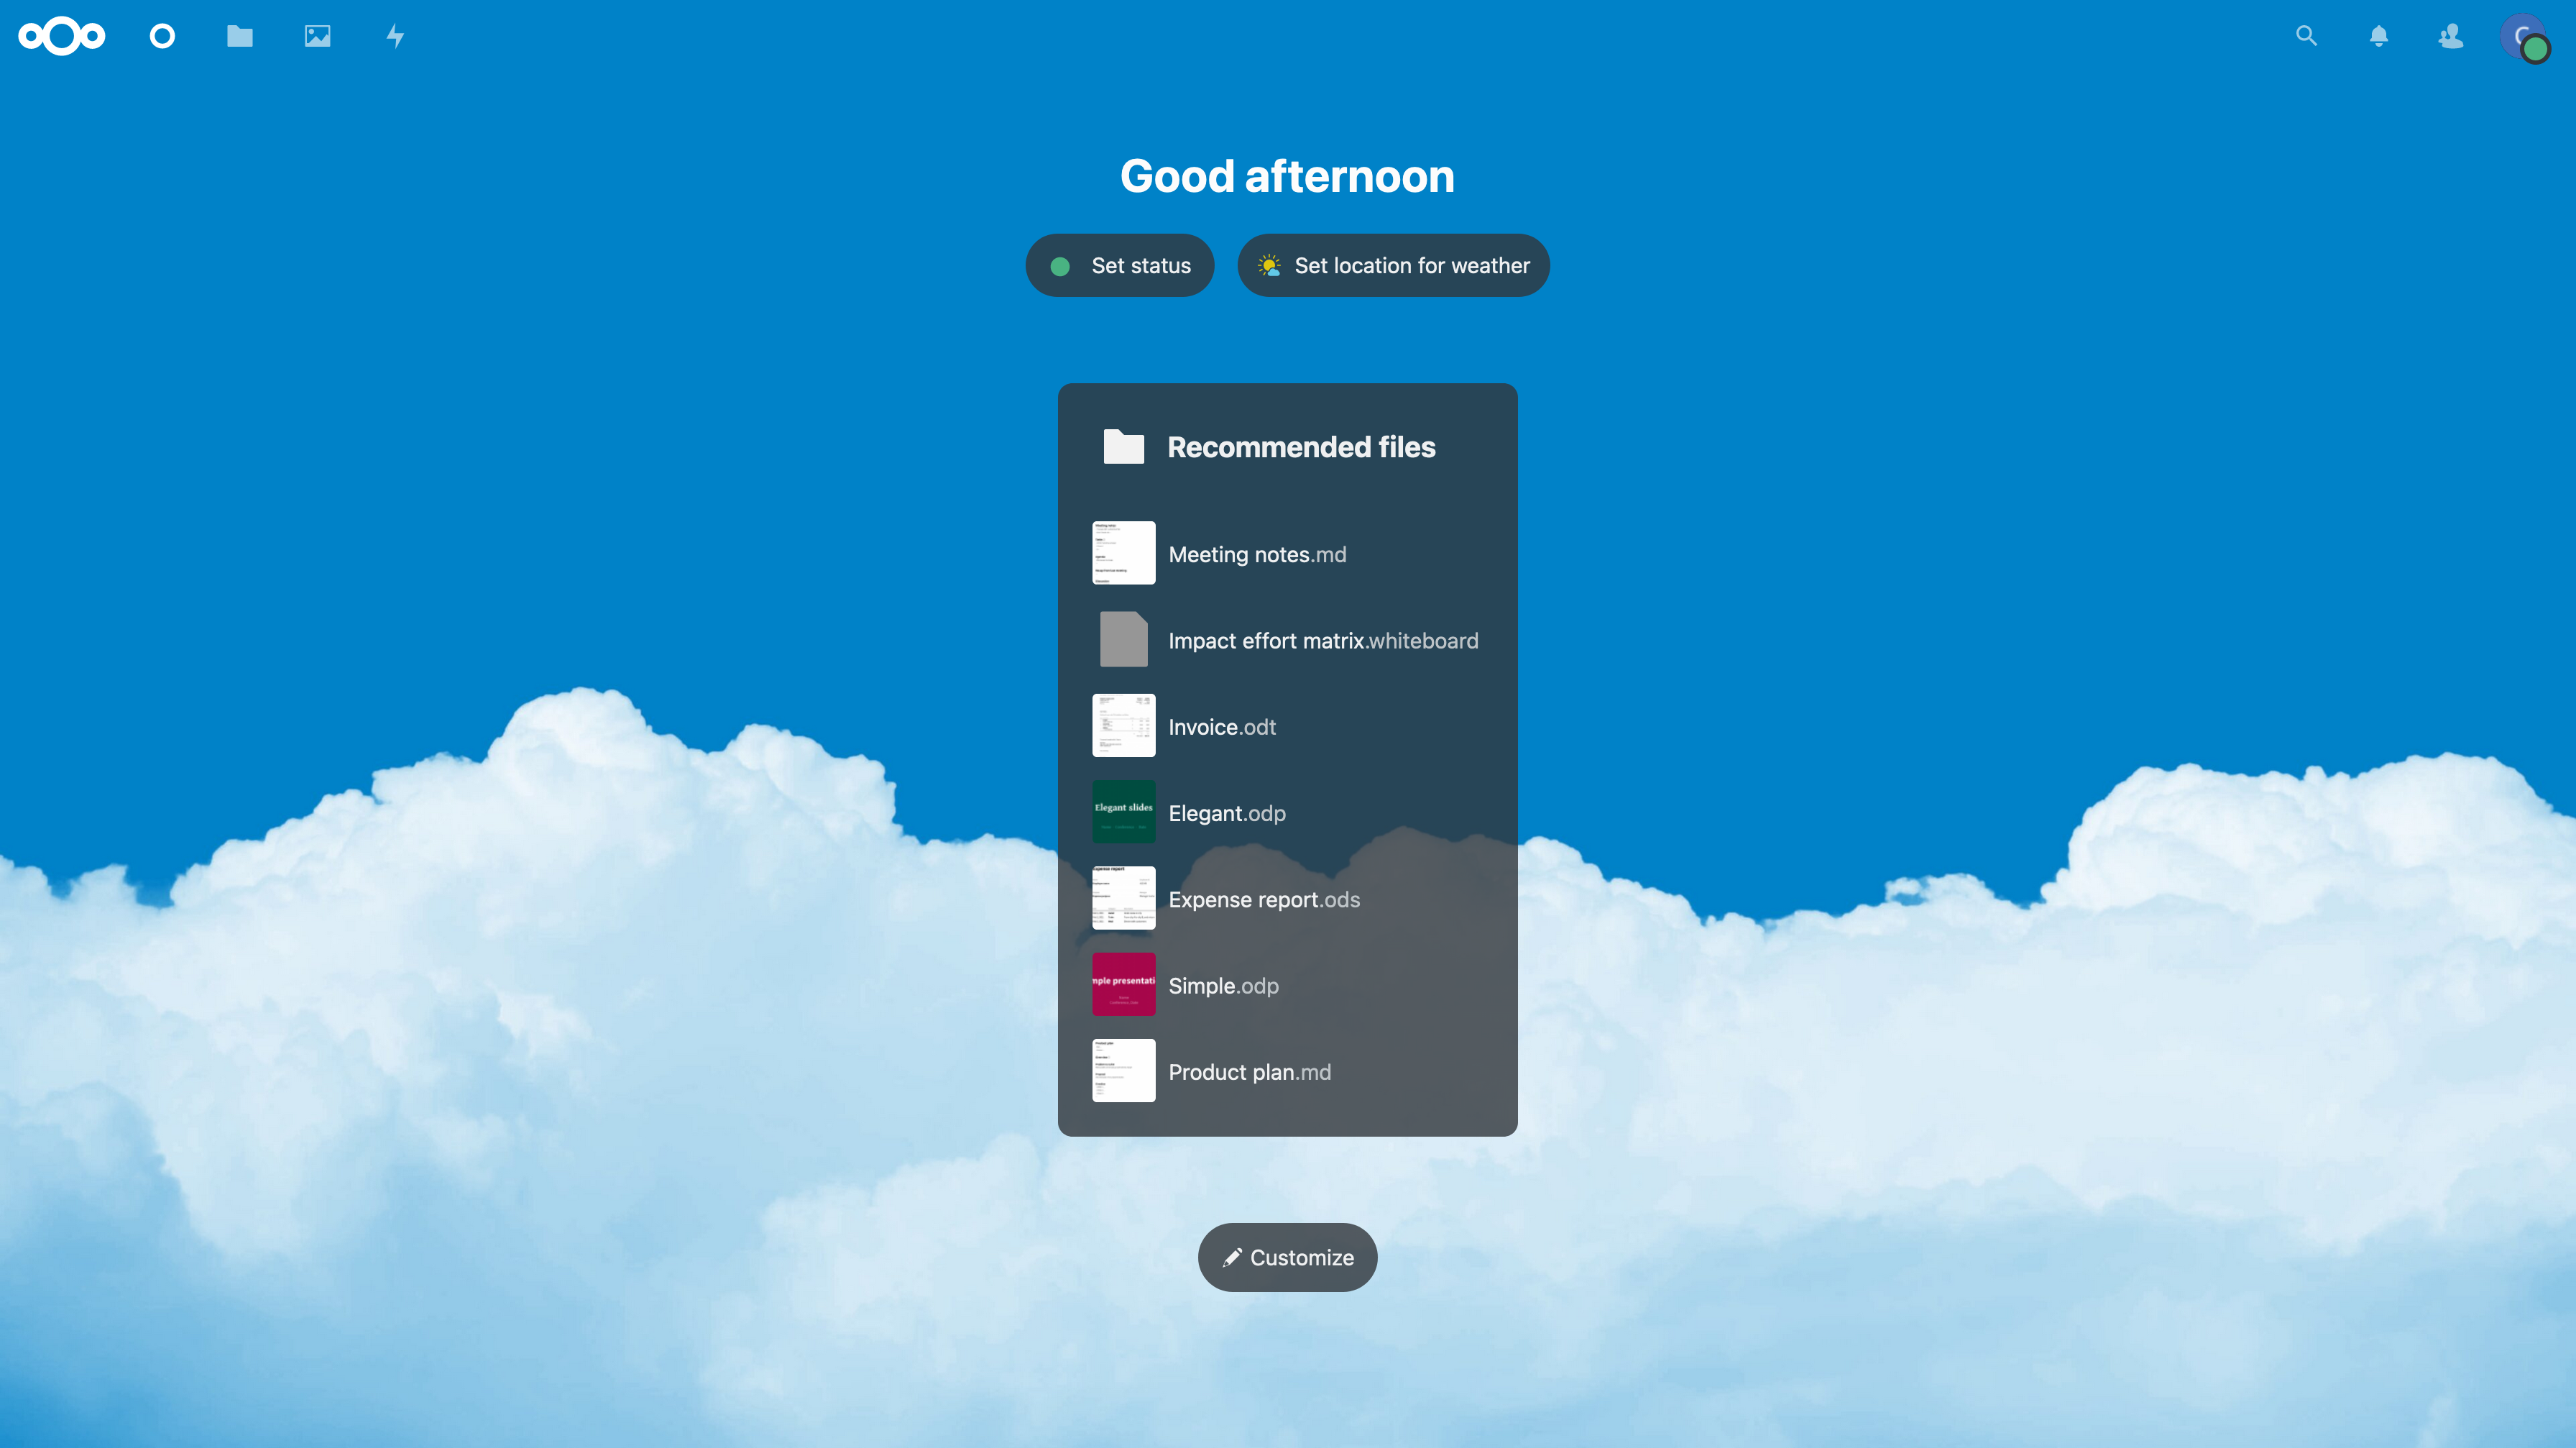
*Figure 01: Nextcloud Dashboard*
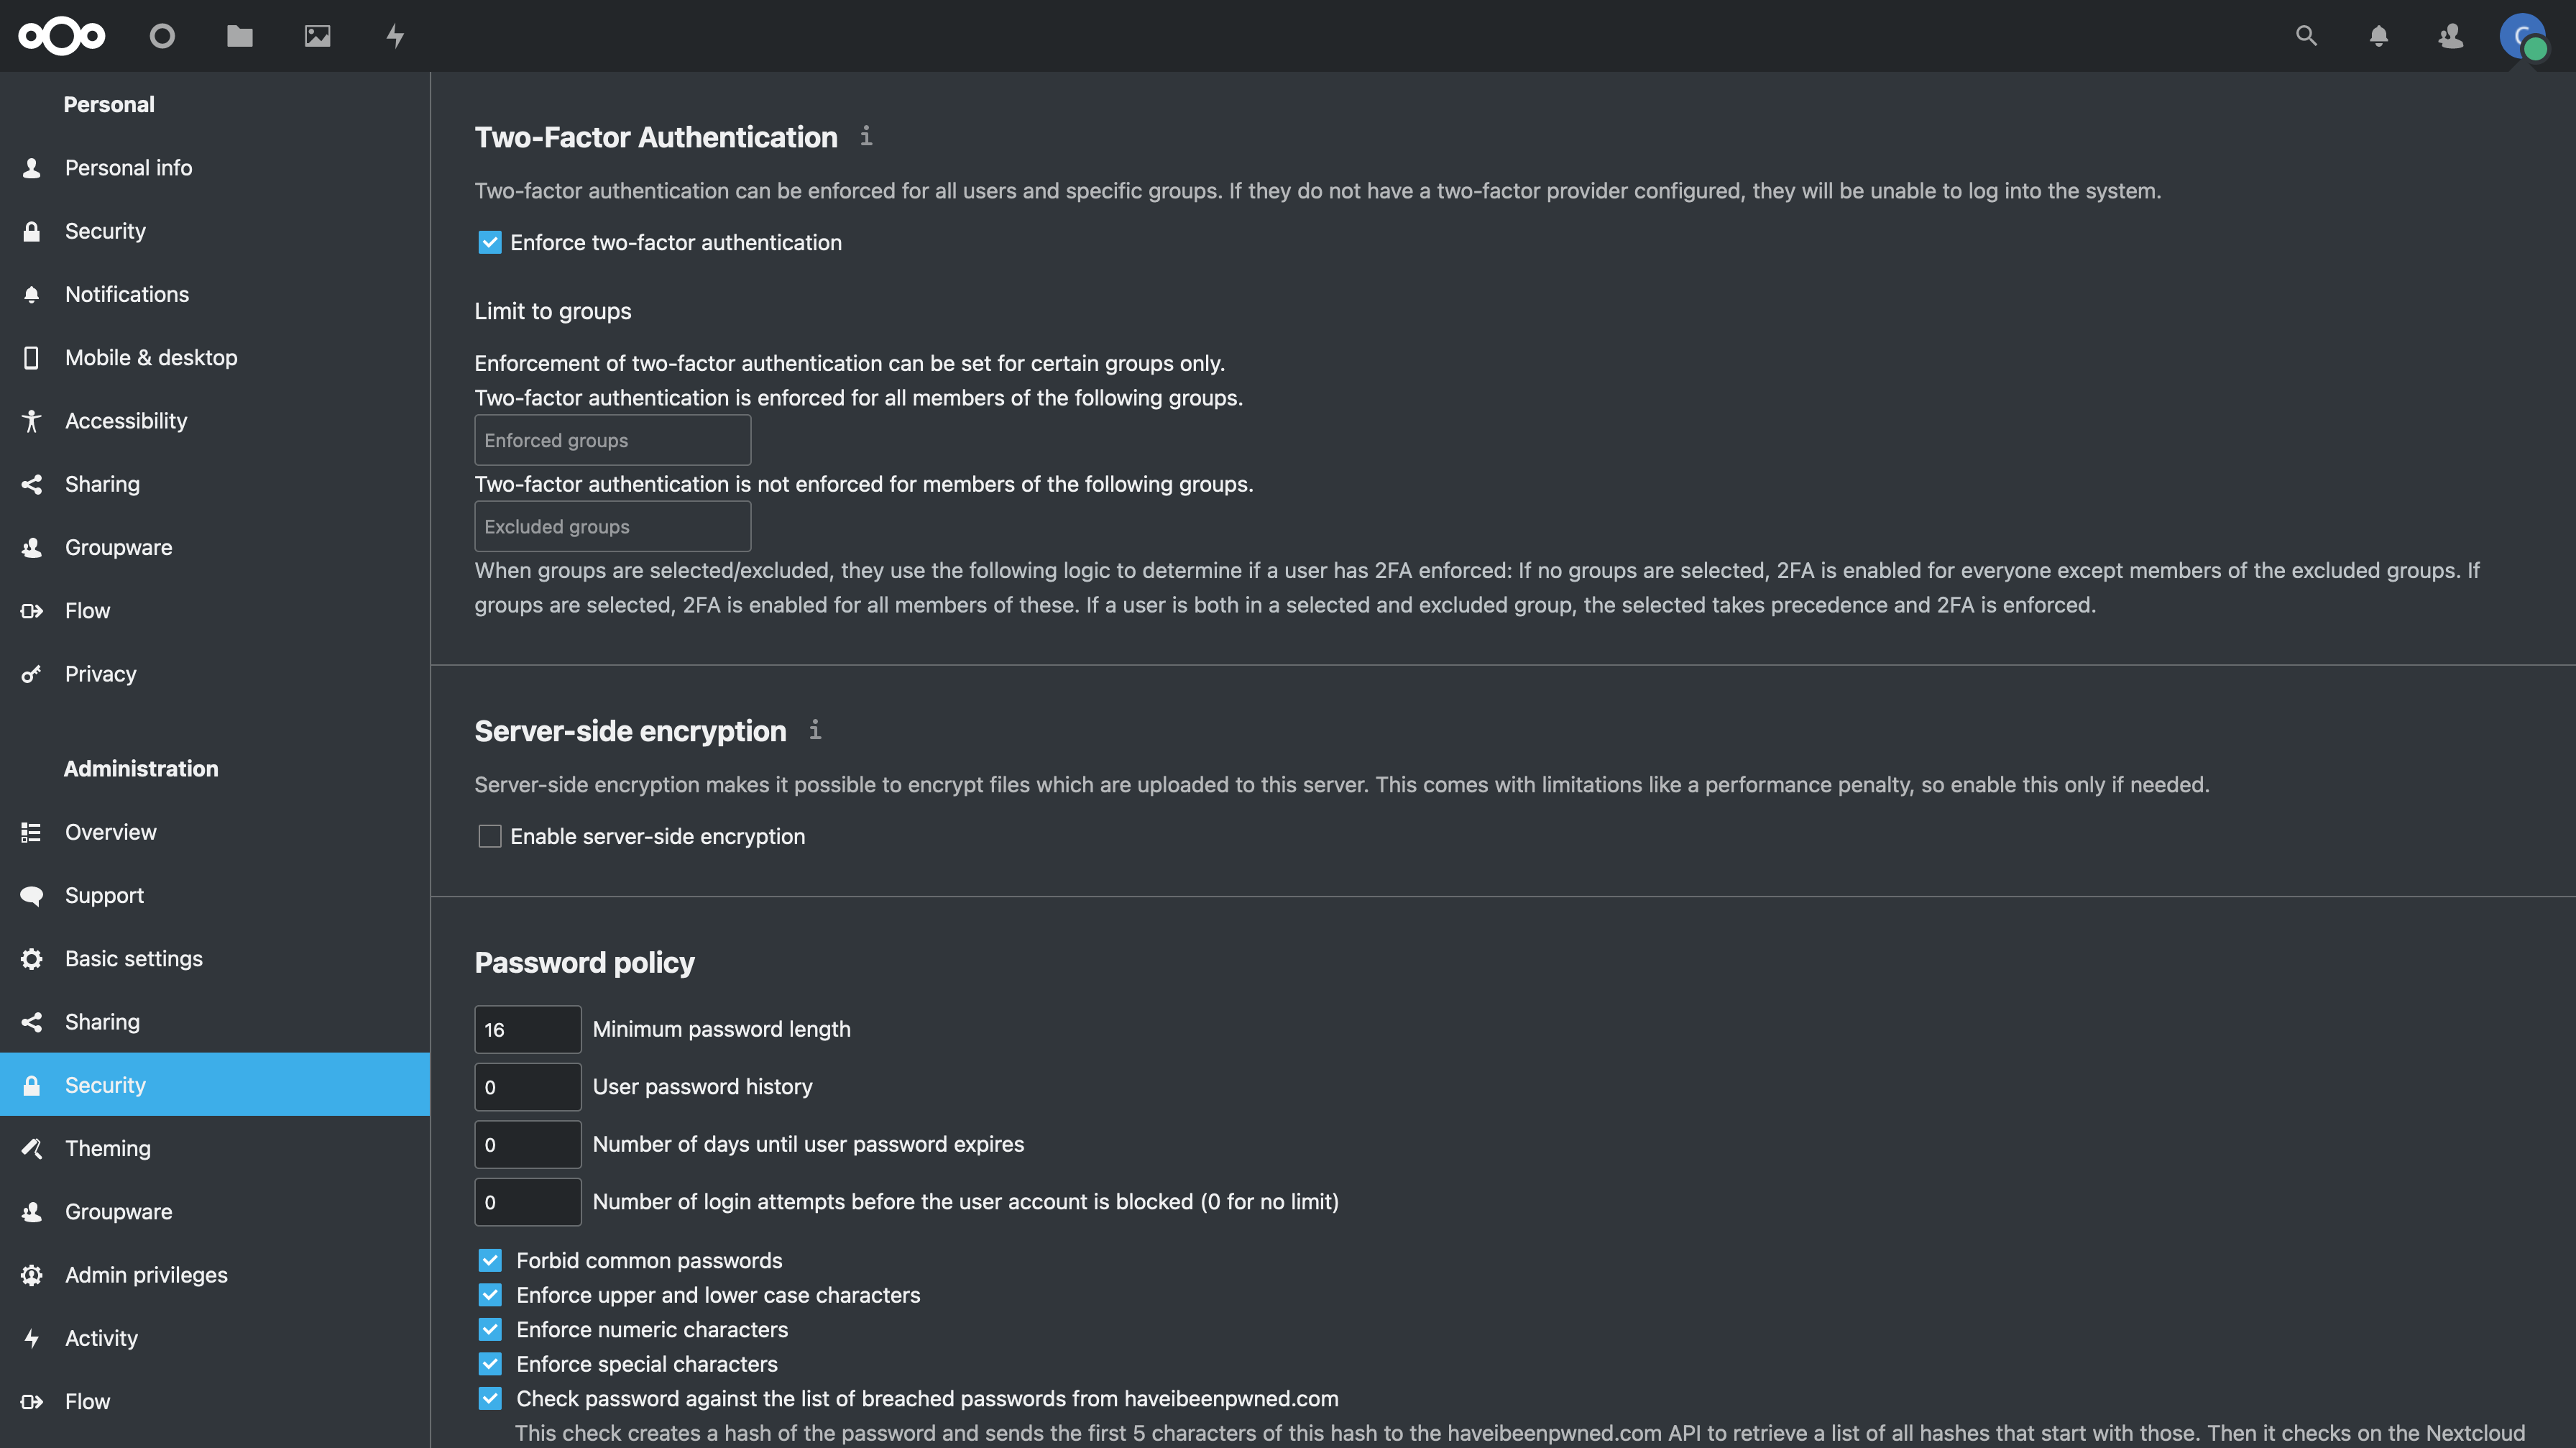
*Figure 02: Nextcloud Security Settings*
|
